
 Pin it
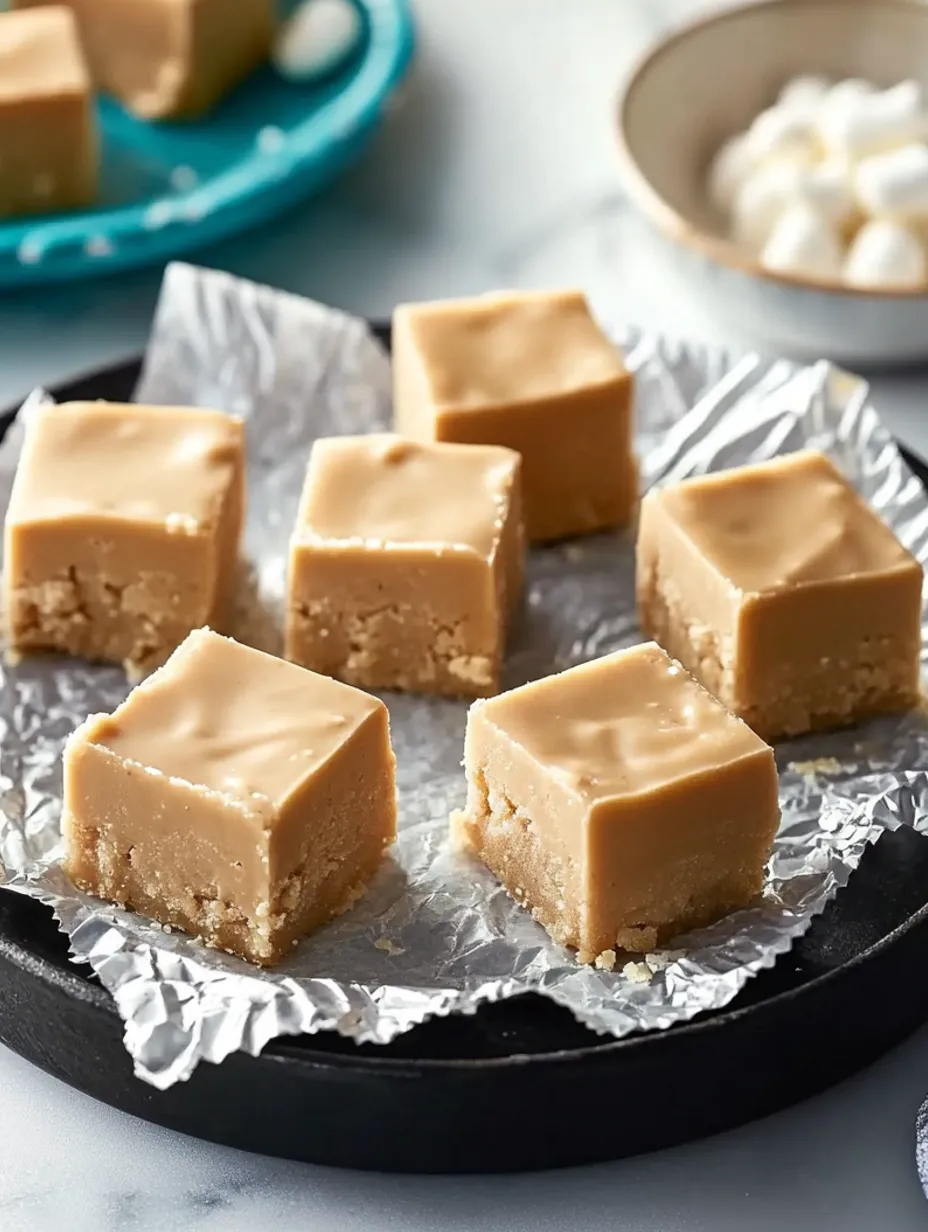
Standing in my kitchen, stirring a pot of bubbling sugar and milk, I'm transported back to childhood visits to seaside fudge shops. The sweet aroma filling my house reminds me why this five-ingredient wonder has become my go-to holiday gift and family treat. There's something magical about transforming simple ingredients into squares of creamy, peanutty perfection.
Last Christmas, I taught my niece how to make this fudge. The look on her face when we pulled that first piece from the pan - pure joy. That's the magic of simple recipes done right.
Essential Elements
- Quality Peanut Butter: Skip natural for better texture
- Fresh Marshmallow Creme: Not fluff - there's a difference
- Whole Milk: The fat matters here
- Good Butter: For greasing and richness
- Patience: The hardest ingredient to find
Making Magic
Start with a perfectly prepped pan - butter and foil are your best friends here. I learned the hard way that skimping on pan prep leads to stuck fudge and frustrated cooks. A little extra time here saves heartache later.
Creating The Magic
- The Sugar Symphony:
- Start with combining sugar and milk in a heavy-bottomed pot. Don't be tempted by a thin pan - even heat distribution is crucial. I once tried using my lightweight saucepan and ended up with grainy fudge. Never again.
- The Three-Minute Dance:
- This is where patience becomes your superpower. Keep stirring constantly for exactly three minutes once it starts boiling. Too short, it won't set. Too long, you'll have crumbly fudge. I keep my phone timer handy - no guessing games here.
- The Crucial Mix:
- Off heat, add your peanut butter and marshmallow creme. This is where the magic really happens. Watch as everything swirls together into a glossy, smooth mixture. Don't dawdle though - it starts setting quickly.
- Pour and Pray:
- Spread it into your prepared pan immediately. Work fast but don't panic. I use an offset spatula to get that perfect smooth top. Sometimes I tap the pan gently on the counter to remove air bubbles - a trick my grandmother taught me.
Last week, I made three batches for a bake sale. Each one taught me something new about the perfect timing of that final stir.
Making It Your Way
Over the years, I've discovered some winning variations:
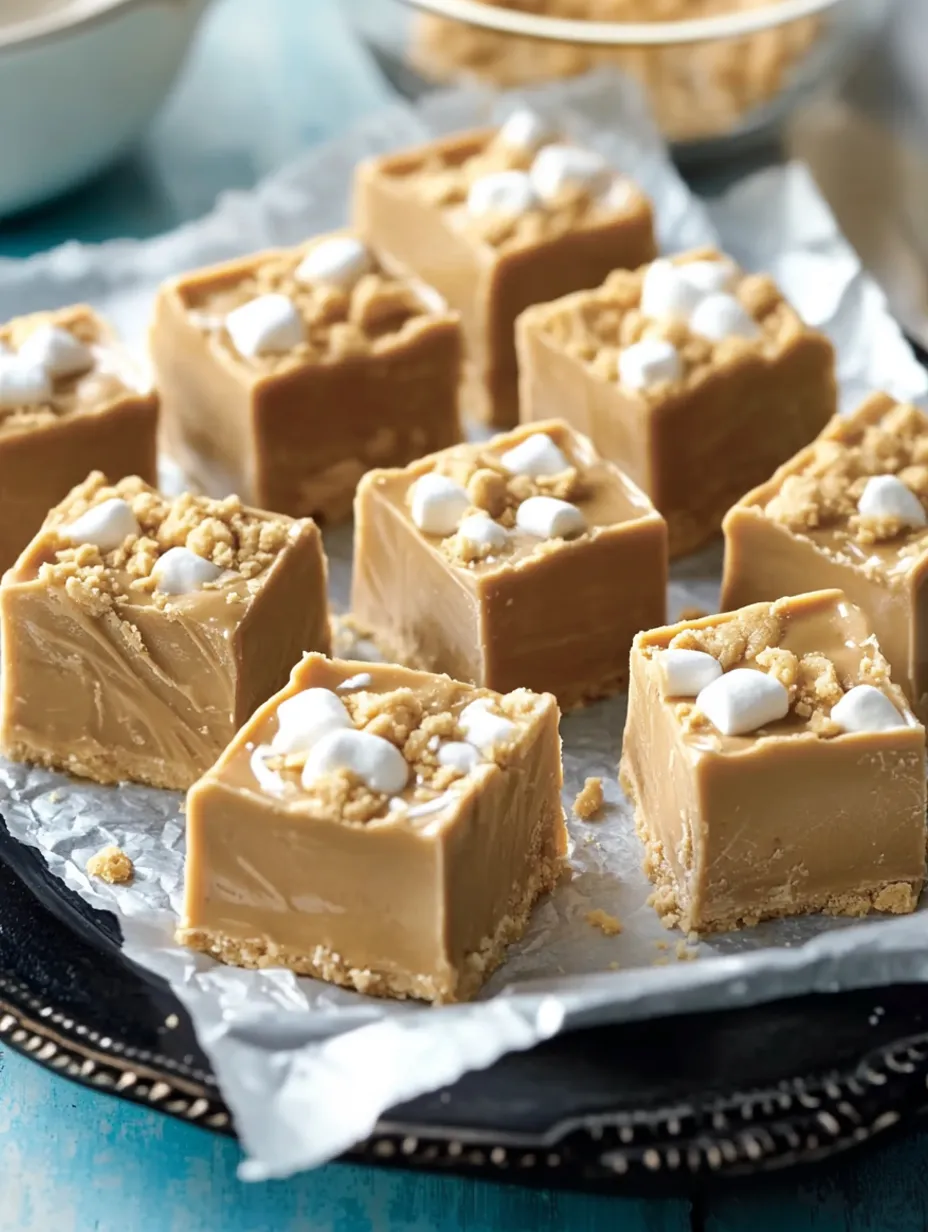
- Crushed pretzels on top for salty crunch
- Swirled chocolate for marble effect
- Chopped nuts folded in at the end
- Sea salt sprinkled while still warm
- Graham cracker crust at the bottom
The first time I added sea salt, my chocolate-loving husband finally admitted peanut butter fudge could be just as good as his favorite.
Storage Secrets
- Room temp in airtight container: 2 weeks
- Between wax paper to prevent sticking
- Away from heat and sunlight
- Freezer friendly for up to 3 months
- Let frozen pieces thaw in fridge
Frequently Asked Questions
- Why is my fudge grainy?
- Usually means the sugar wasn't fully dissolved. Keep stirring during that three-minute boil.
- It's not setting - help!
- Didn't boil long enough. Next time, use a timer and keep heat steady.
- Can I use natural peanut butter?
- Better stick to commercial - the oils in natural can make it separate.
- Mine's too soft!
- Check your measurements - too much marshmallow creme can make it soft.
This fudge has become my signature holiday gift, the treat neighbors request by name, and my go-to when I need to bring something special to a gathering. It's proof that sometimes the simplest recipes become the most treasured.
Whether you're making it for yourself or sharing with others, remember that good fudge, like most good things in life, can't be rushed. Take your time, trust the process, and soon you'll be known as the fudge master in your circle too.
And always save the spoon for yourself - that's the cook's privilege.