 Pin it
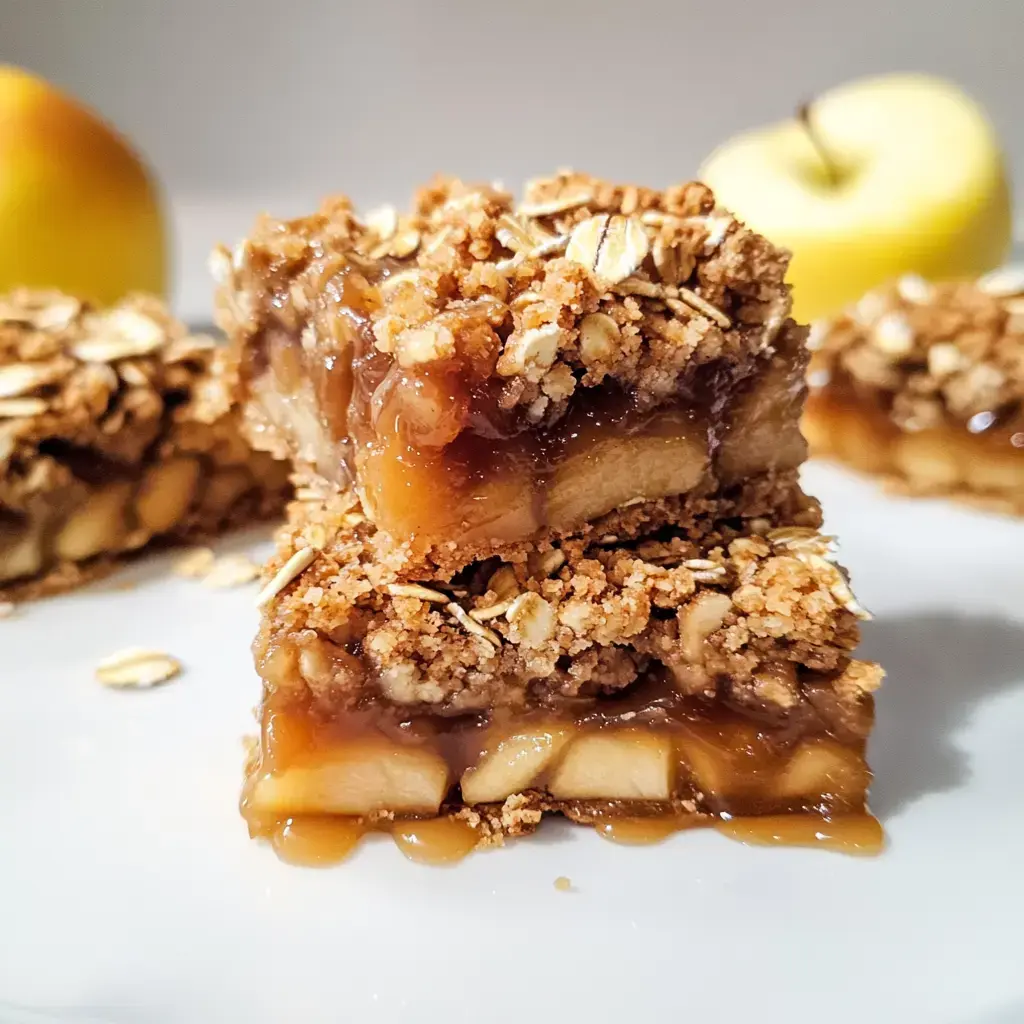
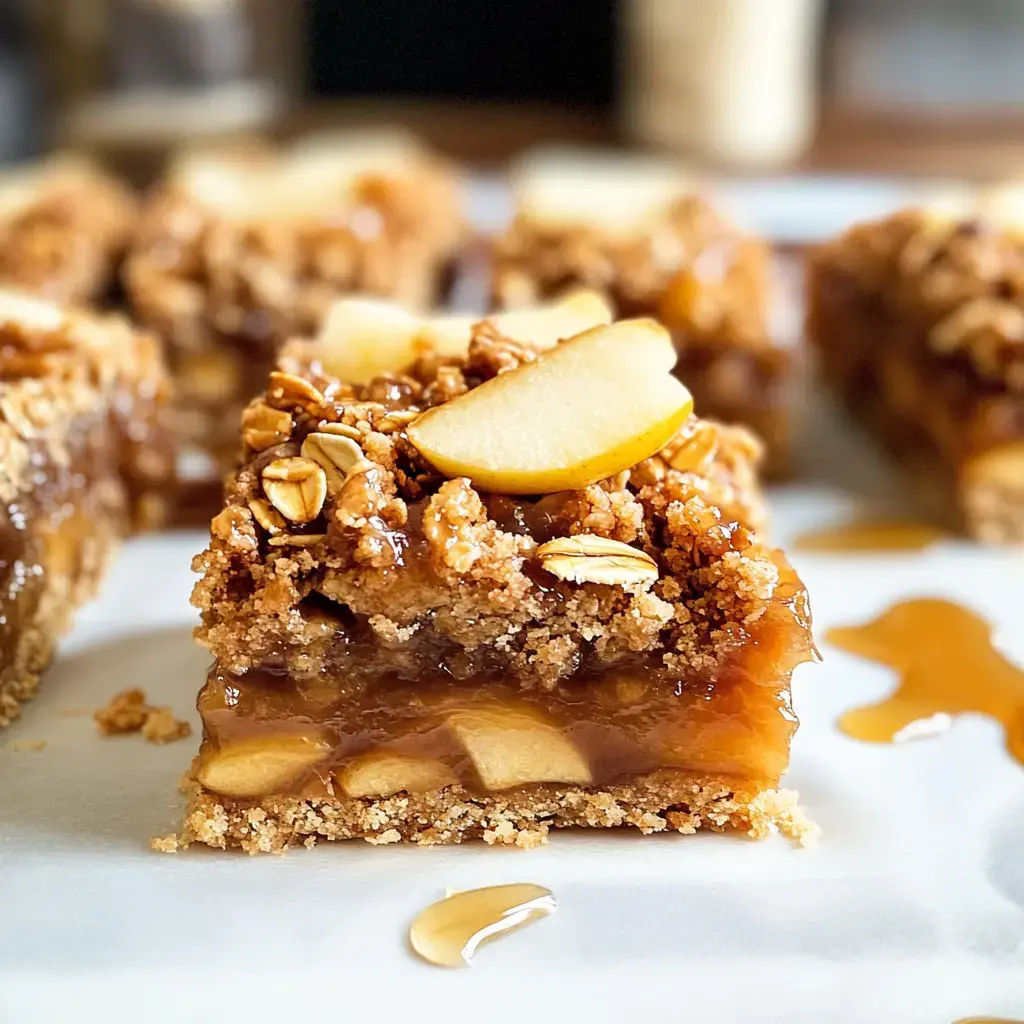
These Caramel Apple Bars are my go-to fall recipe when I'm craving something cozy and delicious. The combination of tender spiced apples nestled between buttery oatmeal layers and drizzled with salted caramel sauce makes my kitchen smell amazing. Best part is you don't even need a mixer to make these beauties.
Why I Love These Apple Bars
I created this recipe for busy bakers who want apple pie flavor without the fuss. The oatmeal cookie base adds such a wonderful texture and that caramel drizzle takes it over the top. When I serve these warm with vanilla ice cream everyone asks for seconds. It's become my signature fall dessert that friends always request.
Everything You Need
- Flour: Regular all purpose works perfectly here. I've tested gluten free flour too and it turns out great.
- Oats: Grab the old fashioned rolled oats. Quick oats just don't give the same hearty texture.
- Brown sugar: Light or dark both work. Dark gives a deeper molasses flavor I love.
- Baking soda: Just a bit helps create the perfect texture.
- Salt: Trust me this makes the sweet flavors pop.
- Butter: I use unsalted and melt it to make mixing super easy.
- Vanilla: Pure vanilla makes the crust taste amazing.
- Apples: You'll need about 2 1/2 cups peeled and diced. I love Honeycrisp or Granny Smith.
- Lemon juice: Keeps those apples looking fresh.
- Sugar: Regular granulated for the filling.
- Cinnamon: Nothing says fall like cinnamon and apples.
- Starch: This keeps your filling from getting runny.
- Salted caramel sauce: Make it ahead to save time.
Let's Bake Together
- Start with the Base:
- Mix your dry ingredients in a bowl then pour in that melted butter and vanilla. Save about 3/4 cup for the top then press the rest into your pan. Bake at 350°F until golden and let it cool.
- Prep Those Apples:
- Toss your diced apples with lemon juice sugar cinnamon and starch until they're all coated.
- Layer it Up:
- Spread those sweet apples over your crust drizzle with caramel and sprinkle that reserved crumble on top.
- Time to Bake:
- Pop it back in at 350°F for about 40 minutes until everything's golden and bubbly. Let it cool completely.
- The Final Touch:
- Chill in your freezer briefly then slice into squares. Add an extra drizzle of caramel before serving.
My Baking Secrets
Want to know my tricks for perfect bars? Always let that crust cool down first and pick firm apples that hold their shape. Don't skip the chilling step before cutting them it makes such a difference. I usually make my caramel sauce ahead when I have time during the week.
 Pin it
Keeping Them Fresh
Keep your bars in an airtight container in the fridge they'll stay perfect for 3 days. I love warming up a square in the microwave when I need a sweet treat but they're just as good cold straight from the fridge.
Frequently Asked Questions
- → Can I use different types of apples in this recipe?
Yes, you can use any baking apples like Granny Smith, Honeycrisp, or Fuji. Mixing different varieties adds more depth to the flavor and texture.
- → How do I store these bars?
Keep them in an airtight container in the fridge for up to 5 days. Warm them slightly before serving for the best taste and texture.
- → Can I make these bars ahead of time?
These bars can be made 2-3 days ahead. Store them in the fridge and add the final caramel drizzle just before serving.
- → Why chill the bars before cutting?
Chilling helps firm up the layers, making it easier to get clean cuts. The caramel and filling will be less likely to stick to your knife.
- → Can I freeze these apple bars?
Yes, wrap them well and freeze for up to 3 months. Thaw overnight in the fridge and warm slightly before serving.
