
 Pin it
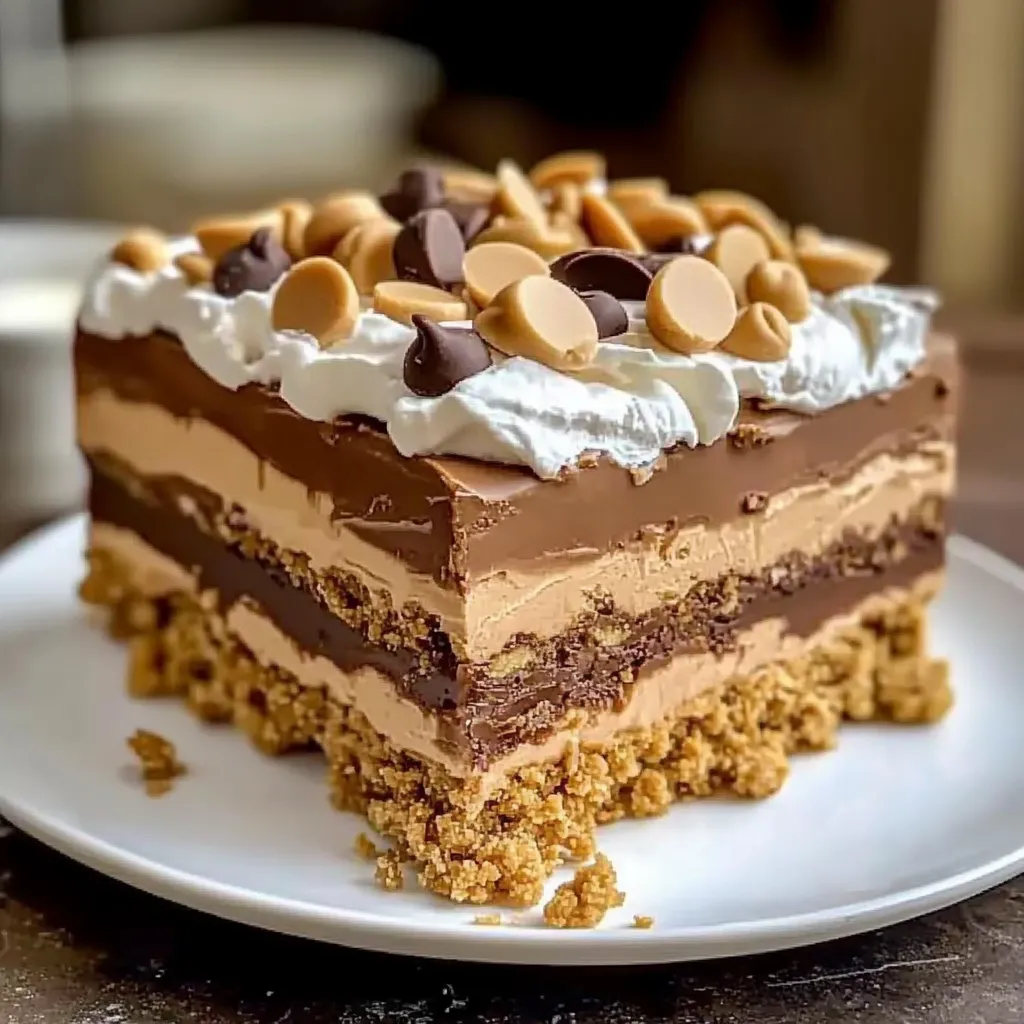
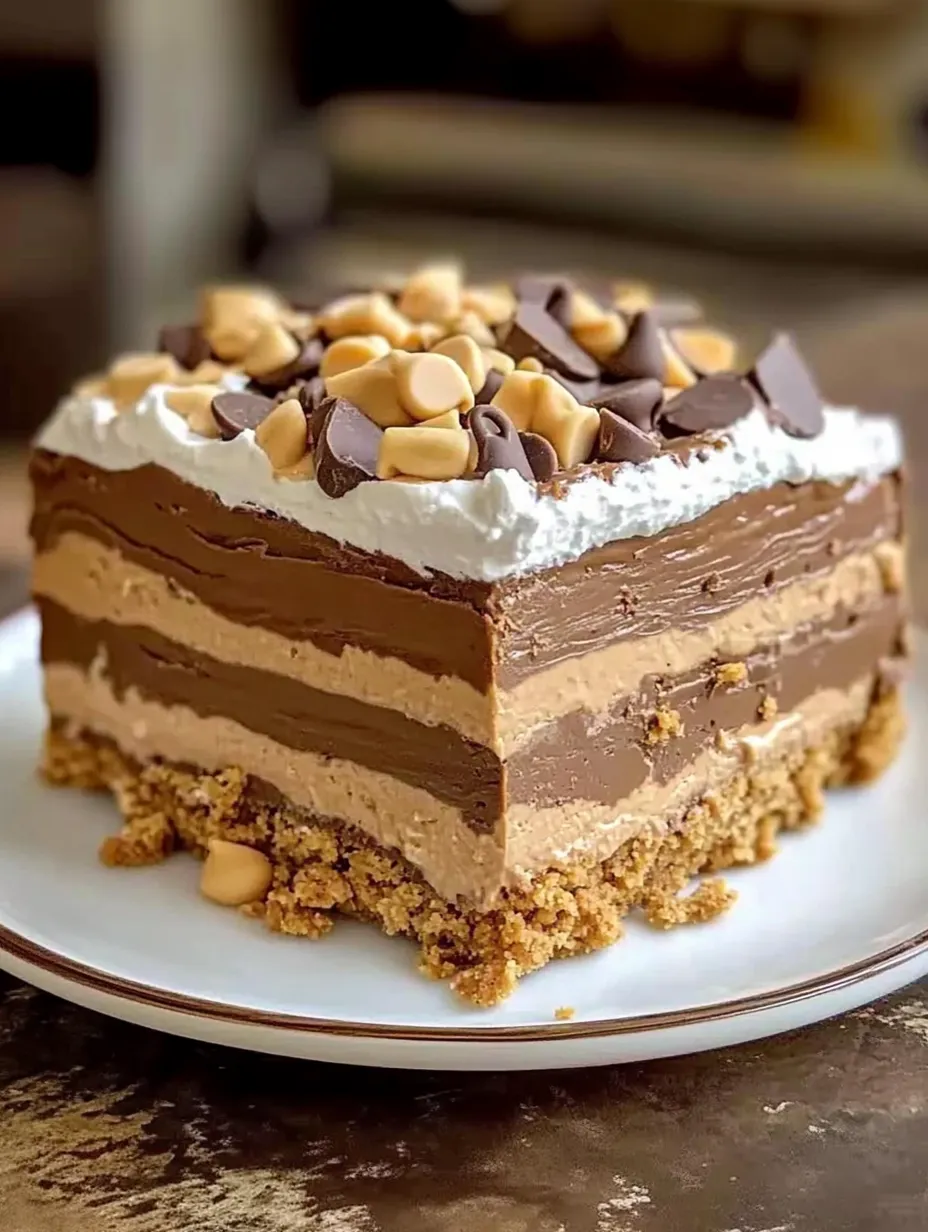
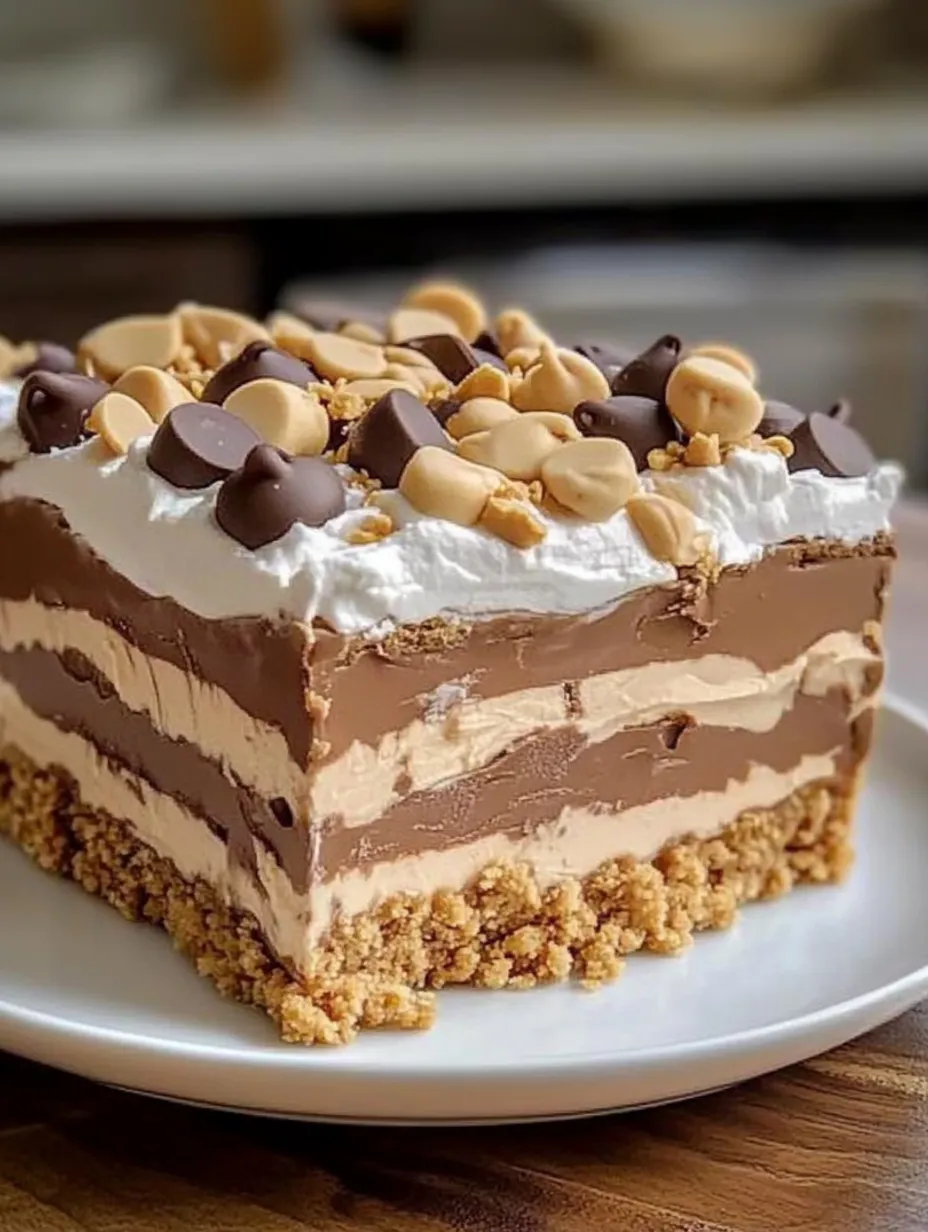
Peanut butter and chocolate just belong together, don't they? These no-bake dream bars make the most of this classic pairing with layers that'll make your mouth water. I've layered a crunchy peanut butter cookie base with velvety chocolate pudding and a cloud-like peanut butter mousse, then finished everything with a scatter of chocolate and peanut butter chips. The mix of textures—from the cookie crunch to that silky-smooth filling—hits all the right notes when you're craving something special. And since there's no baking involved, they're perfect for summer gatherings or anytime you don't feel like heating up the kitchen.
Last weekend I brought these to my daughter's volleyball team celebration. They vanished before anything else on the dessert table! Even those teenagers who tried to act cool about dessert came back sneaking seconds. Something about these layers just works for everyone.
Essential Ingredients
Cookie Base MaterialsThose peanut butter sandwich cookies make all the difference—they already have PB flavor built right in. Stick with Nutter Butters if you can—I've tried store brands and they're just not the same. Make sure your melted butter cools down before mixing or it'll separate from the crumbs.
Chocolate Layer ComponentsUse whole milk for the pudding—I tried 2% once and it wasn't nearly as rich. The instant pudding mix isn't fancy but it works perfectly every time. Don't rush the setting process or you'll end up with pudding bleeding into your other layers.
Peanut Butter MixtureFull-fat cream cheese gives that tang that balances out the sweetness. Skip the natural peanut butter—I learned this lesson the hard way when mine separated in the fridge. Your ingredients really need to be room temperature or you'll be fighting lumps forever. Cool Whip holds up better than fresh whipped cream (which can deflate overnight).
I've experimented with different peanut butters over the years and honestly, the regular commercial stuff like Jif or Skippy works best here. I tried the fancy natural kind from the health food store once, and the oils separated in the fridge overnight. The texture was all wrong. Sometimes the classics are classics for a reason!
Preparation Method
Crust ConstructionThrow those cookies in a ziplock bag (the freezer-weight kind), push out the air, and go to town with a rolling pin until you've got fine crumbs. Or just pulse them in your food processor if you're feeling lazy. Pour your cooled melted butter over the crumbs and mix with a fork until it looks like wet sand. Dump it into your baking dish and press it down firmly—I use the bottom of a measuring cup to get it nice and flat. Pop it in the fridge until it firms up, about 15 minutes.
Pudding PerfectionPour your cold milk in a bowl, add the pudding mix all at once, and start whisking immediately. Keep going for a full two minutes—time yourself if needed—making sure to scrape the bowl. Let it sit for five minutes until it's thick enough that the whisk leaves trails. Spread it over your chilled crust with an offset spatula if you have one (or the back of a spoon works too). Get it all the way to the edges, then back to the fridge it goes.
Creamy Layer CreationBeat just the cream cheese first until there's not a lump in sight. Add your powdered sugar and peanut butter, and keep beating until it lightens up a bit. Now fold in your Cool Whip, but do it gently—I add it in three batches and use a rubber spatula with a light hand to keep all that air in there. Carefully spread this over your pudding layer without mixing them together.
My aunt makes these all the time, and she taught me a game-changing trick: freeze the bars for about 20 minutes after adding the pudding layer. Makes spreading that peanut butter layer SO much easier without messing up your layers.
That peanut butter cream layer is the star in our house. My husband has actually asked for just a bowl of that stuff instead of birthday cake one year. There's something about cream cheese mixed with peanut butter that makes this mousse-like heaven. Sometimes I make extra just so I can sneak spoonfuls from the fridge (don't tell my kids).
Perfect Pairings
These bars are amazing on their own, but try serving them with a scoop of vanilla ice cream—the temperature contrast makes the flavors pop even more. If you're into coffee, a strong espresso or dark roast cuts through the richness perfectly. We sometimes add fresh raspberries or strawberries on the side—that little bit of tartness works magic against all the richness. If you're setting up a dessert table, these bars look great alongside lemon bars and brownies—gives everyone options while keeping a cohesive dessert theme. For fancy occasions, I'll drizzle individual servings with warm caramel sauce and sprinkle on a tiny bit of flaky sea salt. Looks impressive with minimal extra work.
Creative Variations
The basic recipe is fantastic, but sometimes I switch things up. Try white chocolate or butterscotch pudding instead of chocolate—still awesome with the peanut butter. Sometimes I swap the cookie base for graham crackers mixed with a bit of cocoa powder for a different kind of crunch. For something really special, try adding sliced bananas between the pudding and peanut butter layers—it's like an Elvis sandwich in dessert form. My kids love when I spread a thin layer of strawberry jam on top of the chocolate pudding—makes it taste like a PB&J in fancy dessert form. Playing around with these variations keeps things interesting, especially when you make them often or for the same crowd.
Storage Solutions
Refrigerator MethodCover the dish tightly with plastic wrap—I press it right onto the surface to keep condensation from dripping onto the top. They'll keep in the fridge for about 5 days, though the crust softens a bit more each day. They're best eaten within the first 3 days.
Freezer TechniquesAfter they've set up completely, cut into individual pieces. Wrap each one in plastic wrap, then foil, and put them in a freezer container. They'll keep for up to 3 months. Thaw overnight in the fridge before serving.
Serving From StorageTake them out about 10-15 minutes before serving—they taste better when they're not ice cold. If you're setting them out for a party, keep the extras refrigerated until needed, especially if your house is warm.
My grandma taught me to put parchment paper between each bar when freezing—makes it super easy to just pull out one or two pieces at a time without defrosting the whole batch.
Chef's Notes
Temperature Matters: Let that cream cheese sit out for at least an hour to soften naturally—microwaving just creates hot spots and lumps. Layer Protection: Taking time to chill between adding each layer keeps everything neat and distinct—worth the extra waiting. Cutting Technique: Wipe your knife clean after each cut and run it under hot water for those picture-perfect slices that show off all your layers.
I love how these peanut butter dream bars transform simple store-bought ingredients into something that tastes completely homemade. There's something so satisfying about that. They remind me of summer cookouts at my parents' house, where these kinds of layered desserts would be set out next to Mom's homemade pies—always the first things to disappear. Sometimes the best recipes aren't complicated at all—they're just the ones that make everyone smile with every single bite.
Frequently Asked Questions
- → Can I make these bars ahead of time?
- Yes! These bars actually taste better when made a day ahead and refrigerated overnight.
- → How long do these bars stay fresh?
- They'll keep well in the refrigerator for up to 5 days if stored in an airtight container.
- → Can I use crunchy peanut butter instead of creamy?
- Absolutely, though the texture will be slightly different with small peanut pieces throughout the cream layer.
- → Do I need to use brand name cookies?
- Any peanut butter sandwich cookies will work fine, store brands are perfectly acceptable.
- → Can I freeze these dream bars?
- Yes, they freeze well for up to 3 months. Thaw overnight in the refrigerator before serving.