
 Pin it
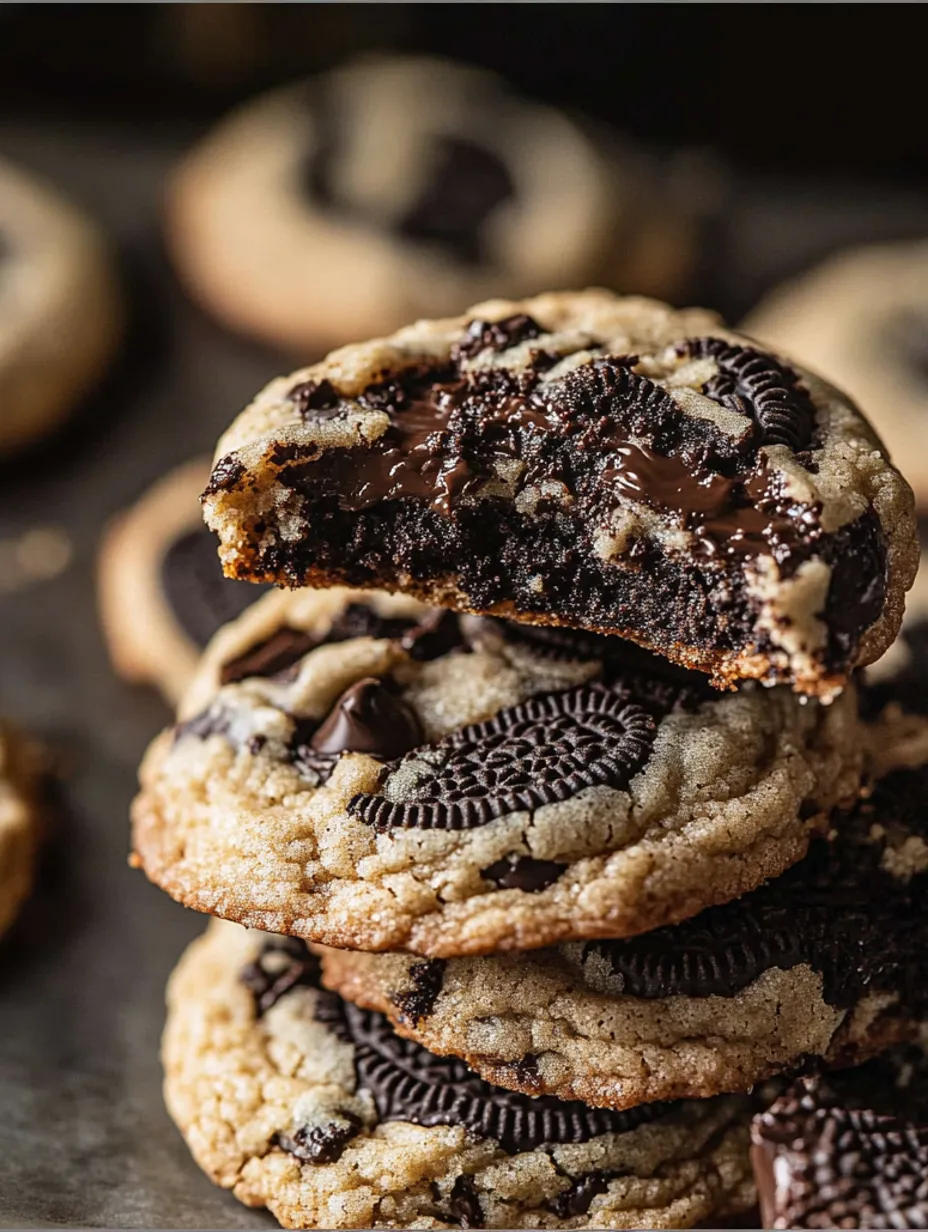
After countless late-night baking sessions trying to perfect these cookies, I finally cracked the code to creating bakery-style Oreo chocolate chip cookies at home. These aren't your ordinary cookies - they're big, bold, and loaded with three different layers of Oreo goodness. The centers stay perfectly gooey while the edges get that irresistible crispy crunch.
After making these for countless bake sales and family gatherings, I've had people literally beg for the recipe. My kids have officially named these "Mom's Famous Cookies," and honestly? That might be my proudest moment.
Essential Ingredients
- Butter - Room temperature is crucial here. I've learned the hard way that cold butter won't cream properly
- Oreos - Regular, not Double Stuf! I tried Double Stuf once and the extra cream threw off the whole texture
- Brown Sugar - I use more brown than white sugar for that perfect chewy texture
- Egg + Yolk - Trust me on the extra yolk. It took me dozens of tests to figure out this ratio
- Chocolate Chips - Spring for the good ones. These cookies deserve it

Getting That Perfect Cookie: Step by Step
- 1.
- First, let's talk about your butter and eggs. Pull them out of the fridge at least 2 hours before you start. I used to try shortcuts with warm water baths or microwaving, but nothing beats the natural process. Room temperature ingredients create that perfect, chewy texture we're after
- 2.
- Now for the Oreo magic. Here's where I got creative - we're using them three ways:
* Fine crumbs blended into the dough (like a secret flavor bomb)
* Bigger chunks mixed through (for those perfect Oreo bites)
* Extra pieces pressed on top (because we eat with our eyes first!) - 3.
- When you're mixing the dough, don't rush the butter and sugar step. Let them get really light and fluffy - I'm talking 3-4 minutes. I usually use this time to prep my Oreo crumbs
The Secret to Success
* That chilling time isn't optional! I know it's torture waiting, but trust me
* While your first batch bakes, keep the rest of the dough balls in the fridge
* Don't overbake - they should look slightly underdone in the center
My Biggest Discoveries
After making these hundreds of times, I've learned:
* Weighing each cookie (3.5 oz) gives you that perfect bakery look
* Pulsing some Oreos fine and leaving others chunky creates the best texture
* The dough might seem dry at first - resist adding extra liquid!
The Cookie Baker's Secrets
After countless batches (and many taste-testers), here are my favorite variations and tips:
Perfect Pairings and Variations
* Try using mint Oreos during the holidays - they're incredible
* Golden Oreos create a totally different but equally amazing cookie
* Sometimes I add a handful of white chocolate chips for extra indulgence
Storage Secrets
Let me tell you about the time I tried to store these in plastic bags - big mistake! Here's what actually works:
* Keep them in an airtight container at room temperature
* Layer them with parchment paper to prevent sticking
* They'll stay soft for 3-4 days (if they last that long!)
Troubleshooting Tips
Even experienced bakers hit snags sometimes. Here's how to fix common issues:
* Cookies spreading too much? Your dough wasn't cold enough
* Too cakey? You might have overbeaten the eggs
* Not enough Oreo flavor? Make sure you're using enough of the fine crumbs
Make-Ahead Magic
For fresh-baked cookies anytime:
* Scoop dough balls after the initial chill
* Freeze them solid on a baking sheet
* Transfer to a freezer bag - they'll keep for up to 3 months
* Bake straight from frozen, just add 1-2 minutes to the time
Temperature Tricks
* That 2-hour room temperature rule for butter is crucial. Too soft (melty) butter makes flat cookies, too cold won't cream properly. It should dent slightly when you press it
* While your butter's coming to temp, crack your eggs into a small bowl. Cold eggs can make your creamed butter seize up
* I've found my kitchen temperature affects baking time - in summer, I often need to chill the dough an extra 15 minutes
Rolling and Scooping Secrets
* For that perfect 3.5 oz scoop, I've discovered a neat trick: use your cookie scoop twice, press them together, and roll
* Slightly wet hands prevent the dough from sticking when you're rolling
* Don't flatten the dough balls - they'll spread perfectly on their own
Oreo Insights
* For the fine crumbs, 12 Oreos pulsed for about 30 seconds is perfect
* For chunks, pulse another 8 Oreos just 3-4 times - you want visible pieces
* Save about 6 Oreos for topping the cookies while they're hot
Baking Perfection
* Position your oven rack in the middle - too high or low affects browning
* Six cookies per sheet is ideal - they need room to spread
* They're done when the edges are set but the middle looks slightly underbaked
Final Thoughts
These cookies have become my signature bring-along for every gathering. There's something so satisfying about watching people's faces light up when they bite into that perfect combination of cookie and Oreo. My neighbor's kid actually asked for these instead of a birthday cake last year!
Remember, the beauty of these cookies isn't just in how they taste - it's in the memories you make while baking them. Don't stress if they're not perfectly uniform; each batch has its own personality, and that's what makes them special.