
 Pin it
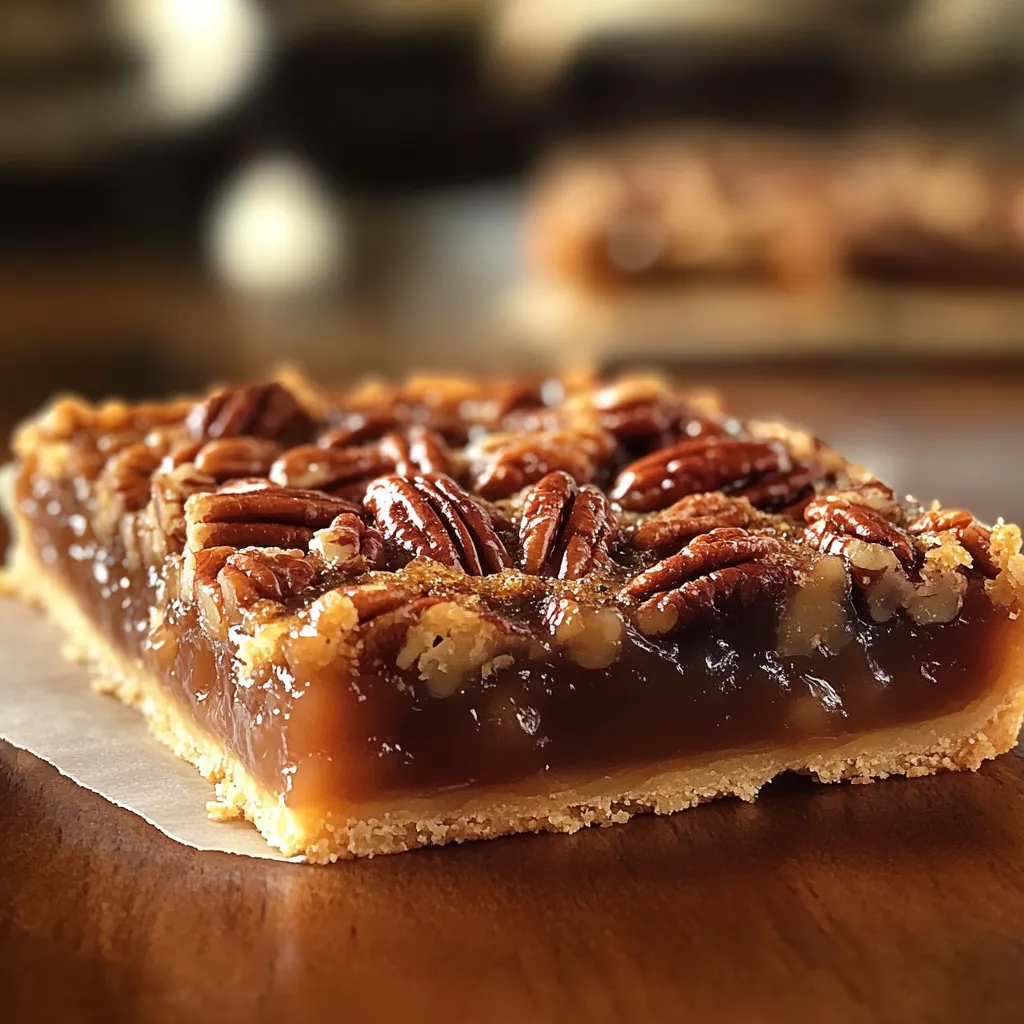
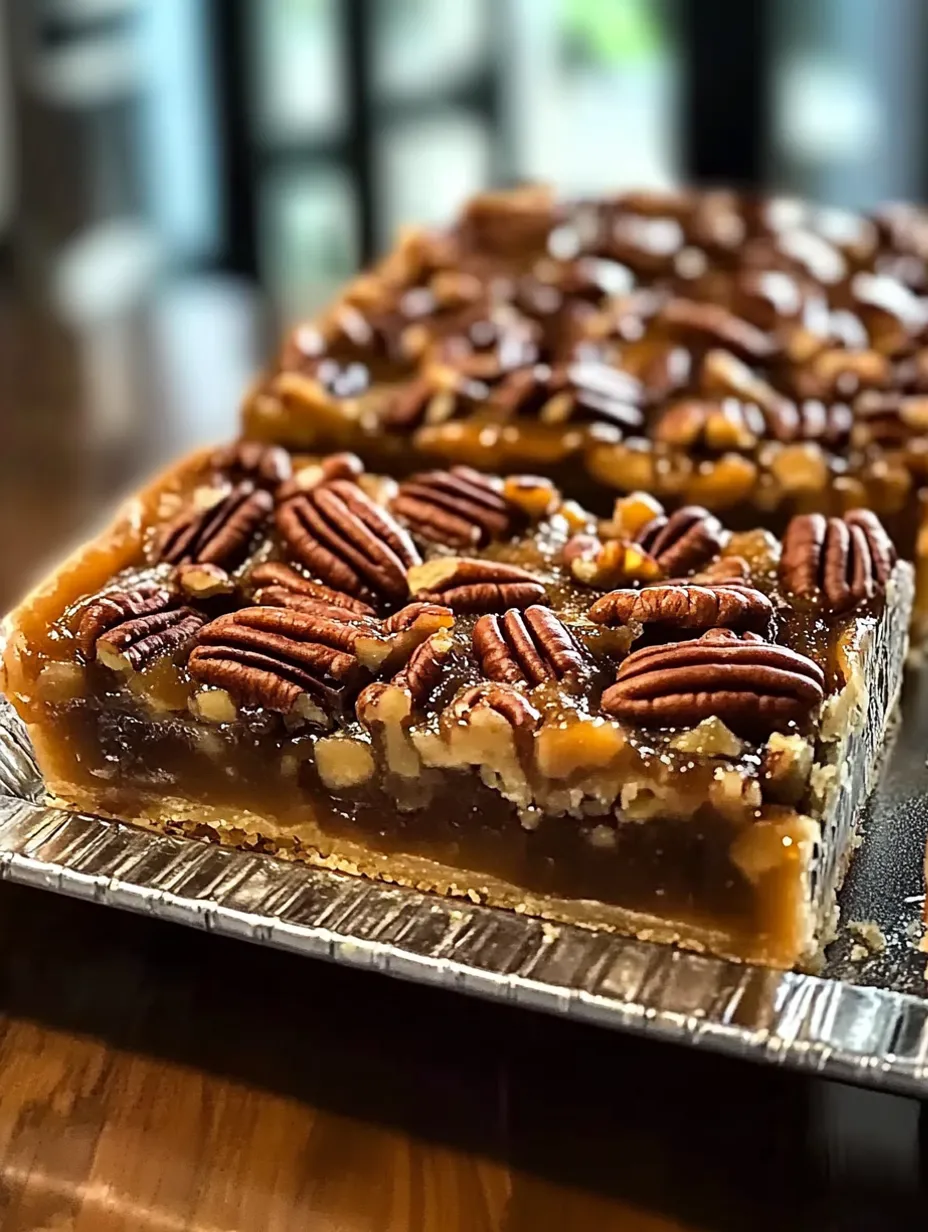
Last weekend, I pulled these pecan bars from the oven and instantly got transported back to my gran's kitchen. That rich, buttery aroma of toasted pecans mixed with caramel never fails to make my mouth water. After years of wrestling with traditional pecan pie, I finally cracked the code with these bars. Trust me, they're a game-changer for busy bakers who still want that made-from-scratch taste.
My first attempt at these was actually a happy accident. I'd promised to bring dessert to my sister's dinner party but ran out of time to make individual pies. These bars saved the day, and now my family actually prefers them to the original!
Ingredients That Matter
- Refrigerated pie crusts: The kind that feels almost like homemade
- Light corn syrup: Yes, it really needs to be light
- Dark brown sugar: This is where the magic happens
- Real butter, unsalted: Margarine just won't cut it
- Fresh eggs: They're the key to that perfect gooey texture
- Pure vanilla extract: The real stuff, please
- Pecan halves: Splurge on the good ones

Let's Make Magic
- Base Creation:
- Roll out those crusts like you're smoothing silk
- Sweet Beginnings:
- Mix your filling until it shines like honey
- Pecan Dreams:
- Coat those beautiful nuts in liquid gold
- Perfect Pour:
- Watch the filling cascade over the crust
- Golden Glory:
- Wait for that perfect moment of doneness
The Heart of Perfect Texture
You wouldn't believe how many batches it took me to get the filling just right. After countless tries (and a few memorable failures), I finally nailed that perfect balance - gooey but not runny, rich but not overwhelming. The secret? Letting the melted butter cool just enough before mixing it in. I usually measure out all my other ingredients while I wait those crucial five minutes.
Remember my first thanksgiving hosting? I tried rushing these bars and ended up with a gooey mess. Now I know better - let them cool completely, even if the aroma is driving you crazy.
Kitchen Tales and Tips
Here's something my mother-in-law taught me - placing the pan on a wire rack near an open window creates the perfect cooling situation. Just make sure your neighbors aren't around, or they might come knocking! Speaking of neighbors, Jane from next door swears by adding a splash of bourbon to her batch. I tried it last Christmas, and let's just say the adults at the party were particularly happy.
Making It Your Own
Sometimes I toss in some dark chocolate chips when I'm feeling fancy. Other times, a sprinkle of sea salt on top takes these bars from delicious to absolutely irresistible. Last week, I added some orange zest to the filling, and my husband declared it the best version yet.
The Simple Art of Serving
I love setting these out on my grandmother's old silver platter for special occasions. For casual get-togethers, I arrange them on a wooden board with some fresh mint from my garden. Honestly, though? They're just as perfect grabbed straight from the container late at night (not that I've done that... often).
Keeping Your Creation Fresh
Store these beauties in a container with a tight lid. Layer them between parchment paper if you're stacking - though in my house, they rarely last long enough to need storing! They'll keep at room temperature for a few days, but good luck having them around that long.
The best part about these bars? They're forgiving. Even when I've forgotten the vanilla or slightly overbaked them, they still disappear at every potluck. My daughter says they're "better than the bakery," which might be the highest compliment a mom can get.
Common Questions I Get Asked
- "Help! My filling separated!"
- Usually means your eggs were too cold or butter too hot. Been there, done that.
- "Can I use maple syrup instead?"
- You can, but expect a different flavor. My Canadian friends swear by it though.
- "Why did my crust get soggy?"
- Try a quick pre-bake next time. Ten minutes usually does the trick.
Every time I make these bars, I think about how recipes like this connect us. They're more than just ingredients and instructions - they're memories waiting to happen. Whether you're baking them for a special occasion or just because it's Tuesday, I hope they bring as much joy to your kitchen as they have to mine.
Remember, baking should be fun. If something goes wrong, there's always next time. And trust me, with these pecan bars, there will definitely be a next time.
From my kitchen to yours, happy baking!