
 Pin it
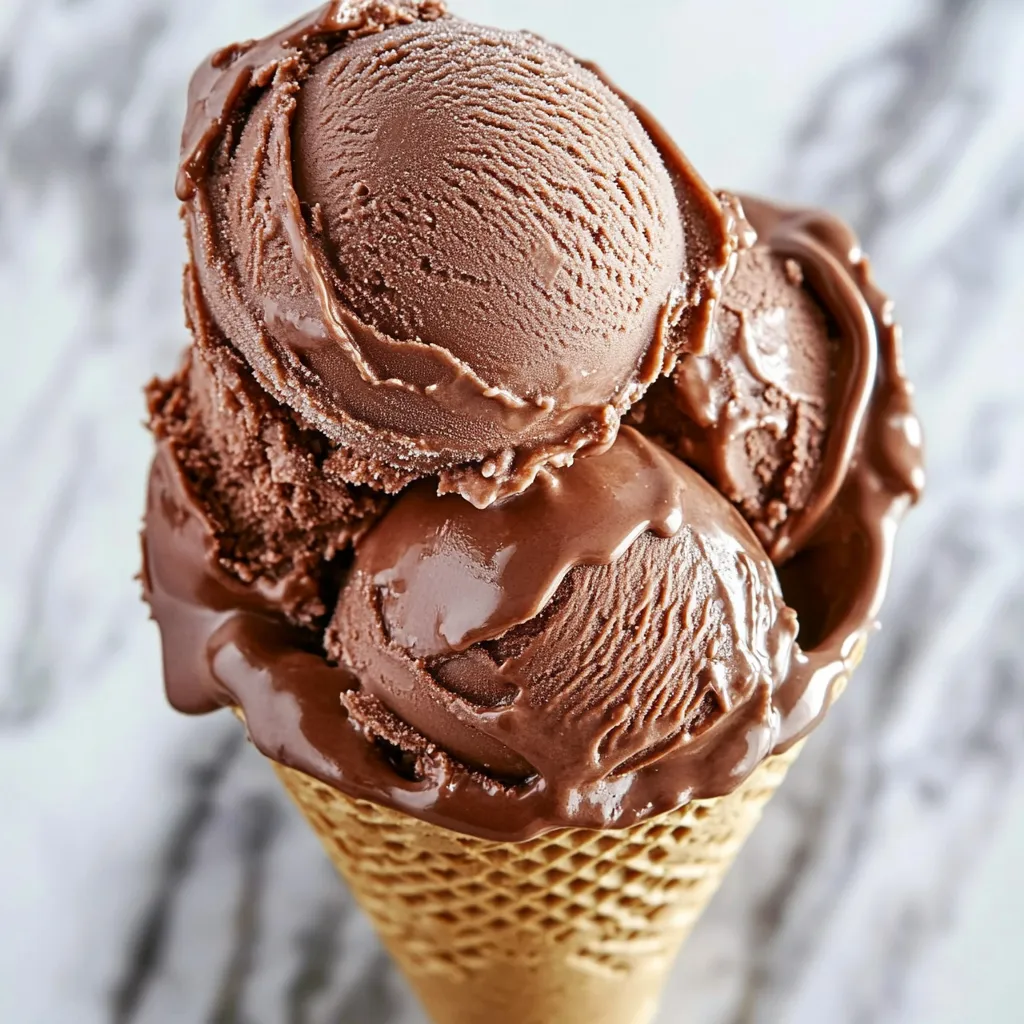
After a summer of watching my kids devour store-bought ice cream loaded with ingredients I couldn't pronounce, I finally took matters into my own hands and created this Greek yogurt chocolate ice cream that's become our family's new obsession. What started as a healthier alternative has turned into the dessert my children actually request over traditional ice cream, and I couldn't be happier about sneaking extra protein into their favorite treat.
Last month, I brought this to my daughter's soccer team party as an experiment, and the kids demolished it before the store-bought options. The best compliment came from my neighbor's son who asked if I'd make it for his birthday party instead of a traditional cake.
Essential Ingredients Guide
- Full-fat Greek yogurt creates that luxurious creaminess that's essential for good ice cream - I learned this the hard way after my first attempt with non-fat yogurt resulted in icy crystals throughout
- Quality cocoa powder makes a world of difference - after testing both natural and Dutch-process versions, I've found that Dutch-process gives a deeper, more intense chocolate flavor
- Pure maple syrup provides just the right sweetness while complementing the slight tanginess of the yogurt - I've experimented with honey and sugar, but always come back to maple syrup
- That tiny pinch of sea salt might seem insignificant, but it's actually crucial for enhancing the chocolate flavor - I accidentally left it out once and immediately noticed the difference
Creating Your Perfect Ice Cream
Proper BlendingStart by making sure all ingredients are cold before blending - I've found that room temperature ingredients lead to a softer mixture that takes longer to freeze properly. A high-powered blender ensures the cocoa powder incorporates completely without any dry pockets.
Churning MethodWhether using an ice cream maker or the manual freezer method, patience is key - my first few batches were rushed, and the texture suffered. With an ice cream maker, I've learned to churn until the mixture pulls away from the sides, which gives the perfect soft-serve consistency.
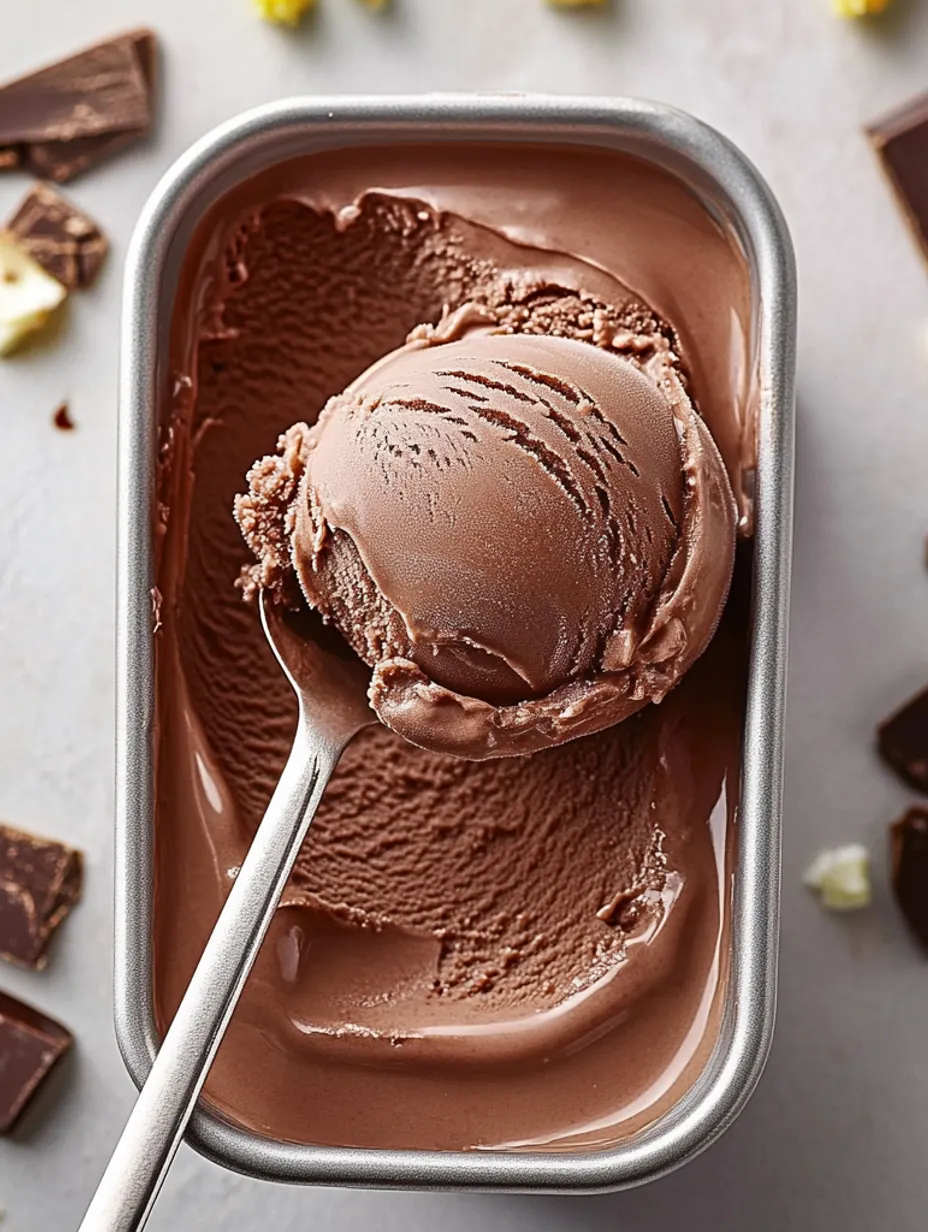
Freezing TechniqueProperly storing your ice cream can make or break the texture - after countless batches, I've discovered that pressing plastic wrap directly onto the surface before freezing prevents those dreaded ice crystals from forming.
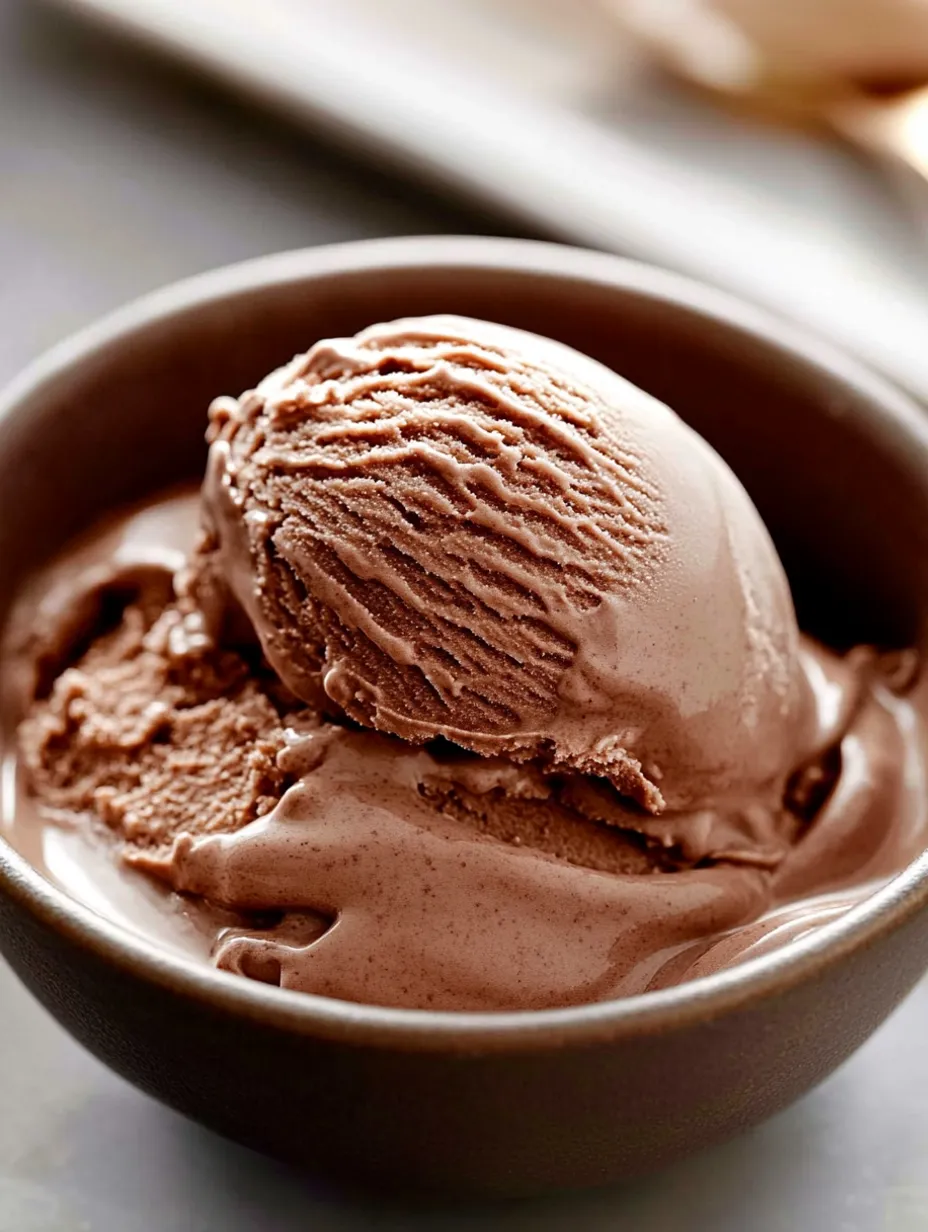
Serving SuccessAlways allow the ice cream to sit at room temperature for 10-15 minutes before serving - this homemade version freezes harder than store-bought due to its lower fat content, but that brief thawing period results in perfectly scoopable, creamy dessert.
This recipe saved me during last summer's heatwave when I wanted something cold and refreshing without the sugar crash that follows traditional ice cream.
Serving Suggestions
For everyday dessert, I serve this with fresh berries for a perfect combination of creamy and fruity. During the holidays, I drizzle it with a little warm peanut butter for a decadent treat. When entertaining, I set out small bowls of chopped nuts, mini chocolate chips, and coconut flakes for a DIY topping bar.
Creative Variations
Sometimes I add a tablespoon of instant espresso powder to create a mocha version that's perfect for coffee lovers. During fall, a sprinkle of cinnamon and nutmeg transforms it into a seasonal treat. For my chocolate-obsessed friends, folding in chopped dark chocolate pieces just before freezing adds wonderful texture.
Storage Solutions
Store this ice cream in the back of your freezer where temperatures remain more consistent. For best texture, consume within two weeks - though in my house, it rarely lasts more than a few days. Individual portions in small containers mean everyone can enjoy their own stash without fighting over the last scoop.
Kitchen Wisdom
- Your blending container should be chilled before you start for the best results
- Over-churning can actually make the texture less creamy, so watch carefully
- If the ice cream develops ice crystals after storage, a quick whip in the blender can restore its creaminess
What began as a healthier alternative to store-bought ice cream has become a beloved staple in our family's dessert rotation. There's something deeply satisfying about creating a treat that not only tastes indulgent but also provides nutritional benefits. Whether you're seeking a better-for-you dessert or simply love the rich, tangy-sweet flavor profile, this Greek yogurt chocolate ice cream delivers on all fronts.
Frequently Asked Questions
- → Do I need an ice cream maker for this recipe?
- While an ice cream maker creates the best texture, you can make this without one. Pour the mixture into a shallow container and freeze, stirring vigorously every 30 minutes for 2-3 hours to break up ice crystals.
- → Can I use regular yogurt instead of Greek yogurt?
- Greek yogurt is recommended for its thick, creamy texture and higher protein content. Regular yogurt contains more water, which may create icier results. If using regular yogurt, strain it through cheesecloth for a few hours first.
- → What can I use instead of maple syrup?
- Honey is a great substitute (use about 1/2 cup since it's sweeter). Agave nectar works well too. For a sugar-free version, try monk fruit sweetener or stevia, though you may need to adjust quantities and add a bit more liquid.
- → Why is my ice cream too icy/not creamy enough?
- This can happen if the fat content is too low. Try using full-fat Greek yogurt, or add 2-3 tablespoons of coconut oil to the mixture before churning. Also, make sure not to over-freeze – homemade frozen yogurt is best consumed within 24-48 hours.
- → Can I add mix-ins like chocolate chips or fruit?
- Absolutely! Add mix-ins during the last few minutes of churning, or gently fold them in after churning is complete. About 1/2 cup of add-ins works well for this recipe size.