
 Pin it
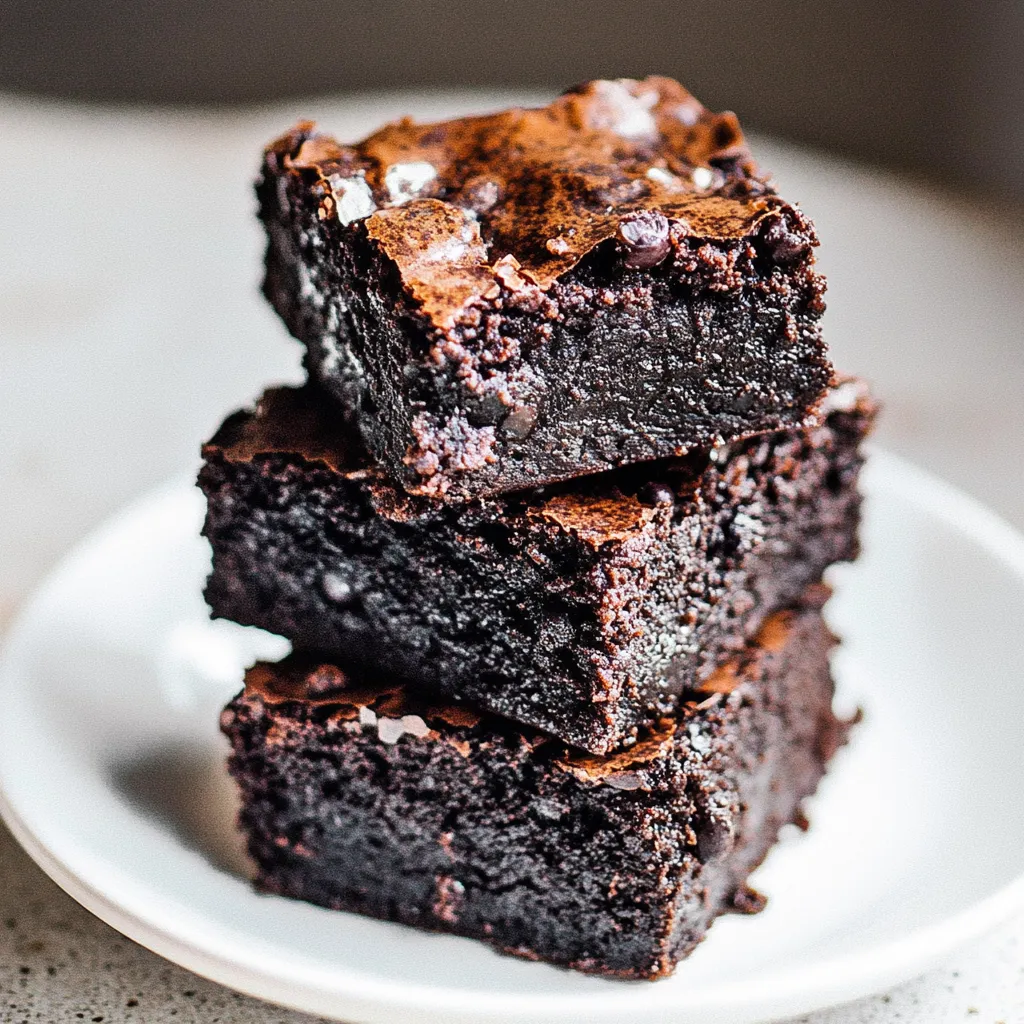
I've discovered that transforming black beans into brownies isn't just a baking trick - it's pure kitchen magic that happened in my home after countless late-night experiments and chocolate-stained recipe notes. These impossibly fudgy squares have fooled every dessert snob at my dinner parties, leaving them shocked when I finally spill the secret behind that perfect chewy texture and deep chocolate flavor that lingers on your tongue.
Kitchen Essentials
Black beans need a thorough rinse until the water runs completely clear - I learned this the hard way after one batch tasted slightly tinny because I rushed this step.
Large eggs should sit on your counter for about 30 minutes before baking - cold eggs made my first few attempts turn out too dense until my neighbor, a retired pastry chef, shared this simple tip.
My pantry always stocks Dutch-process cocoa powder specifically for these brownies because it gives them that deep, almost mysterious chocolate flavor that keeps everyone guessing.
The neutral oil matters less than you'd think - I've used everything from my fancy olive oil to basic vegetable oil when I'm running low, and they're always delicious.
Perfect Brownie Creation
- First Bowl Magic:
- Dump those well-rinsed beans into your food processor and let it run until they're silky smooth - I mean really smooth. Trust me, I once rushed this step and had to explain why someone found a whole bean in their brownie at my book club meeting. Been extra thorough ever since that memorable night.
- Wet Ingredient Symphony:
- Once your beans look like smooth chocolate pudding, crack in those room-temperature eggs and pour in your oil. A splash of vanilla comes next - sometimes I add an extra splash when nobody's looking. My grandmother taught me that extra vanilla never hurt any dessert, and she's been baking since before I was born.
- Dry Ingredient Dance:
- In your second bowl, mix that gorgeous dark cocoa powder with sugar until it looks like black sand. I used to skip sifting until my friend Maria, who runs a small bakery downtown, showed me how much difference it makes. Now I won't make them any other way.
- Final Assembly:
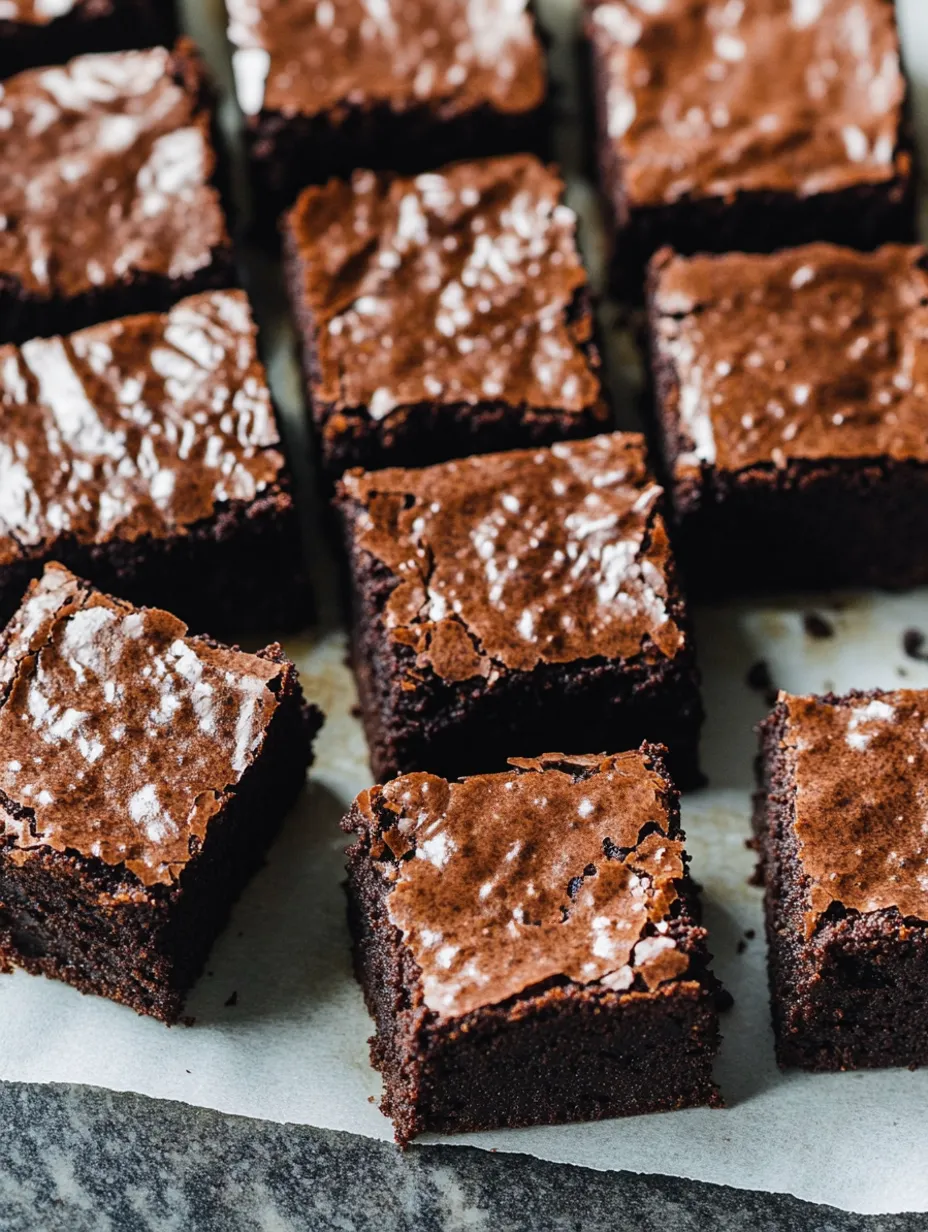
- Pour everything together and watch it transform into this glossy, dark batter that reminds me of melted chocolate. Sometimes I steal a tiny taste - for quality control purposes, obviously. Fold in those chocolate chips like you're handling precious gems.
- Pan Preparation:
- Line your pan with parchment, letting it hang over the sides a bit. This trick saved my brownies countless times when I used to struggle with sticking. The extra paper works like handles for lifting out the whole batch.
Creative Serving Ideas
Sometimes I warm a square slightly and top it with a scoop of vanilla bean ice cream, watching it slowly melt into all the fudgy crevices. For fancy dinner parties, I've served them on my grandmother's antique dessert plates with fresh raspberries and a light dusting of cocoa powder.
Making Them Your Own
My daughter loves when I swirl peanut butter on top before baking, creating marble patterns that make each piece unique. During Christmas, I sprinkle crushed candy canes on top - they melt into a beautiful pink swirl that looks absolutely magical against the dark chocolate.
Keeping Them Fresh
Store these beauties in an airtight container - I use my special glass container with the red lid that's become known as the "brownie box" in our house. They'll stay perfectly fudgy for a week in the fridge, though they rarely last that long in my household.
Chef's Secrets
Pull them from the oven when the center still looks slightly underdone - they'll continue cooking as they cool. I learned this through many batches of trial and error.
Let them cool completely before cutting - I know it's torture, but your patience will be rewarded with perfect squares.
Process those beans until you think they're done, then go another minute. My mother-in-law's keen eye once spotted tiny bean specks, and I never heard the end of it.
After years of tweaking this recipe in my kitchen, watching countless faces light up with that first bite, and collecting empty plates at family gatherings, I can honestly say these brownies have changed how I think about healthy baking. They've become more than just a recipe - they're part of our family's story, bringing together skeptics and food lovers alike over squares of chocolatey joy.
Frequently Asked Questions
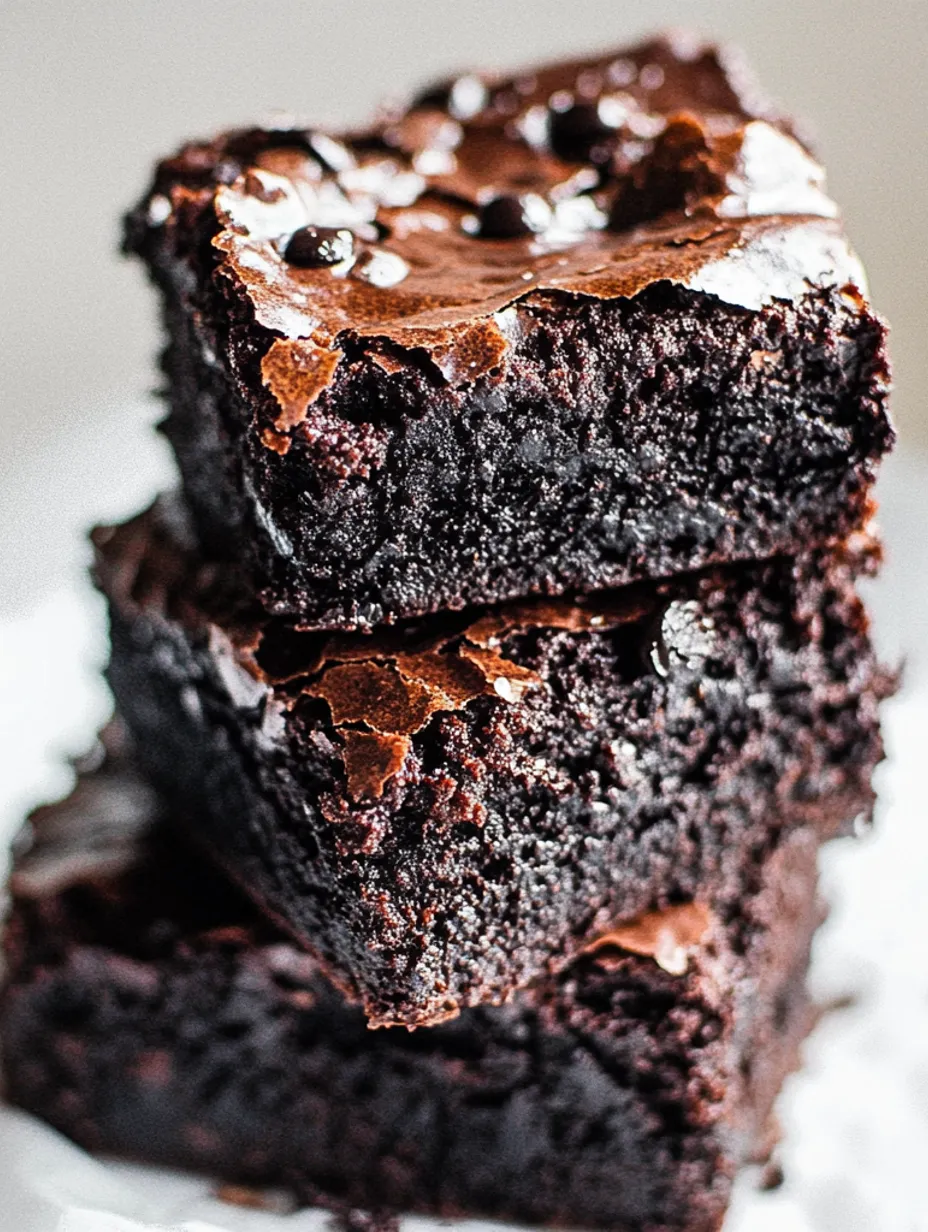
- → Can you taste the black beans?
- No, when properly pureed and mixed with chocolate, you can't detect the beans at all.
- → Why use black beans in brownies?
- Black beans replace flour, making these brownies gluten-free while adding protein and fiber.
- → How should I store these brownies?
- Keep them in the refrigerator for up to 7 days or freeze for up to 3 months.
- → Can I make them gooier or firmer?
- Yes, bake less time for gooier brownies or longer for firmer ones. Check center jiggle to determine doneness.
- → Can I double the recipe?
- Yes, double all ingredients and add 15-20 minutes to baking time for thicker brownies.