 Pin it
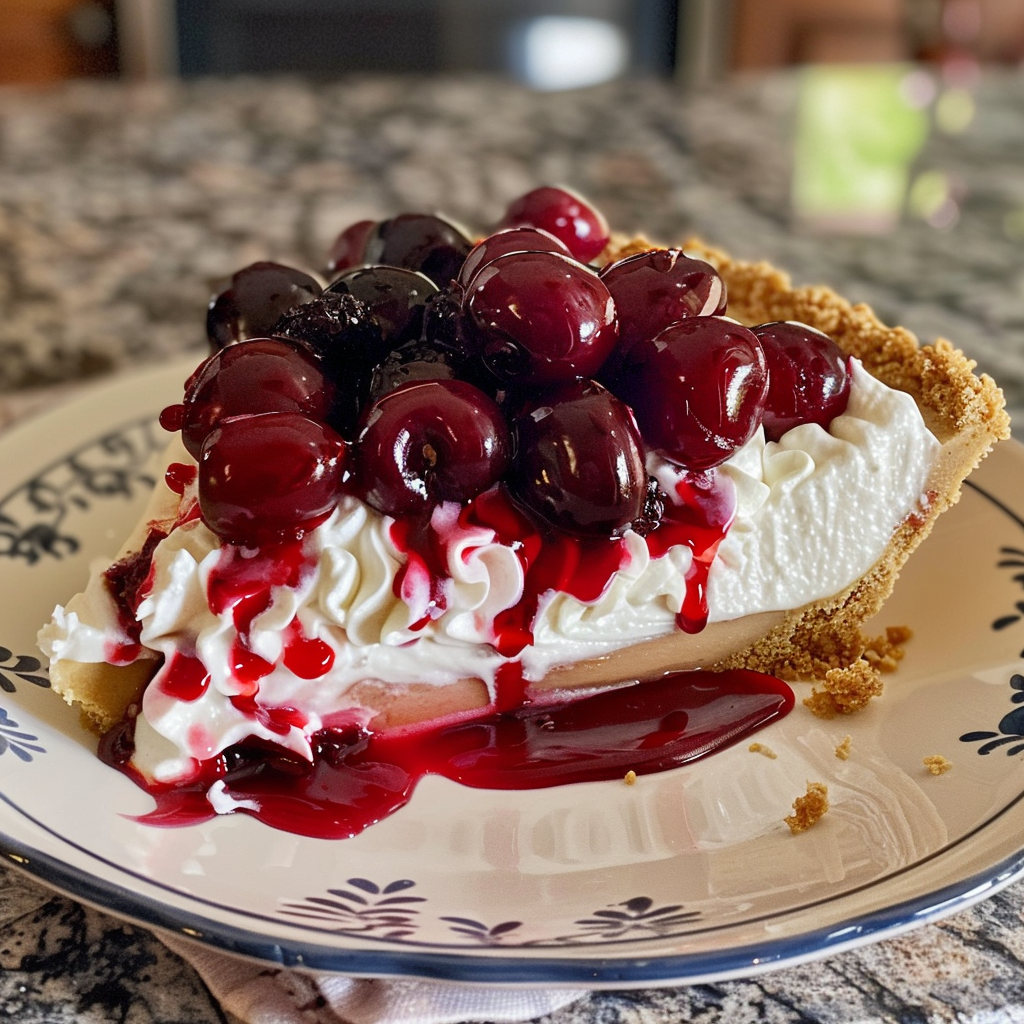
If you want dessert magic but cannot bear to preheat the oven this no-bake cherry cheesecake will win you over every single time. Silky smooth cheesecake filling nestled in a crisp graham cracker base finished with a glossy blanket of cherry pie filling. One bite and you will see why this dreamy showstopper is my go-to whenever friends or family crave something sweet yet fuss free.
I first made this on a summer day when even my sweet tooth could not convince me to heat up the house. Now it is my signature potluck dish and not a crumb ever returns home with me.
Ingredients
- Prepared graham cracker crust: gives a buttery crunch that holds up beautifully and is perfect for saving time. Choose a quality crust without artificial flavorings for the best flavor
- Cream cheese softened: lends that classic tangy decadence. Room temperature cream cheese will mix smoothly for a lump free texture
- Granulated sugar: sweetens the filling just enough. Look for fine cane sugar for easy blending
- Whipped topping defrosted: creates a fluffy and light richness. Use one with few additives for the purest taste
- Cherry pie filling: brings sweet tart fruitiness and vibrant color. Look for whole plump cherries in a bright glossy syrup for visual appeal and the best natural cherry flavor
Step-by-Step Instructions
- Prepare the Filling:
- Beat the fully softened cream cheese and granulated sugar together using a hand mixer or sturdy whisk until the mixture is silky smooth and free from any lumps. Take your time with this step as it sets the foundation for a creamy and light cheesecake base
- Fold in the Whipped Topping:
- Add the defrosted whipped topping to the cream cheese mixture and gently fold it in using a rubber spatula with broad sweeping motions. This keeps the filling airy and prevents it from collapsing
- Fill the Crust:
- Spoon the cheesecake filling into the prepared graham cracker crust. Use an offset spatula or the back of a spoon to smooth the top evenly and work the mixture all the way to the edges for uniform slices later
- Add the Cherry Topping:
- Evenly spread the cherry pie filling over the cheesecake layer making sure to go right to the edge. Spread carefully so the cheesecake underneath does not get disturbed
- Chill Until Set:
- Place the cheesecake in the refrigerator and let it chill for at least two hours or overnight. This time is non negotiable if you want slices that hold their shape and the flavors to develop fully

My favorite part is sneaking a taste of the creamy filling before I add the cherry topping. Reminds me of summers spent with my grandma her signature treat always featured that pop of fruit and cloud like filling. There is something truly special about no bake desserts shared with family
Storage Tips
This cheesecake keeps perfectly in the fridge covered tightly with plastic wrap or in an airtight container for up to four days. For neatest slices chill the whole cake overnight and slice with a sharp knife that you wipe clean between each cut
Ingredient Substitutions
If you prefer a different flavor try blueberry or strawberry pie filling instead of cherry. For a richer and slightly tangier filling swap half the cream cheese for mascarpone. If you want a homemade graham base simply pulse graham crackers with a bit of melted butter and press firmly into your pie plate
Serving Suggestions
This cheesecake truly shines cold straight from the fridge. For a little something extra top with a cloud of extra whipped cream a sprinkle of toasted almonds or even a few fresh cherries for color and freshness. It pairs perfectly with coffee or a tall glass of iced tea
Cultural and Historical Context
No bake cheesecakes became popular during the mid century era when quick easy entertaining was all the rage. Today they are still beloved for their fuss free methods and endless possibilities for creativity. I love sharing this dessert at family gatherings just like past generations did
Frequently Asked Questions
- How can I prevent lumps in the filling?
Begin with fully softened cream cheese and beat well with sugar until absolutely smooth before folding in the whipped topping.
- What is the best way to achieve clean slices?
Allow the dessert to chill for at least 2 hours or overnight until firm, then slice with a sharp, warm knife for tidy portions.
- Can I use other pie fillings instead of cherry?
Absolutely! Blueberry, strawberry, or even lemon pie fillings work beautifully and add unique flavors.
- Is fresh whipped cream a substitute for whipped topping?
Yes, lightly sweetened, freshly whipped cream gives a lovely homemade touch and airy texture.
- How do I add extra flair before serving?
Try a sprinkle of lemon zest, toasted nuts, or chocolate shavings for elegant color, crunch, or richness.