 Pin it
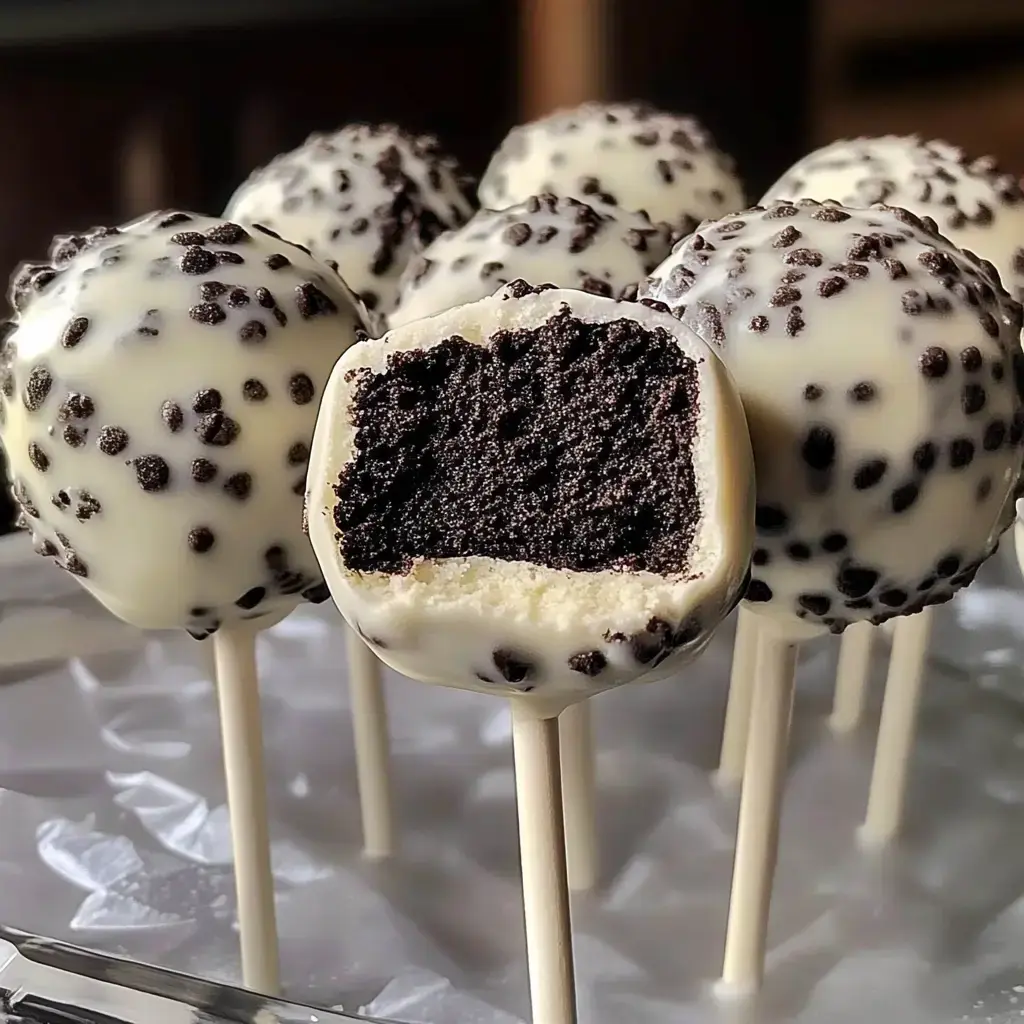
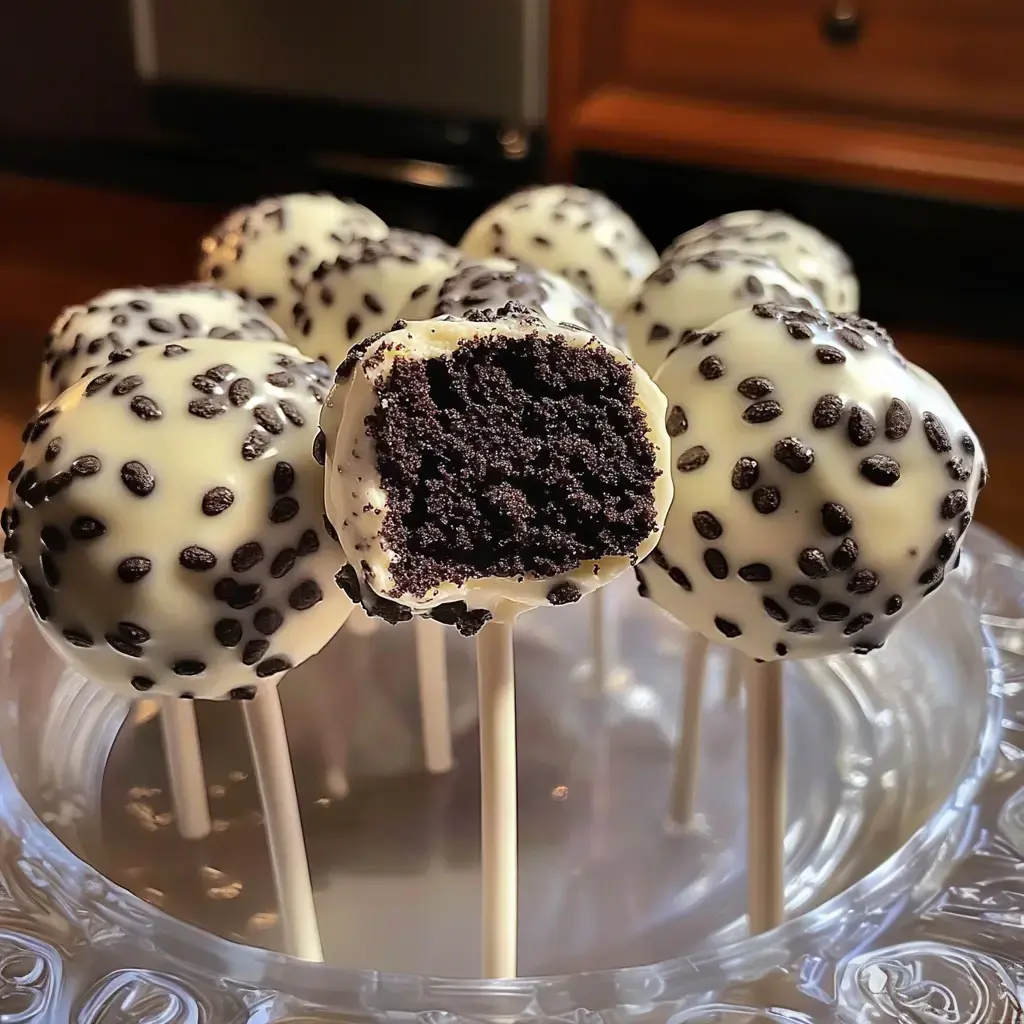
Oreo Cookies & Cream Cake Pops are an easy and fun no-bake dessert that combines the delicious flavors of crushed Oreos with cream cheese, all dipped in melted white chocolate. These cake pops are perfect for parties, special occasions, or as a sweet treat anytime. The combination of the creamy Oreo filling and the crunchy white chocolate coating creates a dessert that everyone will love. Plus, they're easy to make and customizable with different toppings or drizzles of chocolate.
Delightful No-Bake Treat
These cake pops are a delightful and effortless dessert that combines classic Oreo flavors with cream cheese, wrapped in a smooth white chocolate coating. Ideal for parties, holidays, or sharing with loved ones, they offer a perfect balance of creamy and crunchy textures. Quick to prepare, they're a go-to treat for any celebration.
Ingredients for Perfection
- Oreos, crushed: 15.25 oz, finely crushed for the cake pop base.
- Cream cheese, softened: 8 oz, at room temperature to bind the mixture.
- White chocolate chips, melted: 12 oz, for coating the cake pops smoothly.
- Crushed Oreos: 1/2 cup, reserved for rolling or sprinkling the cake pops.
- Cake pop sticks: Necessary for shaping and holding the cake pops.
Step-by-Step Instructions
- Prepare the Oreos
- Using a food processor, finely crush the Oreo cookies. Set aside 1/2 cup of crushed Oreos for later.
- Mix the Dough
- Combine the remaining crushed Oreos with softened cream cheese in a mixing bowl until a dough-like consistency forms.
- Shape the Cake Pops
- Roll the mixture into 1-inch balls and place on a lined tray. Insert a cake pop stick into each ball.
- Freeze
- Place the cake pops in the freezer for 30 minutes to set firmly.
- Melt the Chocolate
- Melt white chocolate chips in the microwave, stirring every 20 seconds until smooth.
- Coat and Decorate
- Dip each cake pop into the melted white chocolate, allowing excess to drip off. Roll or sprinkle with reserved crushed Oreos before the chocolate hardens.
- Set and Serve
- Allow the cake pops to set completely before serving.
Serving and Storage Tips
Store the cake pops in an airtight container in the refrigerator for up to 5 days. For a festive presentation, arrange them in a decorative stand or stick them into a piece of styrofoam covered in colorful wrapping paper.
Expert Tips for Success
For a smooth and creamy coating, Chef Ina Garten recommends using high-quality white chocolate. To add texture and flavor, Chef Duff Goldman suggests rolling the cake pops in crushed nuts or sprinkles. Ensure the cake pops are cold and firm before dipping in chocolate to prevent them from breaking apart.
 Pin it
Creative Presentation Ideas
Add a drizzle of melted milk or dark chocolate over the white chocolate coating for a decorative finish. Customize the cake pops with festive sprinkles, colored sugar, or edible glitter to match your occasion.
Frequently Asked Questions
- → Why are my cake pops falling off the sticks?
Make sure mixture is well-chilled before dipping and tap off excess chocolate gently. Dip sticks in melted chocolate before inserting into balls.
- → Can I use milk chocolate instead?
Yes, any melting chocolate works. White chocolate provides the classic cookies and cream look but dark or milk chocolate taste great too.
- → How should I store these?
Store in an airtight container in the fridge for up to a week. Can also freeze for up to 3 months.
- → Why is my chocolate seizing?
Make sure no water gets into the chocolate and melt slowly in 20-second intervals, stirring between each.
- → Can I make these ahead?
Yes, make up to 3 days ahead and store in refrigerator. Let sit at room temperature briefly before serving.
