
 Pin it
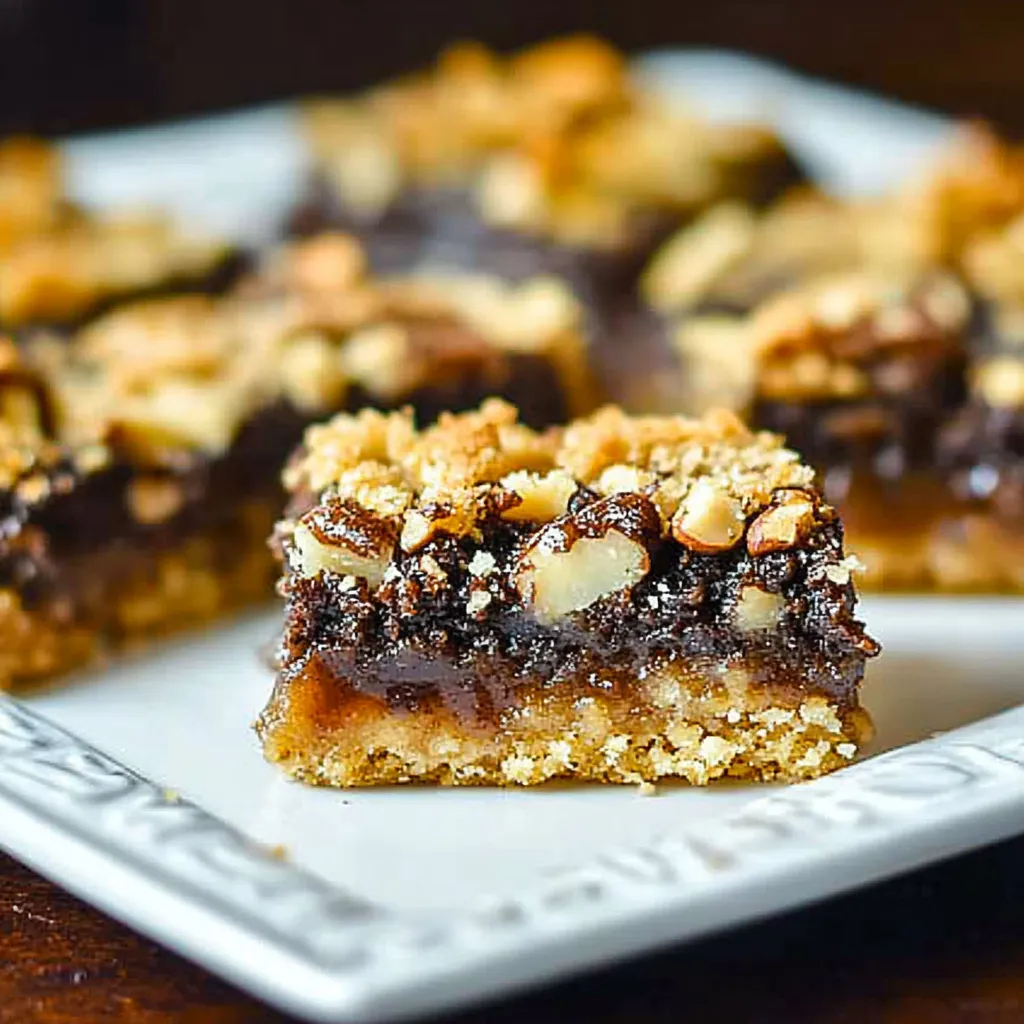
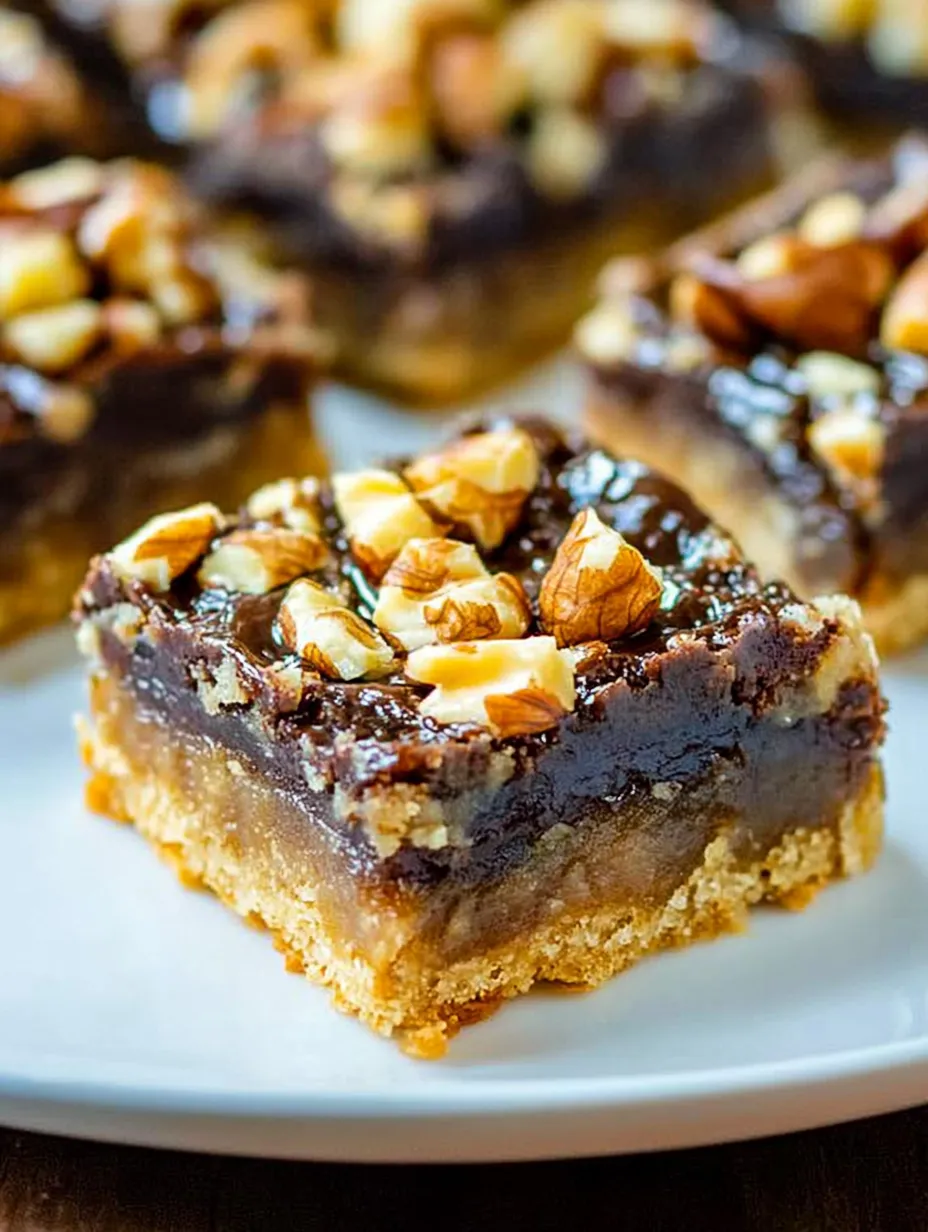
This classic Canadian-inspired dessert transforms the beloved butter tart into an easy-to-make bar format, packed with crunchy walnuts and rich chocolate chips. The combination of the buttery shortbread base and the gooey, caramelized top layer creates an irresistible treat that's perfect for holiday gatherings or weekend baking projects.
I first made these bars for a neighborhood potluck when I was short on time, and they disappeared faster than any elaborate dessert I've ever made. Now they're my secret weapon for impressing guests without spending hours in the kitchen.
Ingredients
- Flour: creates a tender shortbread base that supports the gooey topping without getting soggy
- Brown sugar: adds a subtle caramel flavor that complements the buttery texture
- Salted butter: provides richness and that classic shortbread taste look for European-style butter for extra richness
- Brown sugar: creates that signature butter tart filling with deep caramel notes use dark brown sugar for more pronounced molasses flavor
- Eggs: bind everything together while creating that perfect gooey texture
- Walnuts: add essential crunch and nutty flavor toast them lightly beforehand for enhanced taste
- Vanilla extract: balances the sweetness with aromatic depth pure vanilla makes a noticeable difference
- Salt: enhances all flavors especially the chocolate and caramel notes
- Baking powder: provides just enough lift to create the perfect texture
- Chocolate chips: add bursts of rich chocolaty goodness use high-quality chips for best results
Step-by-Step Instructions
- Prepare the Pan:
- Preheat your oven to 350°F and prepare your baking pan. Take a moment to line your 8 or 9-inch square pan with parchment paper with enough overhang to use as handles later. This simple step makes removing and cutting the bars infinitely easier.
- Make the Shortbread Base:
- Combine the flour, brown sugar, and butter in a bowl and work it with your fingertips. This tactile process allows you to feel when the mixture reaches the perfect crumbly consistency. The warmth of your hands gently softens the butter, creating those coveted sandy shortbread crumbs that will press together beautifully.
- Bake the Base:
- Press the shortbread mixture firmly and evenly into your prepared pan, taking care to create a level surface. Bake for exactly 15 minutes until just barely golden at the edges. The base should be set but not fully browned, as it will continue baking once the topping is added.
- Prepare the Filling:
- While the base bakes, whisk together all the topping ingredients until well combined. Make sure your eggs are fully incorporated into the brown sugar mixture before adding the walnuts and chocolate chips. This ensures even distribution of the caramel filling throughout the nuts and chocolate.
- Add the Topping and Bake:
- Pour the prepared topping over the hot shortbread base, ensuring even coverage all the way to the edges. Reduce the oven temperature to 325°F and bake for 20-25 minutes. The filling should be set around the edges but still have a slight jiggle in the center, which will firm up as it cools.
- Cool and Cut:
- Allow the bars to cool completely at room temperature before refrigerating for at least 2 hours. This chilling time is crucial as it allows the filling to fully set, resulting in clean, beautiful cuts rather than messy, sticky bars.
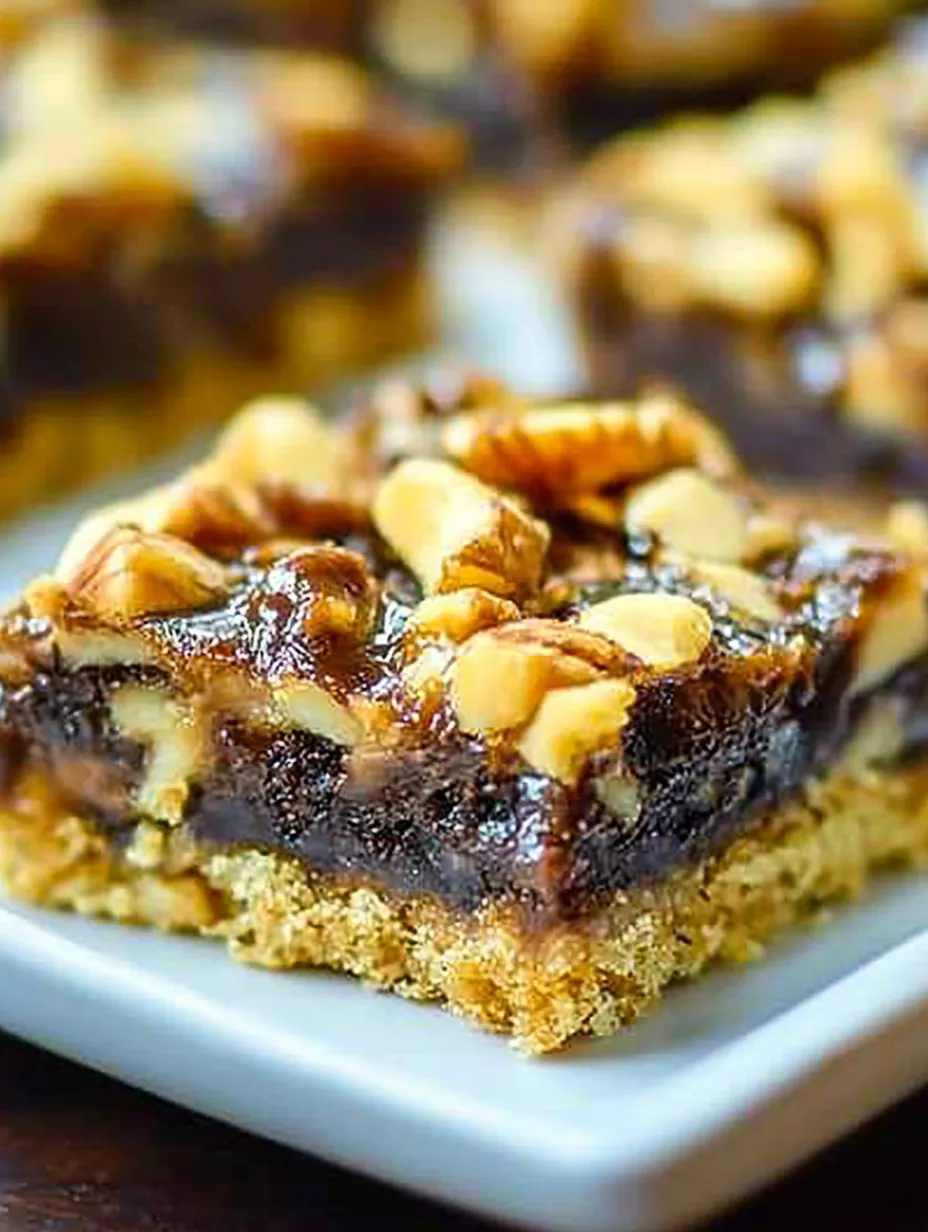
The chocolate chips are what make these bars truly special. While traditional Canadian butter tarts don't contain chocolate, this addition creates an amazing flavor combination that reminds me of the chocolate pecan pie my grandmother used to make. The first time I added them was actually a happy accident when I was low on walnuts, but now I can't imagine making these bars any other way.
Making Ahead and Storage
These bars actually improve with time, making them perfect for advance preparation. After cutting, store them in an airtight container with parchment paper between layers to prevent sticking. They'll keep at room temperature for 3 days, in the refrigerator for up to a week, or in the freezer for 3 months. I often make a double batch and freeze half for unexpected guests or late-night cravings.
Variations to Try
The basic recipe is incredibly versatile. Try swapping walnuts for pecans or a mixture of your favorite nuts. White chocolate chips work beautifully for a different flavor profile, or add a tablespoon of bourbon to the filling for an adult twist. During the holidays, I sometimes add a quarter teaspoon of cinnamon and a pinch of nutmeg to the filling for a festive touch that pairs wonderfully with after-dinner coffee.
Serving Suggestions
While these bars are perfect on their own, they transform into an elegant dessert when slightly warmed and topped with a scoop of vanilla ice cream. For brunch gatherings, I serve them alongside fresh berries and whipped cream. They also make excellent gifts when packaged in decorative tins, especially during the holiday season. I've found they travel well, making them perfect for care packages or potlucks.
Canadian Butter Tart Tradition
These bars are inspired by the iconic Canadian butter tart, a beloved national treasure dating back to the early 1900s. Traditional butter tarts feature a flaky pastry shell filled with a sweet, gooey mixture of butter, sugar, and eggs. This bar version simplifies the process while maintaining the distinctive flavor profile that makes butter tarts so addictive. In Canada, there are passionate debates about whether raisins belong in butter tarts, but this chocolate walnut variation sidesteps that controversy entirely!
Frequently Asked Questions
- → How do I make the bottom layer crumbly?
Rub together the flour, brown sugar, and salted butter with your hands until the mixture becomes crumbly. Be patient and thorough to achieve the right texture.
- → What size pan works best for this recipe?
An 8 or 9-inch square pan works perfectly for evenly spreading the layers. Line it with parchment paper for easy cleanup.
- → Can I substitute or omit the walnuts?
Yes, you can replace walnuts with other nuts like pecans or omit them entirely if preferred. The bars will still taste delicious!
- → Do I need to refrigerate the bars before cutting?
Yes, refrigerating the bars ensures they firm up, making them easier to cut into clean, even squares.
- → At what temperature do I bake the layers?
Bake the bottom layer at 350°F for 15 minutes. Reduce the oven temperature to 325°F for the top layer and bake for another 20-25 minutes.
- → Can I add other toppings to the bars?
Absolutely! Feel free to experiment with additional toppings like shredded coconut, dried fruit, or extra chocolate chips for variety.