 Pin it
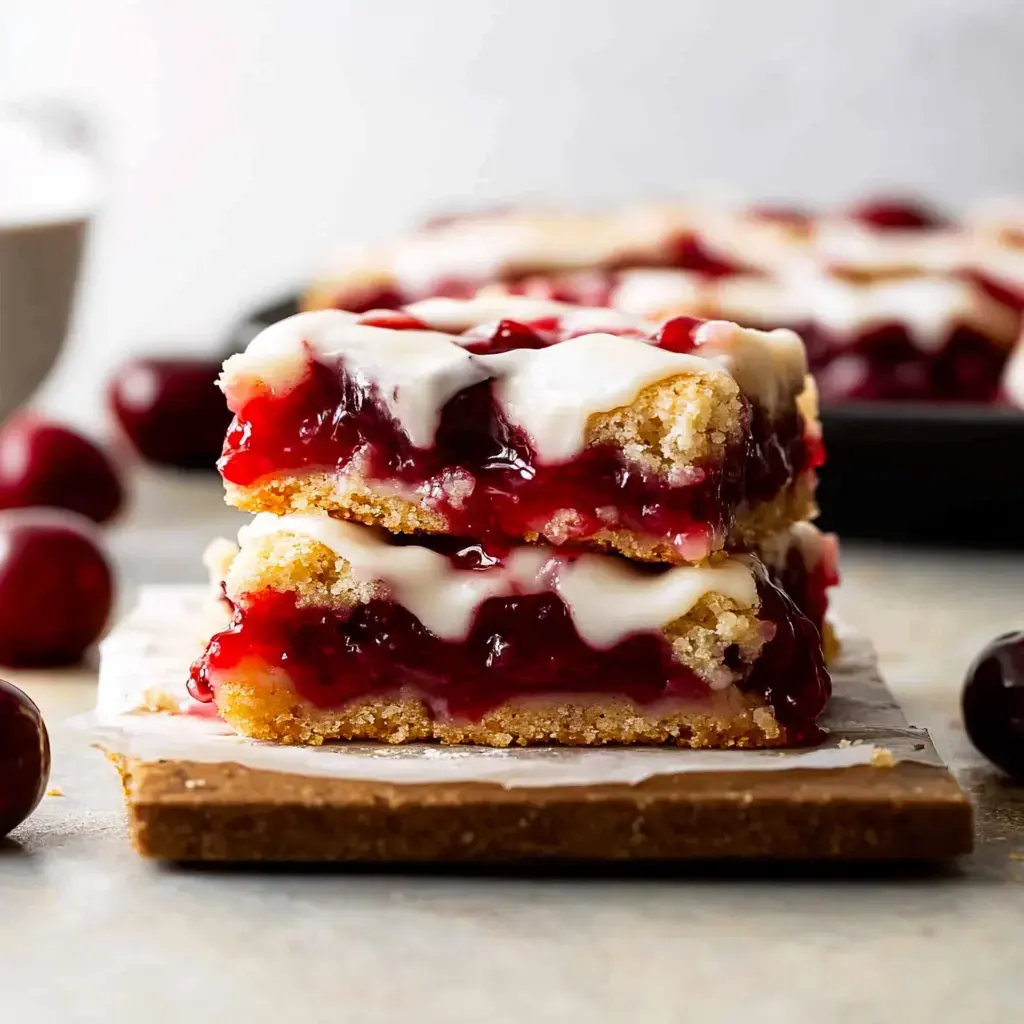
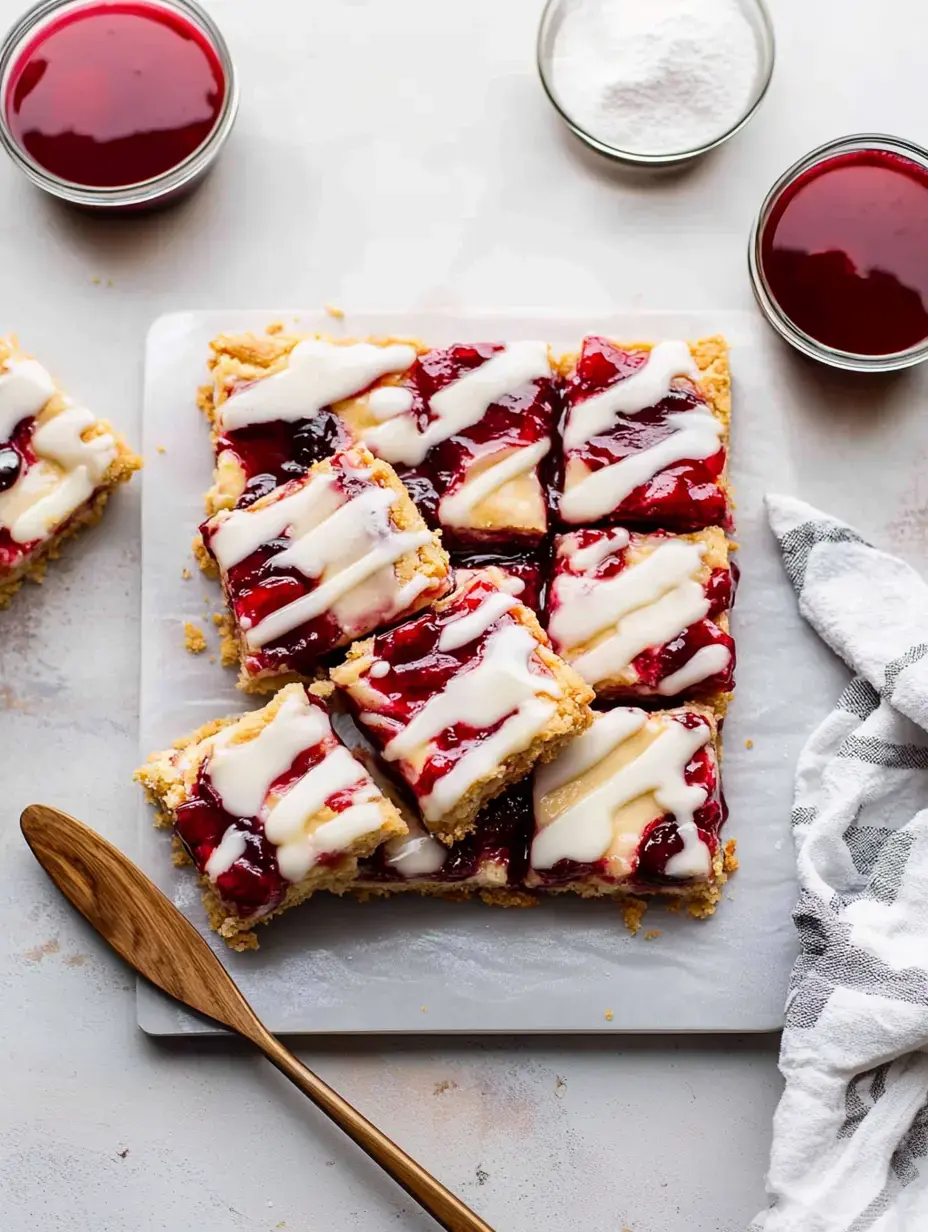
I've been perfecting these Cherry Pie Bars in my kitchen and they've become my go-to dessert when I want something special without fussing with pie crust. The combination of buttery cookie base and sweet cherry filling is absolutely magical topped with that dreamy almond glaze. Every time I make them they disappear faster than any other dessert on the table.
A Treat You Can't Resist
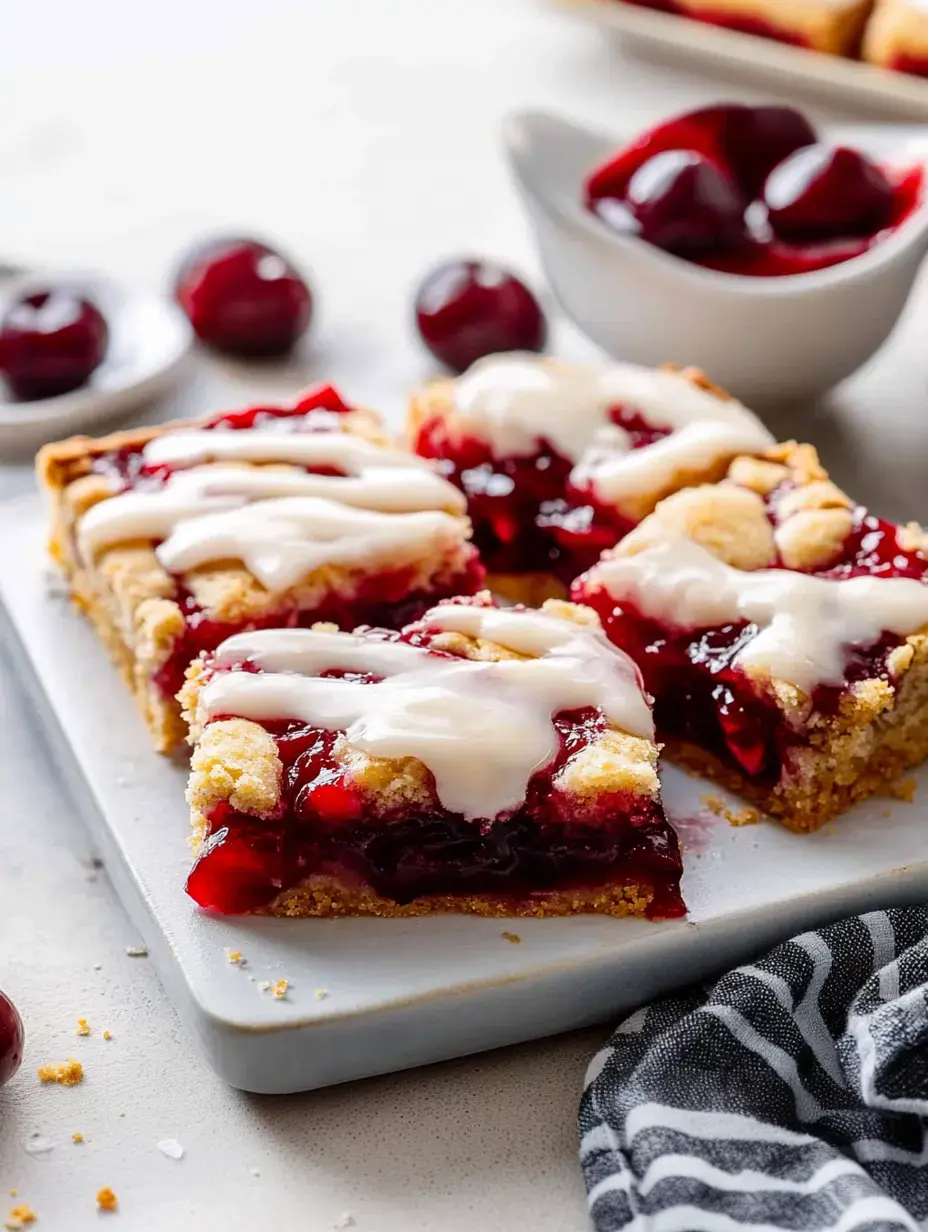
The beauty of these bars lies in their simplicity. I love how they capture everything wonderful about cherry pie but in an easier form. That buttery crust gets slightly crisp on top while staying tender inside and when you bite into the cherry layer it's pure joy. The almond glaze adds just the right finishing touch.
Let's Gather Our Ingredients
- Butter: 1 cup softened it makes the crust incredibly tender
- Sugar: 2 cups for that perfect sweetness
- Eggs: 4 room temperature eggs make everything better
- Vanilla and Almond Extracts: 1 teaspoon each these make the flavors sing
- Flour: 3 cups measured with care for the perfect texture
- Salt: 1/2 teaspoon it brings out all the flavors
- Cherry Pie Filling: 2 cans my favorite shortcut
- Powdered Sugar: 1 cup for that lovely glaze
- Milk: 2-3 tablespoons just enough to make it drizzle beautifully
Let's Bake Together
- Start With The Base
- First get your oven warming to 350°F. While that's happening cream your butter and sugar until it's light and fluffy. Beat in those eggs and extracts until everything's smooth and happy.
- Layer It Up
- Spread about 3 cups of your batter in your greased pan I use 9x13. Then comes the fun part pour that gorgeous cherry filling over top. Drop spoonfuls of the remaining batter all over don't worry if it's not perfect.
- Time To Bake
- Pop it in the oven for about 35-40 minutes. You'll know it's done when the top is golden and a toothpick comes out clean. Let it cool completely this part requires patience.
- The Finishing Touch
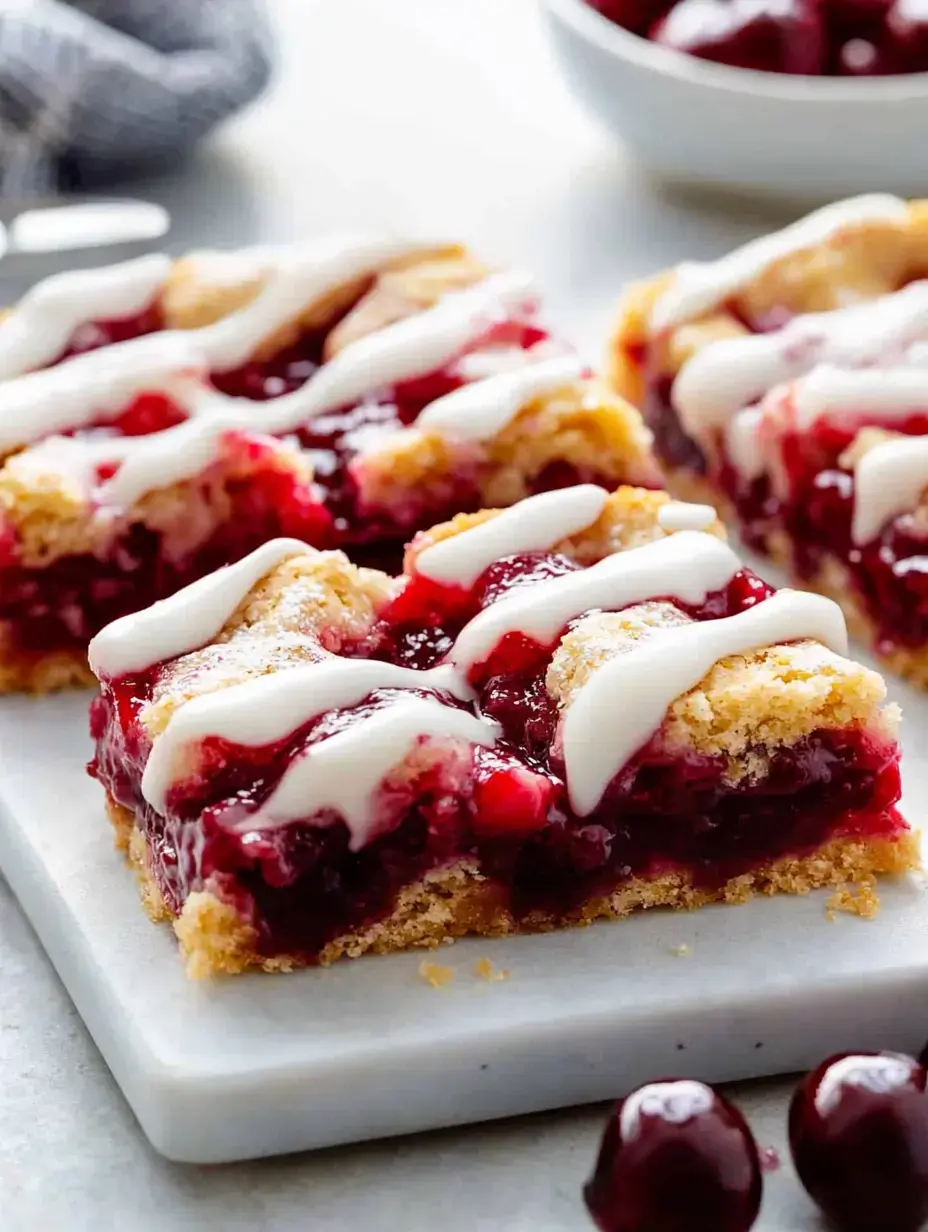
- For the glaze just whisk together your powdered sugar milk and extracts until smooth. Then drizzle it all over those cooled bars it's like adding jewelry to a beautiful outfit.
 Pin it
My Favorite Tips
After making these countless times I've learned a few tricks. Room temperature ingredients are non-negotiable they blend so much better. I always spoon my flour into the measuring cup rather than scooping it keeps the bars tender. And don't skip greasing that pan I learned that one the hard way. Sometimes I line it with parchment too makes lifting them out a breeze.
Keeping Them Fresh
These bars keep beautifully just pop them in an airtight container and they'll stay fresh on your counter for 5 days. If you like them chilled the fridge works great for up to a week. I often make a double batch and freeze half just wrap them well between layers of parchment. They'll keep for 3 months in the freezer but trust me they never last that long in my house.
Mix Up That Glaze
Sometimes I get creative with the glaze. A little orange zest mixed in brightens everything up. When I'm feeling fancy I'll drizzle some melted chocolate over top instead. My kids love when I make a caramel drizzle it takes these bars to a whole new level.
Perfect Partners
We love these bars with a scoop of vanilla ice cream on the side. The warm bar with cold ice cream is heavenly. A dollop of whipped cream works beautifully too. And don't forget your coffee or tea they're the perfect excuse for an afternoon treat.
Switch Things Up
While cherries are my favorite you can use any pie filling you love. Blueberry is amazing in summer peach is perfect for fall. Sometimes I'll mix some cinnamon into the crust when I'm using apple filling. And a handful of chopped nuts in the topping adds such nice crunch.
 Pin it
Party Perfect
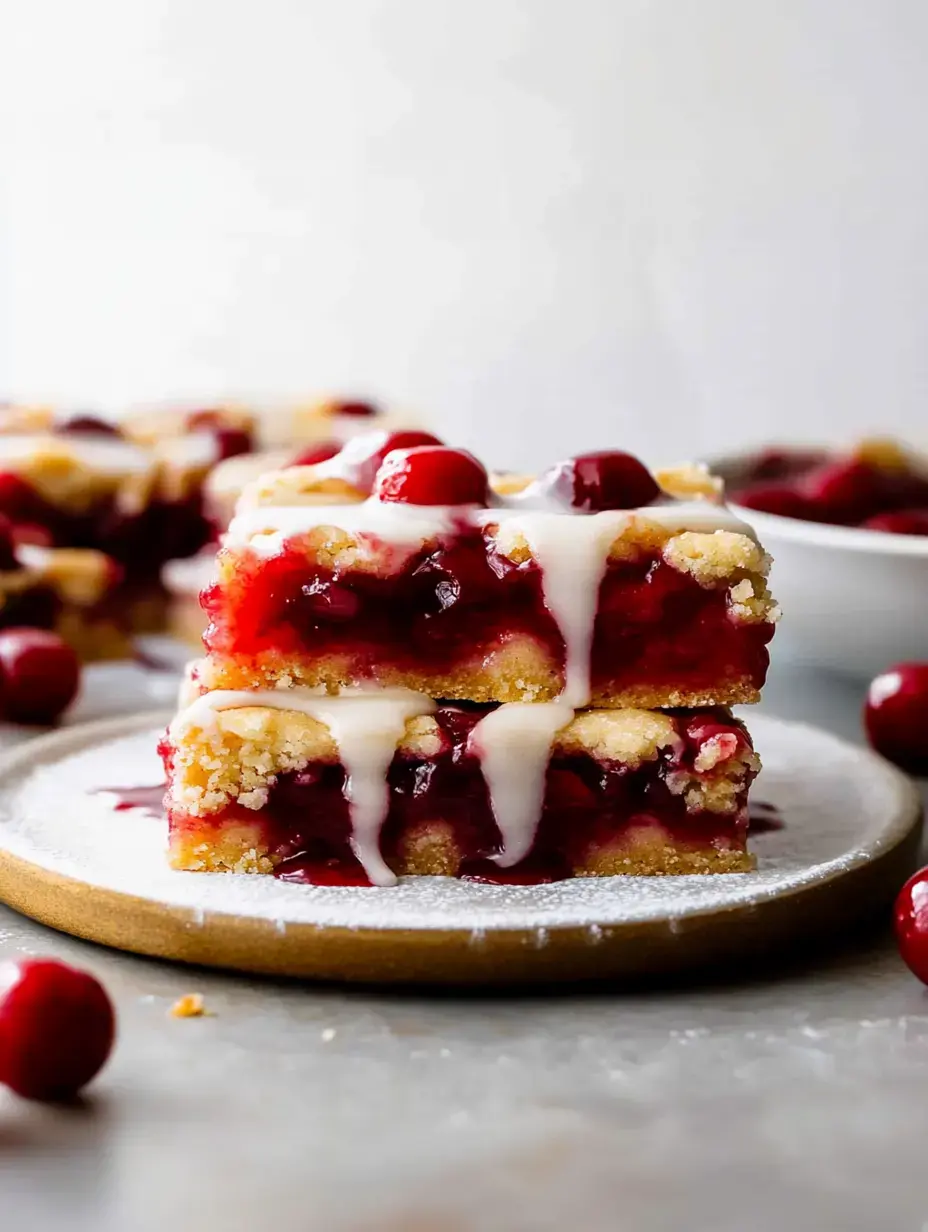
These bars are my secret weapon for potlucks and parties. They travel so well and you can cut them any size you need. I've made them for everything from casual book clubs to fancy bridal showers. That pretty red filling makes them look so festive on any dessert table.
Make Ahead Magic
When I know I've got a busy day ahead I'll make these the night before. Just hold off on the glaze until you're ready to serve. It's such a relief to have dessert already done and waiting. They actually taste even better the next day once all the flavors have had time to mingle.
Year Round Favorite
I love how these bars work in any season. They're bright and cheerful for summer picnics but equally perfect for cozy winter gatherings. That butter cookie base makes them feel like comfort food while the cherry filling keeps things fresh and exciting.
Quick and Easy
Using pie filling is such a smart shortcut. It means you can whip these up anytime without waiting for fresh cherries to be in season. All the other ingredients are pantry staples I always have on hand perfect for last minute baking.
Special Diet Swaps
My friend who's gluten free loves these with cup for cup gluten free flour blend. Just make sure your pie filling is gluten free too. The texture stays amazingly tender you'd never know the difference.
 Pin it
Add Some Crunch
Sometimes I sprinkle sliced almonds over the top before baking they get all toasty and delicious. Pecans work wonderfully too especially if you're using different fruit fillings. That extra crunch takes these bars from great to absolutely amazing.
Dress Them Up
For fancy occasions I'll cut these into smaller squares perfect for an elegant dessert spread. Sometimes I'll add a few fresh cherries on top or dust them with powdered sugar. They look so pretty on a tiered serving plate at showers or holiday parties.
Bake With The Kids
This is such a fun recipe to make with little helpers. My kids love spreading the cherry filling and watching me drizzle the glaze. It's a great way to get them excited about baking and they're always so proud of the results.
Perfect Pairings
A cold glass of milk is classic with these bars but sometimes I'll serve them with dessert wine for grown up gatherings. They're especially nice with coffee or hot tea the flavors complement each other beautifully.
Why They're Always a Hit
There's something so special about these bars they're like a hug in dessert form. That perfect balance of buttery crust and sweet cherries plus that pretty glaze on top. They're simple but special exactly what a homemade treat should be.
 Pin it
Frequently Asked Questions
- → Can I use different pie fillings?
Yes, you can substitute the cherry filling with apple, blueberry, or any other pie filling. The baking time stays the same regardless of which filling you choose.
- → How should I store these bars?
Store in an airtight container at room temperature for up to 3 days. You can also refrigerate them for up to a week.
- → Can I freeze cherry pie bars?
Yes, these bars freeze well for up to 3 months. Wrap them individually and store in a freezer bag. Thaw overnight in the fridge.
- → Why add almond extract?
Almond extract enhances the cherry flavor and adds depth to the overall taste. Cherry and almond are classic flavor partners in baking.
- → Can I make these ahead?
Yes, you can make these a day ahead. Add the glaze just before serving for the best appearance and texture.
Conclusion
These cherry pie bars transform classic cherry pie into easy-to-serve dessert bars, using ready-made pie filling and a buttery crust topped with sweet glaze.
