
 Pin it
I discovered these brownie mix cookies during a classic pandemic baking emergency - out of flour but desperately craving homemade cookies. With a box of brownie mix sitting in my pantry and a sudden burst of curiosity, I took a chance that forever changed my last-minute dessert game. These cookies combine everything wonderful about brownies (that rich, fudgy interior and crackly top) with the convenience and handheld perfection of a cookie. They've since become my go-to when I need something sweet without much effort or when unexpected guests are 20 minutes from arriving.
The first time I made these for my nephew's birthday party, they disappeared faster than the fancy bakery cupcakes I'd also bought as backup. My brother-in-law, who claims to be a "brownie purist," ate four of them before asking for the recipe, convinced I'd spent hours in the kitchen. When I told him how simple they were, he didn't believe me until I walked him through the five ingredients. Now they're his signature contribution to family gatherings.
Simple Ingredients
Brownie Mix - The star of the show and secret shortcut. Any brand works, but I've found that fudge-style mixes create the richest cookies. The 18-20 oz family-size box is perfect, but you can use the smaller 15 oz size too - they'll just be a bit less chocolatey. I've tried fancy gourmet mixes and store brands, and honestly, they all work beautifully.
Eggs - These bind everything together and contribute to that perfect brownie-like texture. Room temperature eggs incorporate better than cold ones, but I've made these in a hurry with eggs straight from the fridge and they still turn out great.
Oil or Butter - Either works wonderfully here. Vegetable oil makes for a slightly chewier cookie, while melted butter adds a richer flavor. I usually use whatever I have on hand, but slightly prefer the butter version for special occasions.
Vanilla Extract - Just a teaspoon elevates the chocolate flavor. It's technically optional, but that little hint of vanilla really does make a difference in the final taste.
Chocolate Chips - Because more chocolate is always a good idea. Semi-sweet are my go-to, but dark chocolate adds sophistication, and milk chocolate makes them extra sweet. Sometimes I mix in peanut butter chips or butterscotch chips for variety.
Optional: All-Purpose Flour - ¼ cup can be added for a slightly more structured cookie.
Optional: Salt - A pinch if not already in your brownie mix.
Easy Preparation
Mix It UpPreheat your oven to a moderate 350°F (175°C) and line a baking sheet with parchment paper – don't skip this step as these cookies can stick. In a large bowl, dump in your brownie mix. If you're using the optional ¼ cup of flour (which gives the cookies a bit more structure), add it now along with a pinch of salt. Pour in ⅓ cup of oil or melted butter, 2 eggs, and a teaspoon of vanilla. Start mixing and don't worry if it seems dry at first – keep going and the dough will come together into a thick, sticky mass that looks more like brownie batter than traditional cookie dough. Fold in about ½ cup of chocolate chips, distributing them evenly.
Scoop With ConfidenceThis dough is sticky, so I recommend using a cookie scoop or a tablespoon to portion it out. If you don't have either, two spoons work well too – one to scoop and one to scrape the dough onto the baking sheet. Place the dough balls about 2 inches (5 cm) apart, as they will spread while baking. For a perfectly round shape, you can roll them between your palms, but I usually skip this step and embrace their rustic look. If you want that classic crackly brownie top, don't flatten the dough balls.
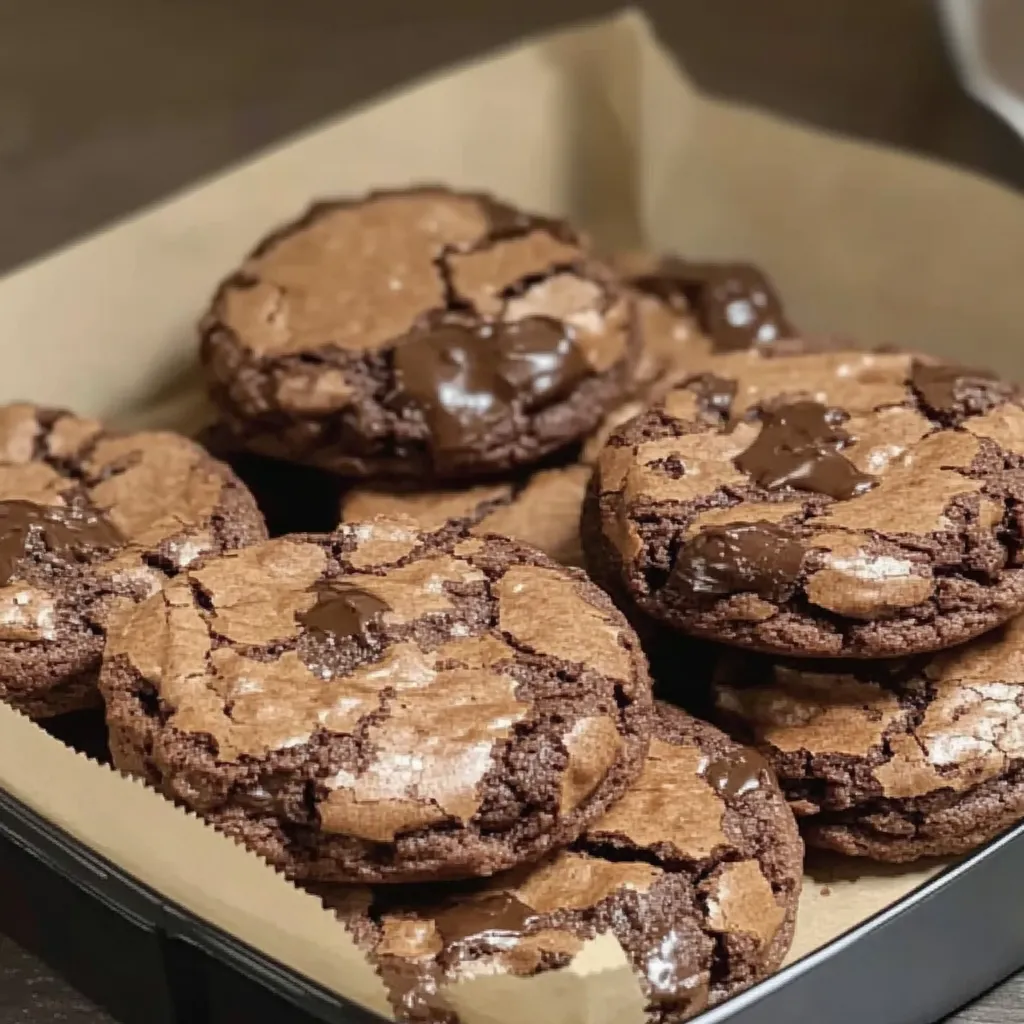
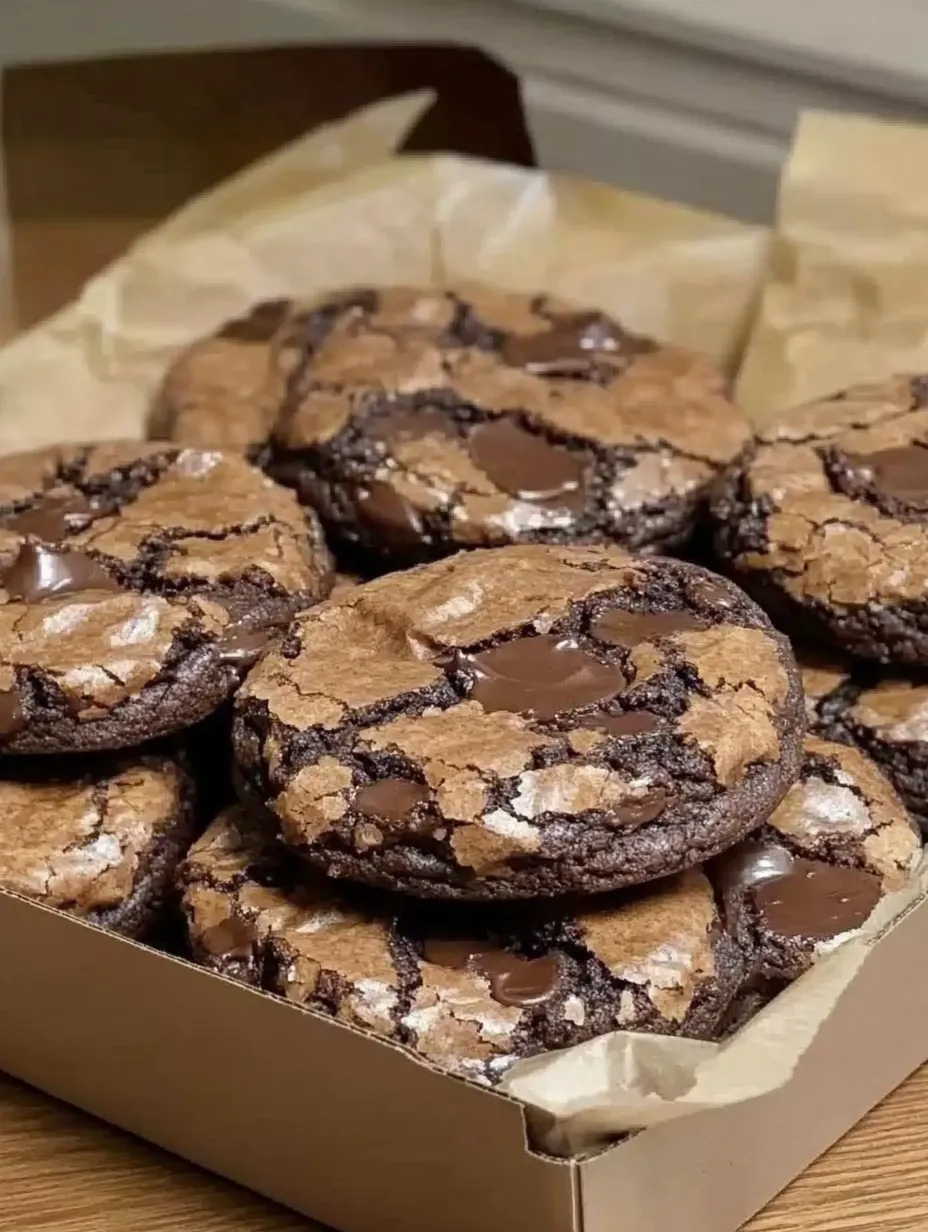
Bake To PerfectionSlide the baking sheet into your preheated oven and set a timer for 10 minutes. What happens next is pure magic – the cookies will puff up, develop shiny, crackly tops just like brownies, and fill your kitchen with an irresistible chocolate aroma. They're done when the edges are set but the centers still look slightly soft – about 10-12 minutes total. Don't overbake! The cookies will continue to set as they cool, and slightly underbaking ensures that perfect fudgy center.
The Waiting GameLet the cookies rest on the baking sheet for about 5 minutes before attempting to move them. They're very soft when they first come out of the oven and need this time to set up. After 5 minutes, transfer them to a wire rack to finish cooling – though I'll confess that in my house, at least half the batch disappears while they're still warm, with melty chocolate chips creating the most delicious mess.
I learned an important lesson about cookie size the first time I made these. Being a "more is more" person, I made them enormous – about ¼ cup of dough each. While delicious, they were almost too rich to finish in one sitting. Now I stick to tablespoon-sized portions, which create the perfect two-bite treat. That said, if you're making these for a special occasion, giant cookies topped with a scoop of vanilla ice cream make an impressive dessert that could easily be served in a fancy restaurant.
Creative Variations
The beauty of these cookies lies in their versatility. The basic recipe is a blank canvas for countless variations that keep them exciting every time you make them. My holiday version includes a teaspoon of peppermint extract in the dough and crushed candy canes sprinkled on top before baking. For autumn gatherings, I mix in a handful of butterscotch chips and top each cookie with a pecan half. If you're a fan of sweet-salty combinations, try sprinkling a few flakes of sea salt on top of each cookie right after they come out of the oven. The salt enhances the chocolate flavor in the most magical way. For an extra-decadent twist, press a small square of caramel into the center of each dough ball before baking for a gooey surprise in the middle. For those who enjoy a textural contrast, adding ½ cup of chopped nuts works beautifully. Walnuts are traditional for brownies, but pecans add a buttery flavor, and almonds bring a sophisticated crunch. Sometimes I throw in a handful of mini marshmallows for a rocky road variation that's always a hit with kids.
Serving Suggestions
These cookies are perfectly delicious on their own, but there are many ways to elevate them into an even more special treat. Serve them warm with a scoop of vanilla ice cream for an easy but impressive dessert. The contrast of the cold, creamy ice cream with the warm, fudgy cookie is absolutely divine. For coffee lovers, these make the perfect accompaniment to an afternoon espresso or cappuccino. The bitter notes of coffee complement the sweet chocolate beautifully. I've also served them as part of dessert platters alongside fresh berries and whipped cream, allowing guests to create their own combinations. During the holidays, I package these in decorative tins as homemade gifts. They travel well and stay fresh for days, making them perfect for shipping to far-away family members. I include a note with instructions for warming them briefly in the microwave to recreate that fresh-baked experience.
Storage Secrets
One of the many wonderful things about these cookies is how well they keep. Store them in an airtight container at room temperature, and they'll stay soft and delicious for up to 5 days. Place a piece of bread in the container to maintain moisture – an old trick my grandmother taught me that really works. If you want to plan ahead, the dough freezes beautifully. Scoop it into balls, place them on a baking sheet, and freeze until solid. Transfer the frozen dough balls to a zip-top bag, where they'll keep for up to 3 months. The best part? You can bake them straight from the freezer – just add 2 minutes to the baking time. There's nothing better than freshly baked cookies on demand. For an extra special treat, try making ice cream sandwiches with these cookies. Sandwich a scoop of slightly softened ice cream between two cookies, wrap individually in plastic wrap, and freeze until firm. The fudgy texture of the cookies means they don't get too hard when frozen, resulting in a perfect homemade ice cream sandwich.

Baker's Wisdom
Mix Matters - Different brownie mix brands can yield slightly different results; adjust the flour accordingly (add a tablespoon if the dough seems too wet, or skip it if it's too dry). Cooling Rack - Allow cookies to cool completely on a wire rack for the best texture – cooling on the baking sheet can make the bottoms soggy. Altitude Adjustments - At high elevations, add an extra tablespoon of flour to the dough for better structure.
I've made these cookies more times than I can count, and they never fail to impress. What I love most is how they transform a simple box of brownie mix – something that's been in American pantries for decades – into something that feels special and homemade. They're the perfect solution for last-minute entertaining, after-school snacks, or those moments when you just need a chocolate fix without much effort. In a world of complicated recipes with mile-long ingredient lists, there's something wonderfully satisfying about creating something so delicious with so little fuss.
Frequently Asked Questions
- → Can I use any brand of brownie mix?
- Yes! Any brand works, but fudge-style brownie mixes typically produce the richest, chewiest cookies.
- → Do I need to add the ingredients called for on the brownie box?
- No, ignore the box instructions. Just use the dry mix with the ingredients listed in this recipe.
- → Can I add other mix-ins besides chocolate chips?
- Absolutely! Try chopped nuts, peanut butter chips, caramel bits, or crushed candy pieces.
- → Why are my cookies spreading too much?
- Try chilling the dough for 30 minutes before baking or add an extra tablespoon of flour to help cookies hold their shape.
- → How do I store these cookies?
- Store in an airtight container at room temperature for up to 4 days, or freeze for up to 3 months.