
 Pin it
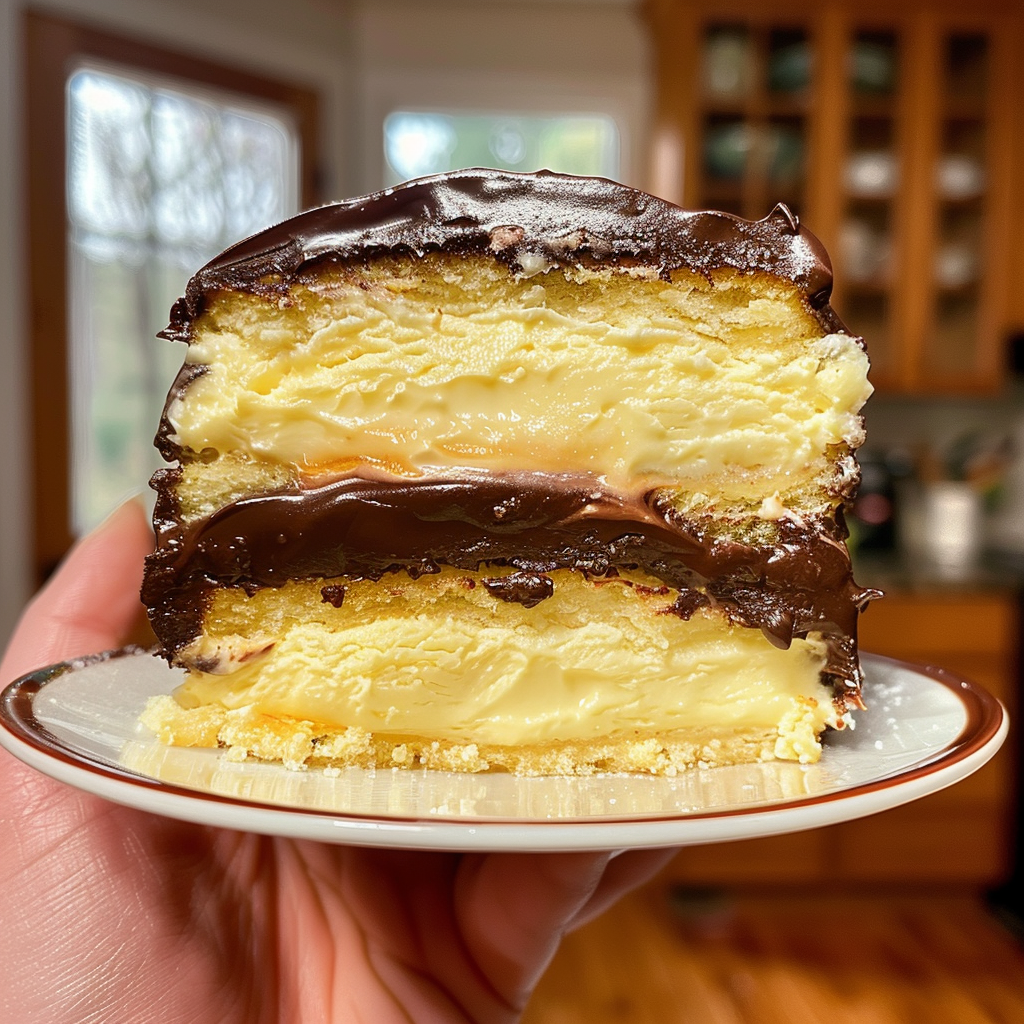
Nothing beats the satisfaction of slicing into a homemade Boston cream pie with its soft layers of cake a thick blanket of pastry cream and that glossy chocolate top ready to steal the show at any gathering. This recipe delivers a timeless bakery treat that you can create in your own kitchen and it is sure to turn any event into an occasion.
I grew up savoring slices of Boston cream pie at family birthdays and could never resist that combination of custard and chocolate. The first time I made this from scratch my friends could not believe it was homemade and it quickly became my most requested cake.
Ingredients
- Granulated sugar: Supplies sweetness and helps the pastry cream and cake brown evenly. Look for fine sugar that dissolves quickly.
- Fine sea salt: Sharpens flavor and balances the sweetness. Use a salt with small crystals for even mixing.
- Cornstarch: Thickens the pastry cream for that signature silky texture. Choose pure cornstarch with no additives.
- Egg yolks: Give richness and hold the cream together. Select fresh eggs with deep yellow yolks.
- Whole milk: Keeps the pastry cream luscious while also making the sponge moist. High quality whole milk delivers the best results.
- Unsalted butter: Adds richness to both cream and cake. Use cold butter for creams and softened for cake.
- Vanilla extract: Perfumes the pastry cream and cake layers. Pure vanilla gives a true classic flavor.
- All-purpose flour: Forms a light structure for the cake. Use fresh flour and sift it for the finest crumb.
- Baking powder: Lifts the cake to a perfect rise. Make sure your baking powder is fresh for best results.
- Heavy cream: Is key for the glossy chocolate glaze. Look for cream with a high fat content.
- Corn syrup: Ensures the glaze is silky and pourable. Use clear syrup without flavoring.
- Bittersweet chocolate: Gives the glaze deep flavor. Select good quality chocolate for a rich finish.
Step-by-Step Instructions
- Make the Pastry Cream:
- Whisk the sugar salt and cornstarch together in a bowl. Add in egg yolks and a small portion of the milk. Continue whisking until the mixture is perfectly smooth with no lumps. This creates the foundation for an ultra creamy custard.
- Heat the Milk:
- Place the rest of your milk in a heavy saucepan. Warm until steaming but do not let it boil. This step wakes up the milk’s natural sweetness without overcooking the proteins.
- Temper the Eggs:
- Slowly drizzle the steaming milk into the egg mixture while whisking constantly. This helps equalize the temperature so the eggs do not scramble. Smoothly pour the tempered mixture back into the pan.
- Cook the Cream:
- Put the saucepan on medium heat and stir non stop with a whisk or silicone spatula. The cream will look thin at first but thickens after a few minutes. Once thickly bubbling cook for one minute more to ensure the starch activates.
- Finish and Chill Cream:
- Remove from the heat and immediately stir in the butter and vanilla extract until fully melted and glossy. Strain the cream into a bowl with a fine mesh sieve then press plastic wrap directly onto the surface to prevent a skin and chill for two hours or overnight.
- Bake the Sponge Cake:
- Preheat your oven and prepare two round cake pans with parchment and a light greasing. In a separate bowl whisk flour baking powder and salt to remove clumps and blend rising agents.
- Ribbon Eggs and Sugar:
- Beat whole eggs and sugar using a mixer on medium high speed. Continue until the mixture is pale and falls in thick ribbons when the beater is lifted. This step adds air and guarantees a light sponge.
- Fold in Dry Ingredients:
- Switch the mixer to low and gently add the flour mixture. Stir only until barely combined to avoid tough cake layers.
- Add Milk and Butter:
- Heat butter and milk together in a saucepan until just hot. Pour into the batter and carefully mix until perfectly smooth and glossy. This infusion creates a soft springy crumb.
- Bake and Cool Cakes:
- Evenly divide the batter between your pans. Bake until the tops spring back and a toothpick inserted in the center is clean about twenty five to thirty five minutes depending on your oven. Cool in their pans on a wire rack then release and allow them to cool completely.
- Assemble the Cake:
- Place one cake on your serving dish. Evenly spread the chilled pastry cream all the way to the edges. Lay the second cake directly on top and gently press to settle everything.
- Make the Chocolate Glaze:
- Warm heavy cream and corn syrup together on the stove until steaming. Pour over finely chopped chocolate. Let it rest for five minutes to melt then stir until velvety and fully smooth.
- Finish the Cake:
- Pour the glaze over the assembled cake allowing it to flow down the sides for that signature look. Refrigerate to set the chocolate about thirty minutes before slicing.
I always look forward to swirling melted chocolate for the glaze and watching it cascade over the cake. My grandmother used to sneak an extra spoonful of pastry cream just for herself and I still do the same.
Storage Tips
Store your Boston cream pie covered in the refrigerator where it stays fresh for two to three days. If possible slice only as needed to keep the custard filling at its best. The cake can be assembled the night before or you can keep components separate and combine before serving for ultimate freshness.
Ingredient Substitutions
You can swap semisweet chocolate for bittersweet if you prefer a lighter glaze. For a dairy free version use plant based milk and non dairy butter in the pastry cream and cake. If you are out of corn syrup you can use honey though it will lend a different flavor.
Serving Suggestions
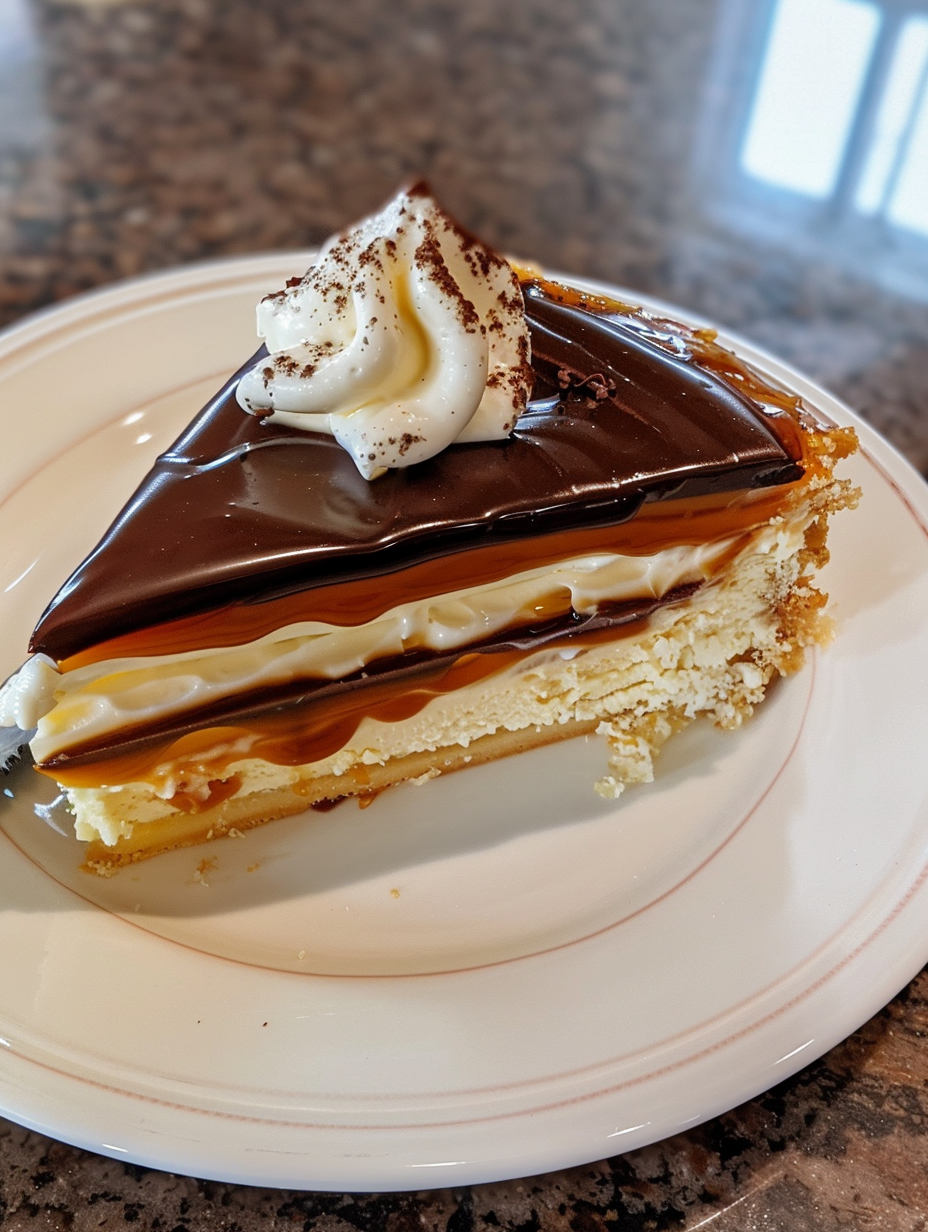
This cake is an excellent birthday showstopper or a sweet finish to a cozy Sunday dinner. Serve slices with a dollop of lightly whipped cream or fresh berries for a pop of color and balance.
Cultural and Historical Context
Boston cream pie is a cherished dessert first created at the Parker House Hotel in Boston. Despite its name it is very much a cake not a pie and its combination of custard and chocolate has made it an American classic for generations.
Frequently Asked Questions
- → How do I prevent the pastry cream from curdling?
Temper the eggs slowly by whisking in hot milk gradually. Stir constantly and avoid overheating to keep the cream smooth.
- → What makes the sponge cake light and airy?
Beating eggs and sugar until thick and ribbon-like incorporates air, resulting in a delicate, fluffy cake texture.
- → Can I make the cake components ahead?
Absolutely. Bake the sponge and prepare the pastry cream a day ahead. Assemble before serving for best results.
- → How can I achieve a glossy chocolate glaze?
Pour hot cream and corn syrup over chopped chocolate, let it sit, then stir gently for a smooth, shiny finish.
- → Any slicing tips for clean presentation?
Dip your knife in hot water and wipe between each cut for neat, professional-looking slices.
- → Can I use different chocolate in the glaze?
Yes, substitute semisweet chocolate for a sweeter glaze or try dark chocolate for a richer flavor profile.