
 Pin it
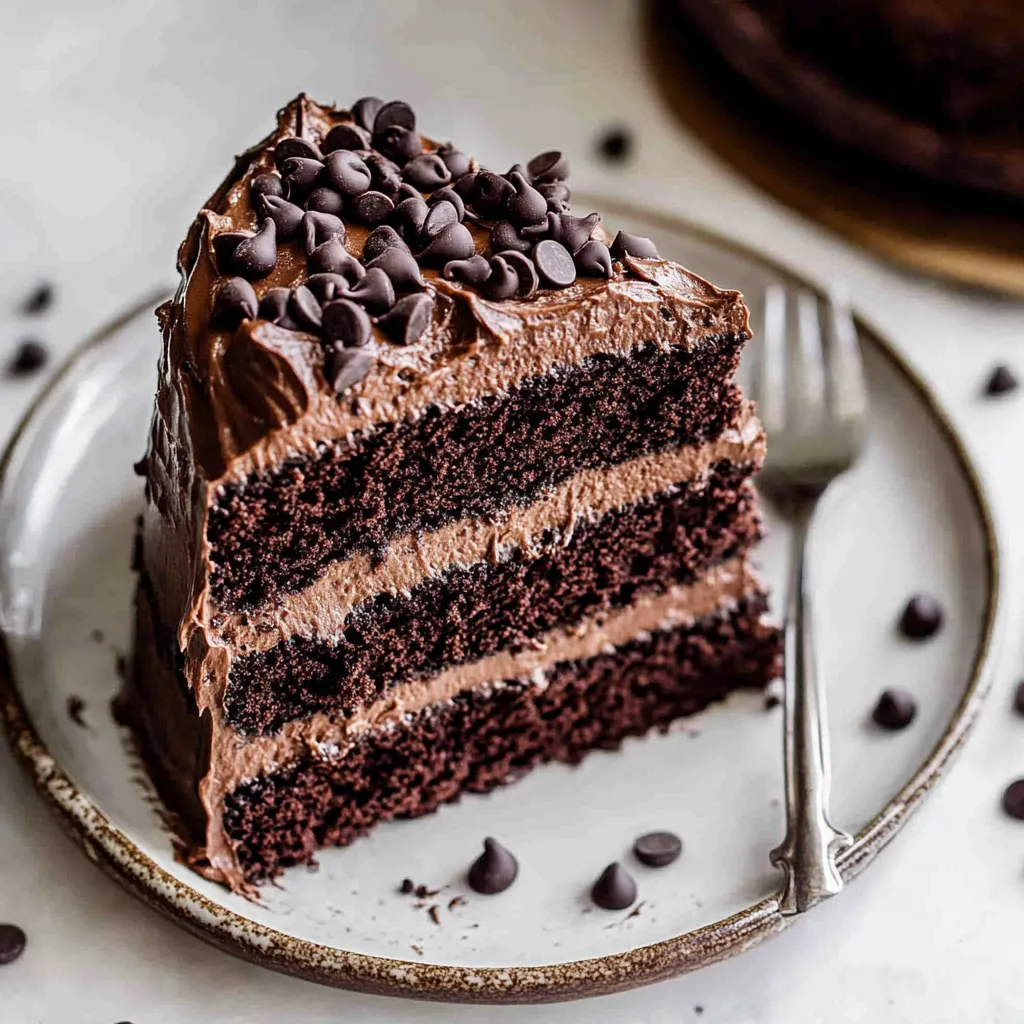
After years of testing chocolate cake recipes, I've finally perfected what I consider the holy grail - a triple chocolate cake that's actually better than any bakery version I've tried. Every layer is a chocolate lover's fantasy: deeply chocolatey cake layers, silky whipped ganache filling, and a cream cheese chocolate frosting that'll make you want to lick the bowl clean.
Let me tell you about the first time I served this at a family birthday - my chocolate-obsessed nephew actually hugged me mid-bite. That's when I knew I had something special.
Essential Ingredients
- Dark Cocoa Powder - Go for the good stuff here. I learned this lesson the hard way
- Buttermilk - Real buttermilk makes a huge difference in texture
- Oil - I use canola because it keeps the cake incredibly moist
- Hot Water - And I mean really hot, just off the boil
- Full-Fat Cream Cheese - Trust me, this isn't the place to cut calories
Let's Make Chocolate Magic: Step by Step
- 1.
- First, let's talk pan prep - this is crucial. I've had too many cakes stick to learn this lesson twice. Spray your pans generously, then line the bottoms with parchment circles. Yes, both steps are necessary! I like to trace and cut my own circles, but pre-cut ones are a lifesaver
- 2.
- Here's my biggest game-changer: when you're mixing the hot water into your wet ingredients, add it in a slow, steady stream while mixing. Pour too fast and you'll end up with scrambled eggs in your batter (speaking from sad experience)
- 3.
- The ganache filling is where patience becomes your friend. Let it chill until it's like pudding - not too firm, not too soft. When you start whipping it, you'll see it transform before your eyes
Secret Tips I've Learned
* Room temperature ingredients aren't just baker's snobbery - they really matter here
* Don't skip sifting the dry ingredients. Cocoa powder loves to clump
* That 10-minute freeze between steps isn't optional - it's what gives you those clean, sharp edges
My Frosting Breakthrough
After countless batches, I discovered that letting the butter sit out for exactly 30 minutes - not fully room temperature - creates the perfect frosting texture. Too soft and it gets greasy, too cold and you'll get lumps.
Making it All Come Together
Assembly Secrets
After making this cake for countless celebrations, here's what I've learned:
* Work with cold layers - they're so much easier to handle
* That crumb coat is your best friend. I pop it in the freezer for exactly 15 minutes
* For the drip, I do a test drip on the back of the cake first. Better to check the consistency there!
Troubleshooting Tips
Let me share some fixes for common issues I've encountered:
* If your ganache is too runny, pop it back in the fridge for 10-minute intervals
* Gritty frosting? That means the powdered sugar needs more sifting
* Drips going too fast? Your cake isn't cold enough or your ganache is too warm
Storage Secrets
Through lots of trial and error, I've found:
* Keep it in the fridge, but serve it at room temperature
* Individual slices freeze beautifully - wrap them well
* Let frozen slices thaw for exactly one hour before eating
Make-Ahead Magic
For stress-free party prep:
* Cake layers can be made a week ahead and frozen
* Frosting can be made 3 days ahead and refrigerated
* Always make the drip right before you need it
Final Tips
* Don't rush the process - it's worth taking your time
* If your kitchen is warm, use the freezer between steps
* Clean your knife between each slice for picture-perfect servings
Final Thoughts
The best part about this cake? It actually gets better after a day in the fridge. The flavors deepen and the texture becomes even more incredible. Just yesterday, I had someone tell me it was better than their wedding cake!