
 Pin it
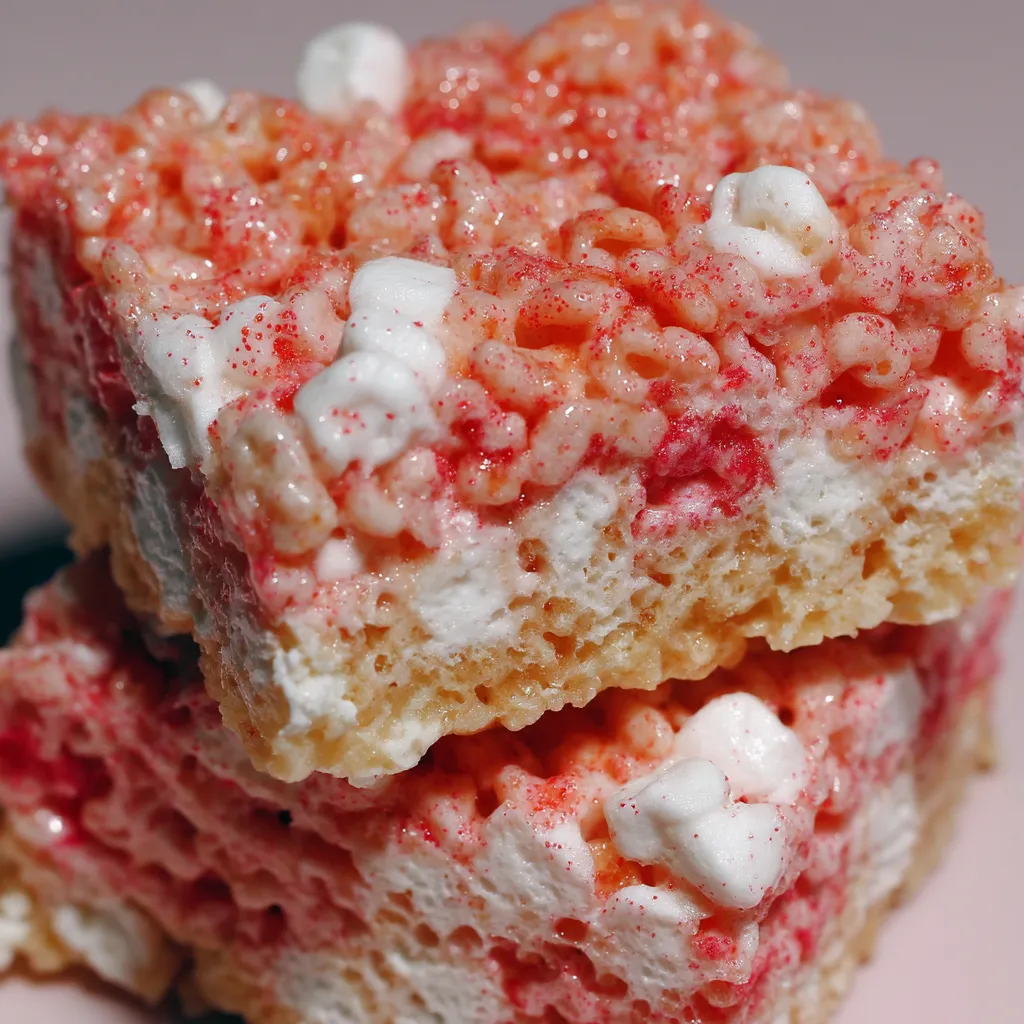
Remember how Good Humor Strawberry Shortcake ice cream bars made summers special? This fun mashup takes that crunchy strawberry coating we all loved and pairs it with chewy, crispy homemade Rice Krispie treats. It's like running into your favorite childhood memory but with an awesome twist – familiar flavors dressed up in a brand new way.
The first time I whipped these up was for my niece's summer birthday, thinking the younger crowd would go crazy for them. But I never expected all the grown-ups to crowd around the sweets table asking who made "those pink squares." My brother in law snagged three pieces before dinner, joking that he needed to "check if they were safe for the kids." They've been a must-have at family get-togethers ever since.
Basic Components
- Mini Marshmallows: They melt more smoothly than the jumbo kind—grab a fresh bag instead of using that half-empty one sitting in your cupboard
- Strawberry Jello: Delivers that signature strawberry shortcake taste without needing actual fruit—the powder does all the work
- Vanilla Pudding: Balances the strawberry to create that classic two-tone crunch—stick with instant pudding, not the kind you cook
- Marshmallow Fluff: Brings extra gooeyness that plain marshmallows can't match—this ingredient really makes a difference
- Butter: Holds everything together—go for unsalted so you can control the sweetness
Finding just the right balance between strawberry and vanilla took lots of testing. My earliest batch was almost neon pink with way too much strawberry flavor. Several batches later (my kids didn't mind being taste-testers), this version captures that perfect nostalgic flavor mix.
Preparation Process
- Creating the Strawberry Mix
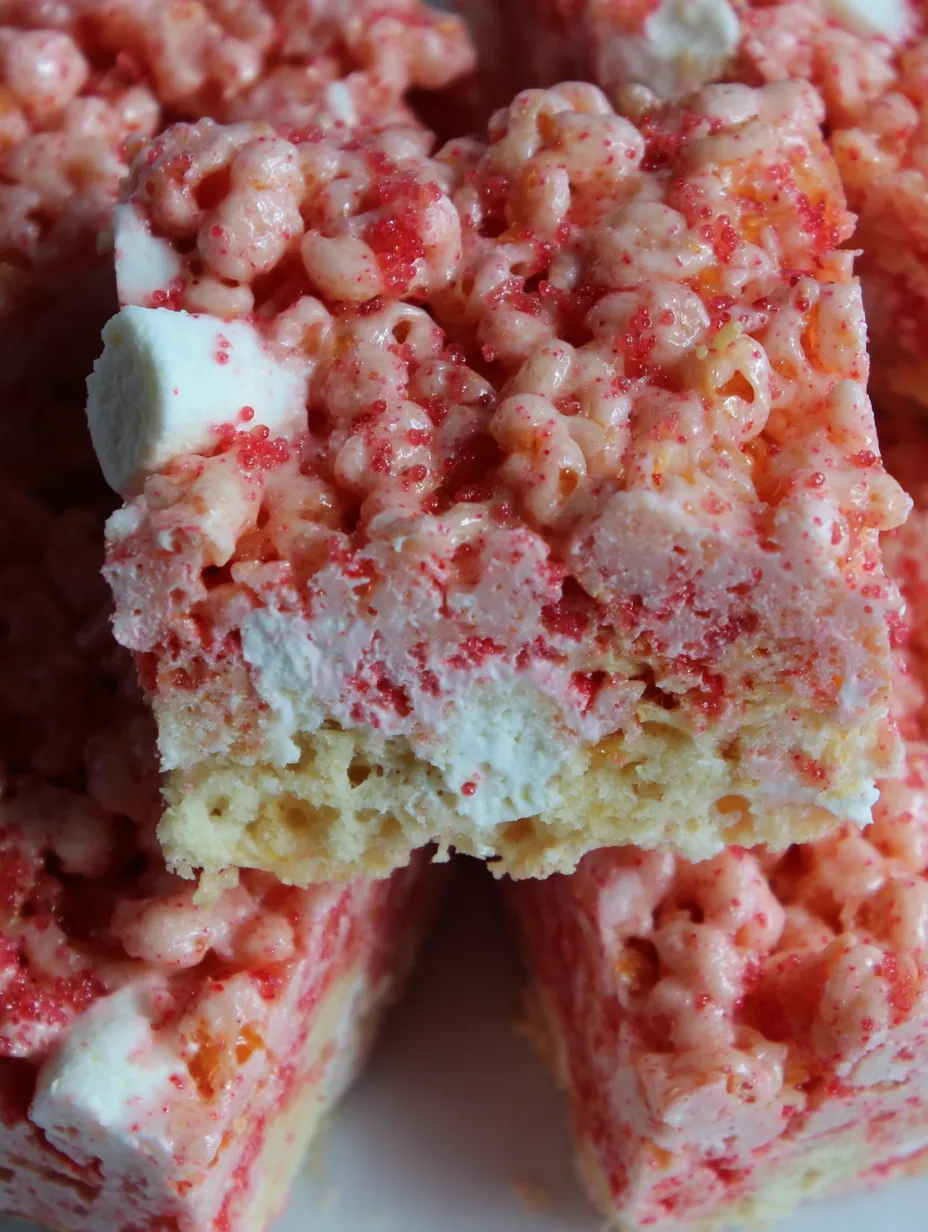
- Mix your strawberry jello with butter and flour until you get a thick mixture. Don't worry if it seems too dry at first—keep mixing and the butter will blend in completely. Do the same for your vanilla mixture in another bowl. Keeping them separate maintains that cool two-tone look that makes the original ice cream bars so memorable.
- Baking with Care
- Put both mixtures on a paper-lined baking tray, lightly pressing to make thin layers. Timing in the oven matters a lot—too long and they'll burn, too short and they won't set right. Look for bubbling edges as your clue they're done. They'll feel soft when you take them out but will get much firmer as they cool.
- Taking Time to Cool
- You really can't skip the two hours in the fridge—trying to break up warm crunch mix will leave you with sticky blobs instead of crispy bits. The cooling time lets the sugar set properly, giving you that satisfying crunch when you bite in. Popping them in the freezer before using makes sure they stay distinct when added to warm marshmallow.
- Working with Marshmallows
- Melt your butter first before adding marshmallows to avoid burning and get the smoothest result. Keep your heat low-medium and stir all the time—marshmallows can burn really fast if you look away. Throwing in that cup of whole mini marshmallows at the end creates yummy pockets of extra gooeyness throughout.
- Folding Everything Together
- When you mix in the Rice Krispies and strawberry crunch, use a gentle folding motion instead of hard stirring. This keeps the marshmallow mixture fluffy and stops the cereal from breaking. You want everything coated evenly while keeping all the different textures intact.
- Getting the Right Density
- Pour the mix into your pan while it's still warm and spreadable. The tip to "press down just enough" really matters—push too hard and you'll get dense, hard treats, too little and they'll fall apart when cut. Aim for just enough pressure to make them stick together but stay light.
- Adding Final Touches
- The marshmallow fluff drizzle on top and extra strawberry crunch sprinkles aren't just pretty—they boost the flavor and add more texture contrast. Heat the fluff in short microwave bursts so it doesn't get too runny; you want it thick enough to sit on top rather than soak in.
My first try at making the strawberry crunch turned into a sticky pink mess because I couldn't wait for it to cool properly. For the next batch, I forced myself to be patient for the full two hours, and wow, what a difference! Sometimes you just can't rush things in the kitchen, even if waiting isn't your strong point (it sure isn't mine).
Eye-Catching Presentation
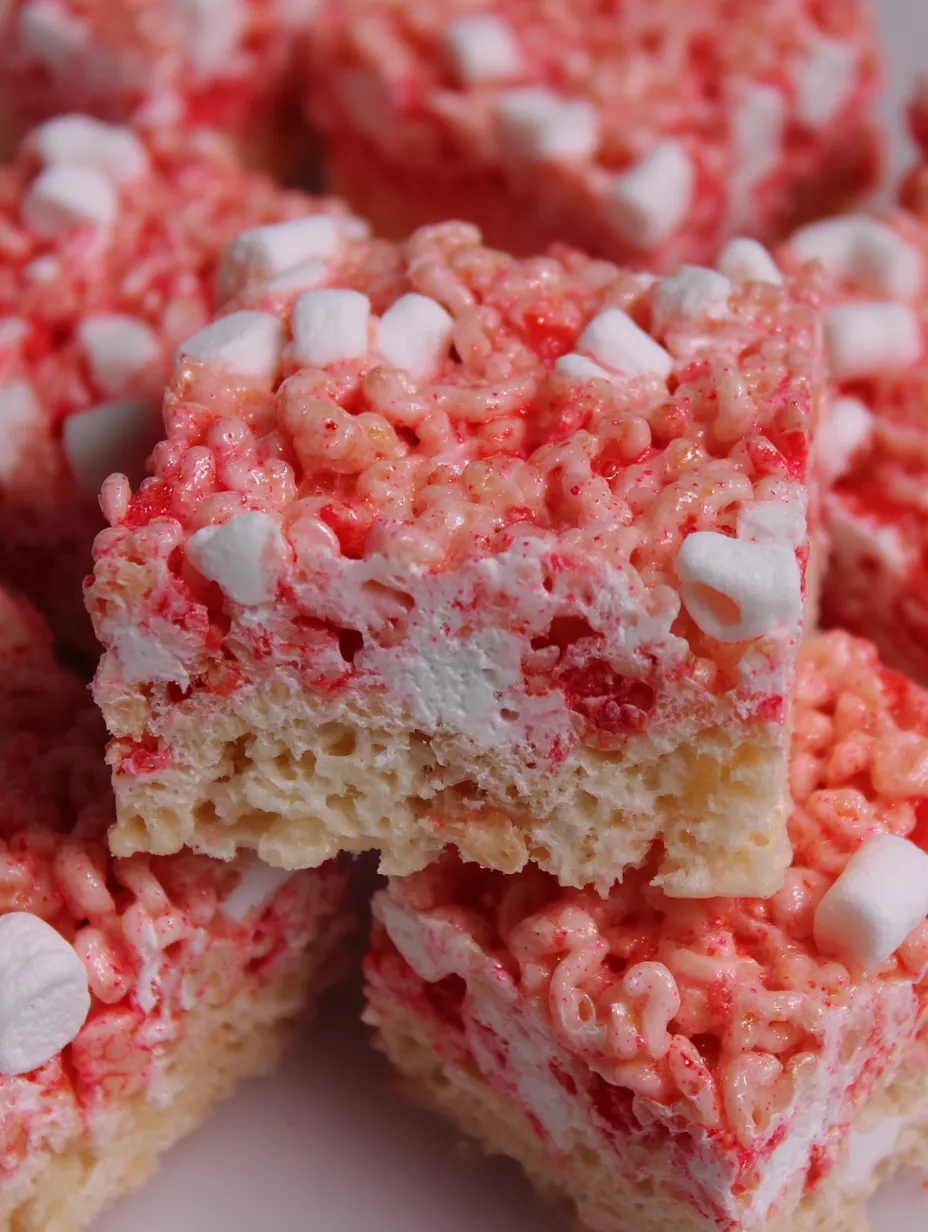
These treats look their best when cut into big squares and placed on a plain white plate—the bright pink really stands out against the white background. For parties, try cutting them into smaller bite-sized pieces so they're easier to grab. A fun twist is serving them next to scoops of vanilla ice cream, calling back to their ice cream bar roots. They go surprisingly well with afternoon coffee for adults or a cold glass of milk for kids.
Fun Twists
Play around with different flavors once you've got the basic idea down. Try using lime jello with graham cracker bits for a key lime pie feel, or orange jello with vanilla for a creamsicle flavor. During Christmas, add some peppermint extract to the marshmallow base and top with crushed candy canes for a holiday treat. Chocolate fans might love cocoa in the base with crushed Oreos instead of the strawberry crunch for a totally different but equally tasty version.
Keeping Them Fresh
Store your treats in an airtight container at room temp for up to three days. Put parchment paper between layers so they don't stick together and the crunch topping stays intact. Don't try freezing them—the cereal gets weirdly chewy instead of crispy when thawed. These make great gifts too—wrap single squares in wax paper and tie with string for a sweet homemade present that holds its shape well.
I've been playing with this recipe for three summers running, making it a little better each time. What started as a nostalgic experiment has turned into something my friends and family specifically ask for. There's something truly special about taking simple ingredients and creating something that brings everybody together—kids love the bright colors and sweetness while grown-ups get taken back to days of chasing down ice cream trucks in summer heat. Some recipes become favorites not because they're fancy, but because they connect old memories with new ones we're making right now.
Frequently Asked Questions
- → Is it okay to swap the homemade crumble for something premade?
- Sure thing! You can grab strawberry crumbles or toppings at most grocery stores or online. Use around 1¼ cups, and make sure to smash any large chunks before mixing with the cereal.
- → How long can these be stored before they aren’t fresh?
- These are best if eaten within two or three days. Keep them in an airtight container at room temp, with layers of parchment in between so they don’t stick. Avoid the fridge—it’ll dry them out.
- → Could I make these with a different flavor of Jello?
- Yes! Switch it up with cherry, raspberry, or lime Jello. Just stick with the vanilla pudding for the same creamy balance. Or go wild with combo flavors!
- → Why did mine come out hard instead of soft and gooey?
- If they turned out hard, it might mean the marshmallow mix was cooked too long or pressed too firmly into the pan. Melt the marshmallows just until smooth, and when pressing into the pan, keep it gentle—don’t pack it too tight.
- → Can I get these ready the day before a party?
- Yes! Make the crumble and the squares the day before, but wait to add the marshmallow fluff and final crunch on top until shortly before serving. It'll keep them tasting fresh!