
 Pin it
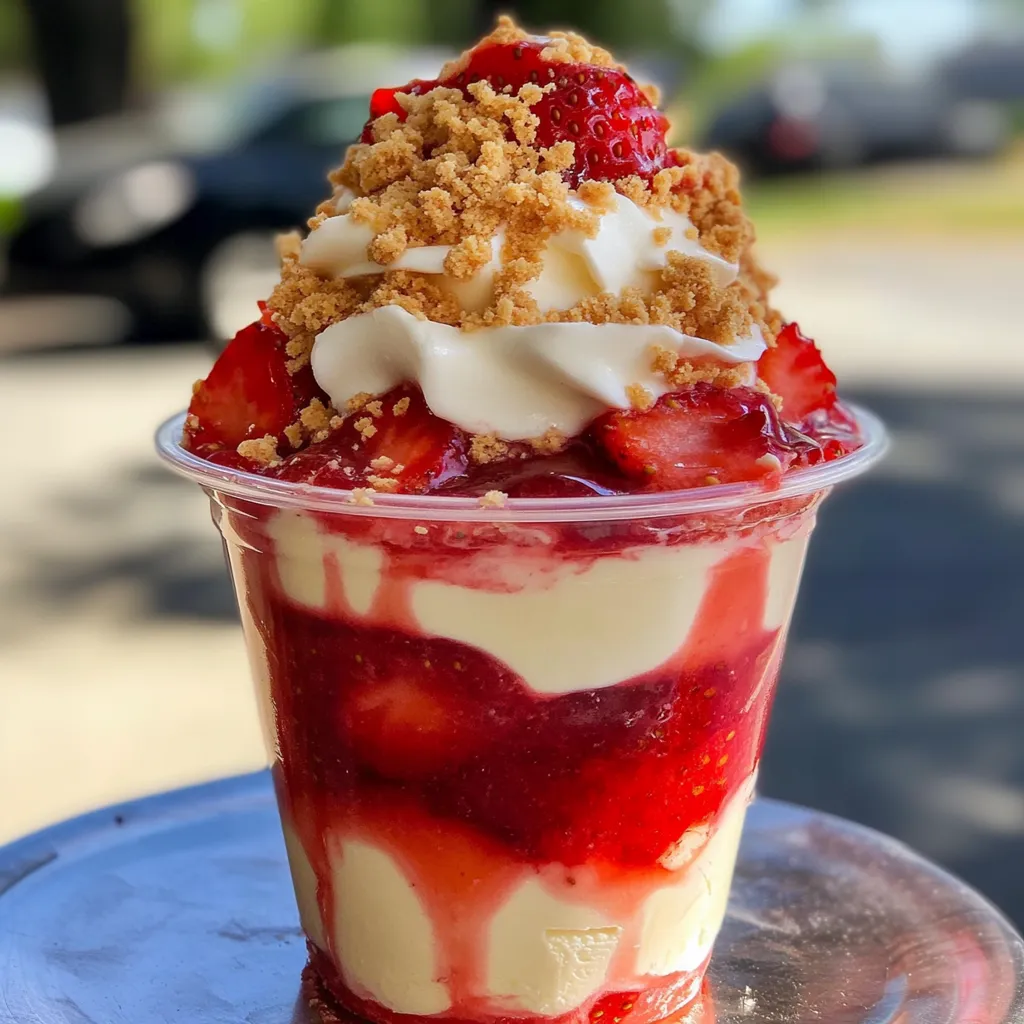
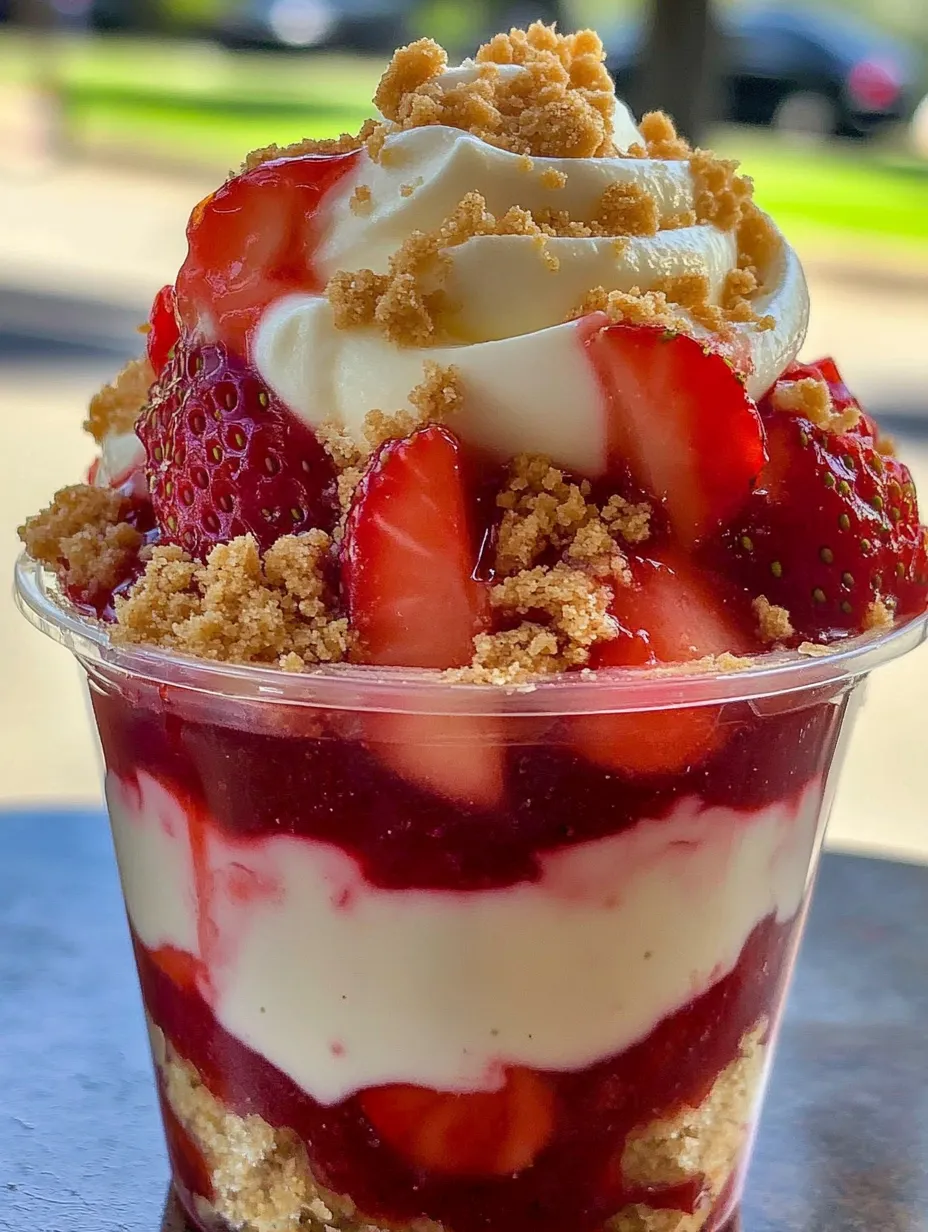
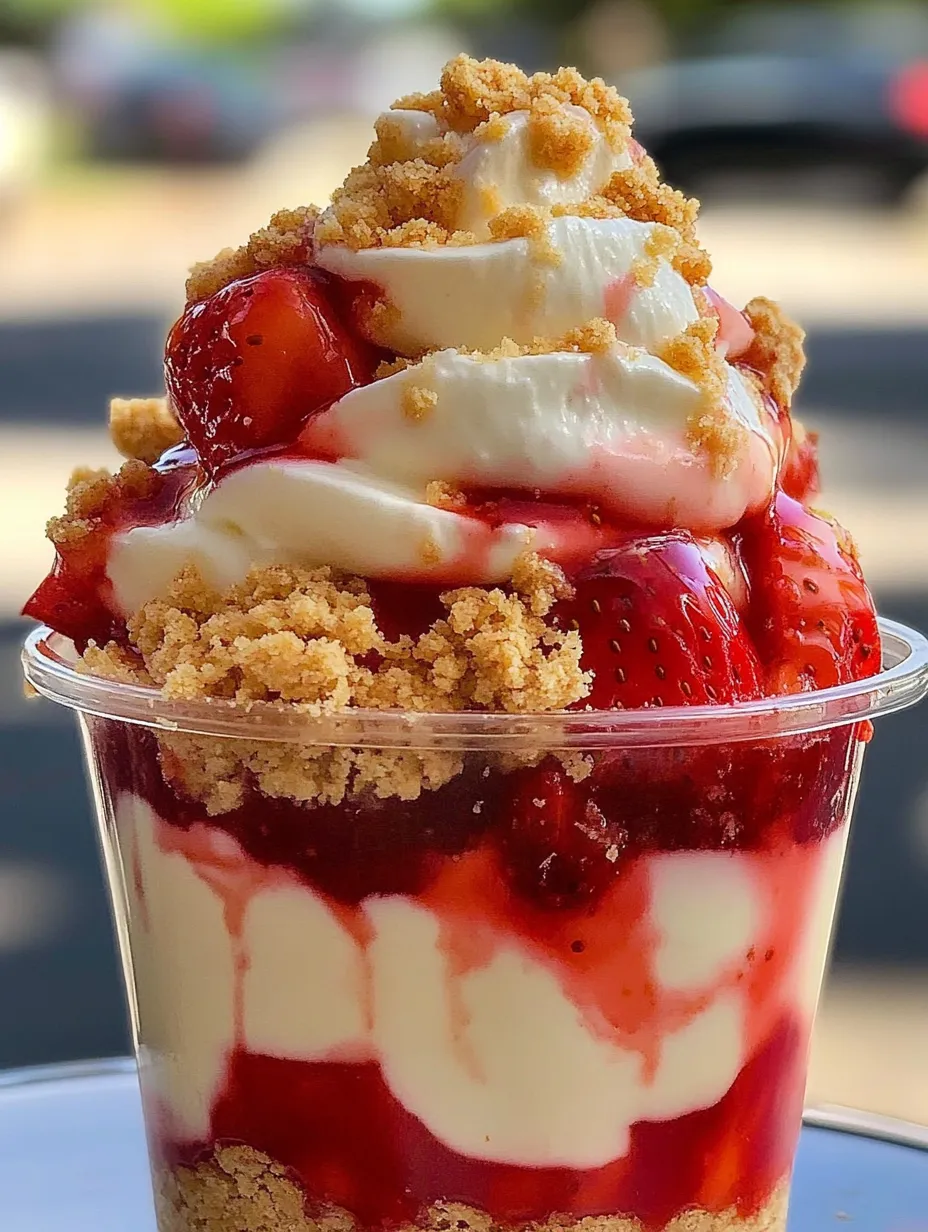
This strawberry cheesecake cup recipe transforms simple ingredients into an elegant dessert that's perfect for when you crave something sweet but don't want to turn on the oven. The layers of creamy cheesecake filling, homemade strawberry sauce, and buttery graham cracker crumble create a perfect balance of textures and flavors in every spoonful.
I first made these for a summer garden party when the temperature was too hot for baking, and they were such a hit that I now keep the components ready in my fridge for quick assembly whenever unexpected guests arrive.
Ingredients
For the Cheesecake Filling
- Cream cheese: Provides the classic tangy base. Make sure it's fully softened to room temperature for a smooth texture
- Powdered sugar: Sweetens without graininess. Sift it if lumpy for the silkiest result
- Vanilla extract: Adds warmth and depth. Use pure rather than imitation for best flavor
- Heavy whipping cream: Creates lightness. Chill the bowl and beaters beforehand for maximum volume
For the Graham Cracker Crumble
- Graham cracker crumbs: Form the classic cheesecake base. Honey grahams work particularly well
- Melted butter: Binds everything together. Unsalted gives you better flavor control
- Sugar: Helps caramelize the crumbs when baked. Even in the nobake version it adds sweetness
For the Strawberry Sauce
- Fresh strawberries: Provide vibrant flavor. Choose bright red berries with no white shoulders
- Granulated sugar: Balances any tartness. Adjust based on your berries sweetness
- Lemon juice: Brightens the flavor and helps set the sauce. Fresh squeezed makes a difference
- Cornstarch: Mixed with water thickens the sauce perfectly. Always mix separately before adding
Step-by-Step Instructions
Prepare the Graham Cracker Base
- Step 1:
- Mix the graham cracker crumbs thoroughly with melted butter and sugar until every crumb is moistened. The mixture should hold together when pressed between your fingers but still remain crumbly.
- Step 2:
- For a toasted version with deeper flavor, spread evenly on a baking sheet and bake at 350°F for exactly 5 minutes until just golden and fragrant. Watch carefully as it can burn quickly. Cool completely before using.
Create the Strawberry Sauce
- Step 1:
- Combine chopped strawberries, sugar, and lemon juice in a saucepan over medium heat. Stir occasionally to prevent sticking and help the berries break down, about 5 minutes. You want some chunks to remain for texture.
- Step 2:
- In a small bowl, mix cornstarch and water until completely smooth with no lumps. When strawberries are simmering and releasing juice, pour in the cornstarch mixture while stirring constantly. Continue cooking for 1 to 2 minutes until the sauce coats the back of a spoon. Remove from heat and allow to cool completely before using.
Whip the Cheesecake Filling
- Step 1:
- Beat the softened cream cheese in a large bowl until completely smooth with no lumps, about 2 minutes.
- Step 2:
- Add powdered sugar and vanilla, beating until fully incorporated and light in texture.
- Step 3:
- In a separate chilled bowl, whip the heavy cream until it forms stiff peaks that stand straight up when the beaters are lifted.
- Step 4:
- Using a rubber spatula, gently fold one third of the whipped cream into the cream cheese mixture to lighten it, then fold in the remaining whipped cream with a light hand until just combined. Avoid overmixing which can deflate the mixture.
Assemble the Cheesecake Cups
- Step 1:
- Start with a generous tablespoon of graham cracker crumble pressed lightly into the bottom of each serving cup.
- Step 2:
- Add a layer of cheesecake filling using a piping bag for neat presentation or carefully spoon it in.
- Step 3:
- Top with a layer of cooled strawberry sauce. Repeat the layers ending with cheesecake filling. For the most impressive presentation, use clear cups or glasses to showcase the beautiful layers.
- Step 4:
- Refrigerate for at least 30 minutes before serving.
The strawberry sauce is truly the heart of this recipe. I discovered that adding just a touch of lemon juice makes all the difference in highlighting the natural flavor of the berries. My grandmother always said that strawberries and lemon were meant to be together, and this recipe proves her right every time.
Make It Your Own
These cheesecake cups are incredibly versatile. For a chocolate version, add two tablespoons of cocoa powder to the graham cracker mix and fold melted and cooled chocolate into the cheesecake filling. The contrast between chocolate and strawberry creates an irresistible combination that chocolate lovers in your family will request again and again.
Storage Tips
The assembled cheesecake cups will keep in the refrigerator for up to 3 days, though the graham cracker layer will soften over time. For longer storage, prepare each component separately. The cheesecake filling stays fresh for up to 5 days refrigerated in an airtight container. The strawberry sauce can be refrigerated for up to a week or frozen for up to 3 months. The graham cracker crumble stays crisp for about a week in an airtight container at room temperature.
Seasonal Adaptations
While strawberries create the classic version, this dessert shines with seasonal fruits year round. In summer, try peaches or raspberries. Fall calls for spiced apples or pears simmered with cinnamon. Winter is perfect for citrus compotes with orange and grapefruit. Spring welcomes rhubarb cooked down with extra sugar to balance its tartness. The cheesecake base remains your constant while the fruit layer celebrates the changing seasons.
Frequently Asked Questions
- → How do I thicken strawberry sauce?
Add a slurry of cornstarch and water to the simmering strawberry mixture. Stir continuously until it thickens.
- → Can I make this dessert ahead of time?
Yes, you can assemble the cups a day in advance and store them in the refrigerator. Add toppings just before serving.
- → Can I use other fruits instead of strawberries?
Absolutely! Blueberries, raspberries, or mangoes work well as substitutes for the strawberries in this dessert.
- → Do I have to bake the graham cracker crumble?
No, you can skip baking and simply chill the crumb mixture for a no-bake option.
- → How long should I chill the dessert before serving?
Chill the assembled cups for at least 30 minutes, but 1-2 hours is recommended for the best texture.