
 Pin it
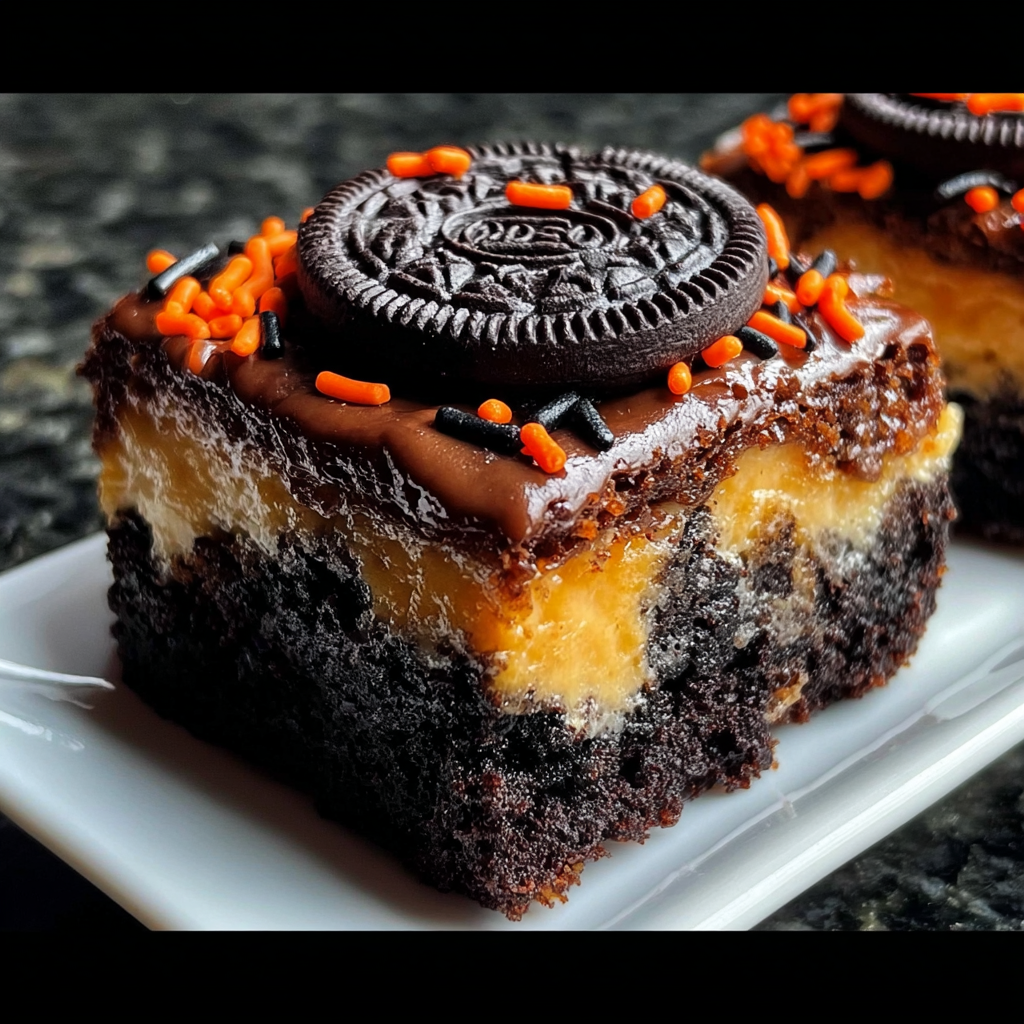
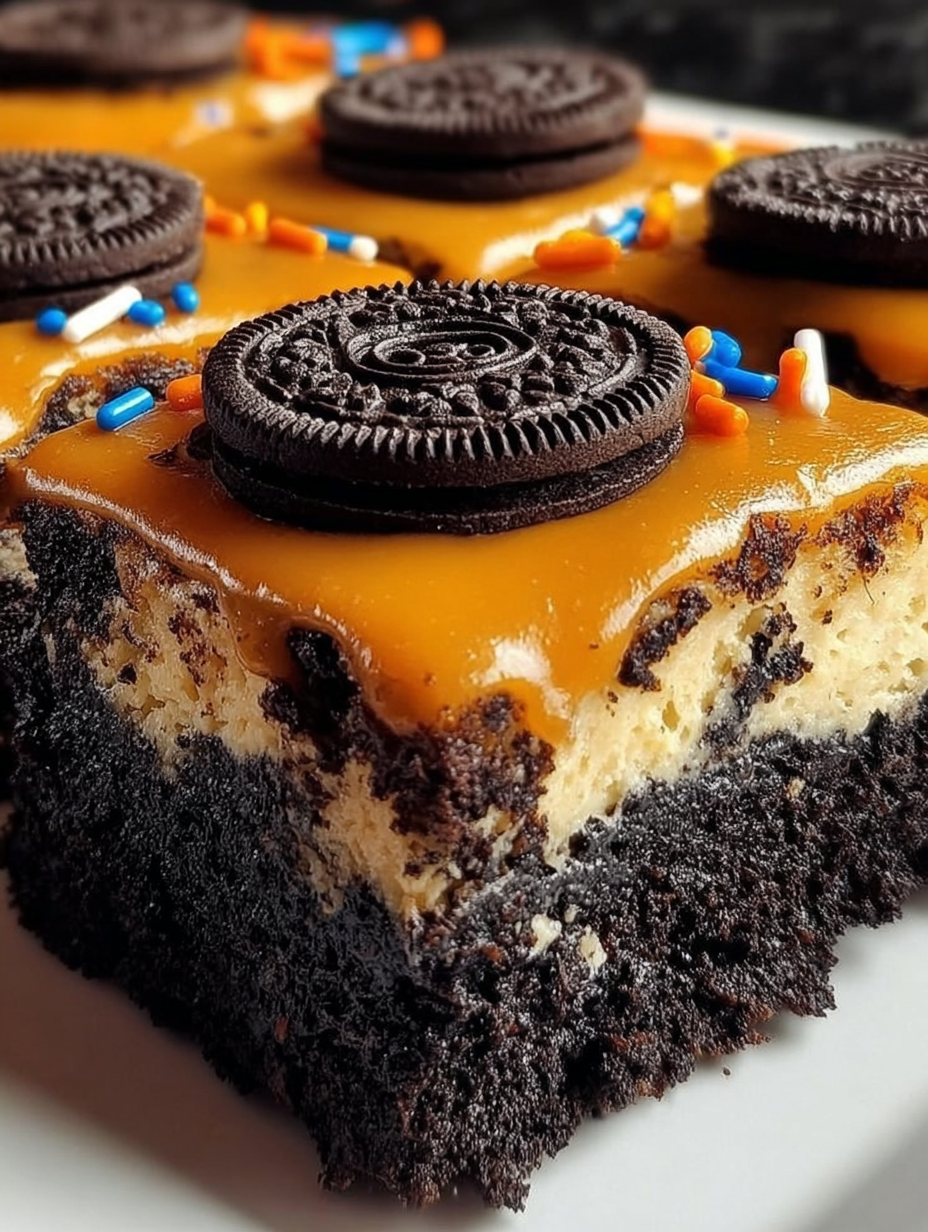
These spooky Oreo layered brownies are the ultimate Halloween showstopper, guaranteed to delight everyone from little ghouls to grown up monsters. They start with an incredibly rich and fudgy brownie base, hide a crunchy surprise layer of festive Oreos in the middle, and finish with a vibrant, spooky candy topping that’s as fun to make as it is to eat.
I first baked these for my neighborhood's annual Halloween potluck, and they were the first dessert to disappear. Now, my kids insist that it's not officially spooky season until we've made a batch of these brownies together.
Ingredients
- One cup unsalted butter: which is two sticks melted this is the key to a rich and fudgy texture not a cakey one
- Two cups granulated sugar: provides the classic brownie sweetness and contributes to that shiny crackle top
- One cup packed brown sugar: adds moisture and a delicious deep molasses flavor
- Four large eggs: they act as a binder and give the brownies their structure
- One tablespoon vanilla extract: enhances all the chocolate flavors
- One cup unsweetened Dutch processed cocoa powder: use this type if you can for a darker color and less bitter taste
- One cup all purpose flour: just enough to give the brownies body without drying them out
- One half teaspoon baking powder: provides a tiny bit of lift
- One half teaspoon salt: this balances all the sweetness and makes the chocolate pop
- One cup semi sweet chocolate chips: these are optional but create wonderful pockets of melted chocolate
- Twenty to twenty four Halloween Oreos: the orange creme center adds a festive look but classic Oreos work just as well
- One and a half cups white chocolate or candy melts: these are for the colorful topping so choose one that melts smoothly
- Orange and purple food coloring or candy melts: for creating that spooky drizzled design
- Halloween sprinkles: look for fun shapes like bats pumpkins or ghosts
- Candy eyeballs: these are optional but add so much personality to your brownies
Step-by-Step Instructions
- Prepare the Pan and Oven:
- First things first get your oven preheating to 350 degrees Fahrenheit or 175 degrees Celsius. Take your 9x13 inch baking dish and line it with parchment paper leaving some hanging over the sides. This overhang will act as handles later making it super easy to lift the brownies out. Give the paper a light greasing to be extra sure nothing sticks.
- Mix the Wet Ingredients:
- In a large mixing bowl pour in your melted butter. Add both the granulated and brown sugars and whisk them together until the mixture is smooth and glossy. This step dissolves the sugar and starts building the foundation for a great texture. Now add the eggs one at a time whisking thoroughly after each one is added until it's fully incorporated. Finally stir in the vanilla extract.
- Combine the Dry Ingredients:
- In a separate medium bowl sift together the cocoa powder all purpose flour baking powder and salt. Sifting is a step I learned not to skip as it breaks up any clumps and aerates the ingredients making for a smoother batter and a more tender brownie.
- Create the Brownie Batter:
- Gently pour the dry ingredients into the wet ingredients. Using a spatula stir everything together until it's just combined. You want to be careful not to overmix here some streaks of flour are okay. Overmixing develops the gluten in the flour which can make the brownies tough. If you're using them now is the time to fold in your semi sweet chocolate chips.
- Layer the Brownies:
- Pour about half of your brownie batter into the prepared pan. Use your spatula to spread it into an even layer covering the entire bottom. Next arrange the Halloween Oreos in a single tight layer across the batter. Don't be afraid to pack them in there. Carefully spoon the remaining brownie batter over the Oreos and spread it gently to cover them completely smoothing the surface.
- Bake to Perfection:
- Place the pan in your preheated oven and bake for thirty five to forty minutes. The sign of a perfect brownie is when a toothpick inserted into the center comes out with a few moist fudgy crumbs attached not wet batter. Let the brownies cool completely in the pan set on a wire rack. This is crucial for them to set properly.
- Decorate Your Masterpiece:
- Once the brownies are totally cool it’s time to decorate. Melt your white chocolate or candy melts in a microwave safe bowl in thirty second bursts stirring between each one until it's perfectly smooth. Divide the melted chocolate into a couple of small bowls and tint them with your orange and purple food coloring. Drizzle the colored chocolate all over the top of the brownies creating a fun spooky pattern. While the chocolate is still wet immediately scatter on your Halloween sprinkles and place your candy eyeballs. Let the topping set for about twenty to thirty minutes before you even think about slicing.
- Slice and Serve:
- Use the parchment paper handles to lift the entire slab of brownies out of the pan and onto a cutting board. For the cleanest cuts use a large sharp knife. I like to run my knife under hot water and wipe it dry between each and every slice. This little trick prevents dragging and smearing. Cut them into sixteen squares and get ready for the compliments.
My favorite part of this recipe has to be the Dutch processed cocoa powder. It seems like a small thing but it truly transforms the brownies giving them a deep dark chocolate flavor that you just can't get with regular cocoa. It reminds me of the first time I made these for my family my youngest was so excited to place every single candy eyeball on top creating a whole family of brownie monsters.
Storing Your Spooky Brownies
To keep these brownies fresh store them in an airtight container at room temperature. They will stay soft and delicious for up to four days. If you stack them place a sheet of parchment paper between the layers to prevent the toppings from sticking together. I don't recommend refrigerating them as it can dry them out and change that perfect fudgy texture.
Fun Ingredient Swaps
Don't feel locked into using Halloween Oreos. Any flavor of Oreo will work great from classic to mint or peanut butter. You can also swap the semi sweet chocolate chips for dark chocolate peanut butter chips or butterscotch chips for a different flavor profile. If you want to add another layer of texture try adding a cup of chopped walnuts or pecans to the batter.
How to Serve These Treats
These brownies are a fantastic treat all on their own but they are truly decadent when served slightly warm with a big scoop of vanilla bean ice cream. For a party I like to arrange them on a festive platter and maybe even add some fake spiderwebs around the display for extra spooky flair. They also pair wonderfully with a cold glass of milk or a hot cup of coffee for the adults.
Frequently Asked Questions
- → What kind of Oreos should I use?
Halloween Oreos with the orange creme filling are ideal for a festive look, but classic Oreos work just as well!
- → How do I keep the brownies fudgy?
Avoid overbaking! Insert a toothpick into the center; it should come out with a few moist crumbs.
- → Can I make these brownies ahead of time?
Yes! Bake the brownies a day in advance and decorate them the next day for easier prep. Store in an airtight container.
- → What's the best way to melt the white chocolate?
Melt it in 30-second intervals in the microwave, stirring in between, until smooth to avoid burning.
- → How do I get neat brownie slices?
Dip your knife in hot water, dry it thoroughly, and then slice. Wipe the knife clean between each cut.
- → What are some other topping variations?
Try adding chopped Snickers, Kit Kats, or Reese's cups with the Oreos. You can also add cream cheese frosting before sprinkles or pipe white chocolate spiderwebs on top for a spooky effect. For a fall flavor, add 1 teaspoon pumpkin pie spice to the batter.