
 Pin it
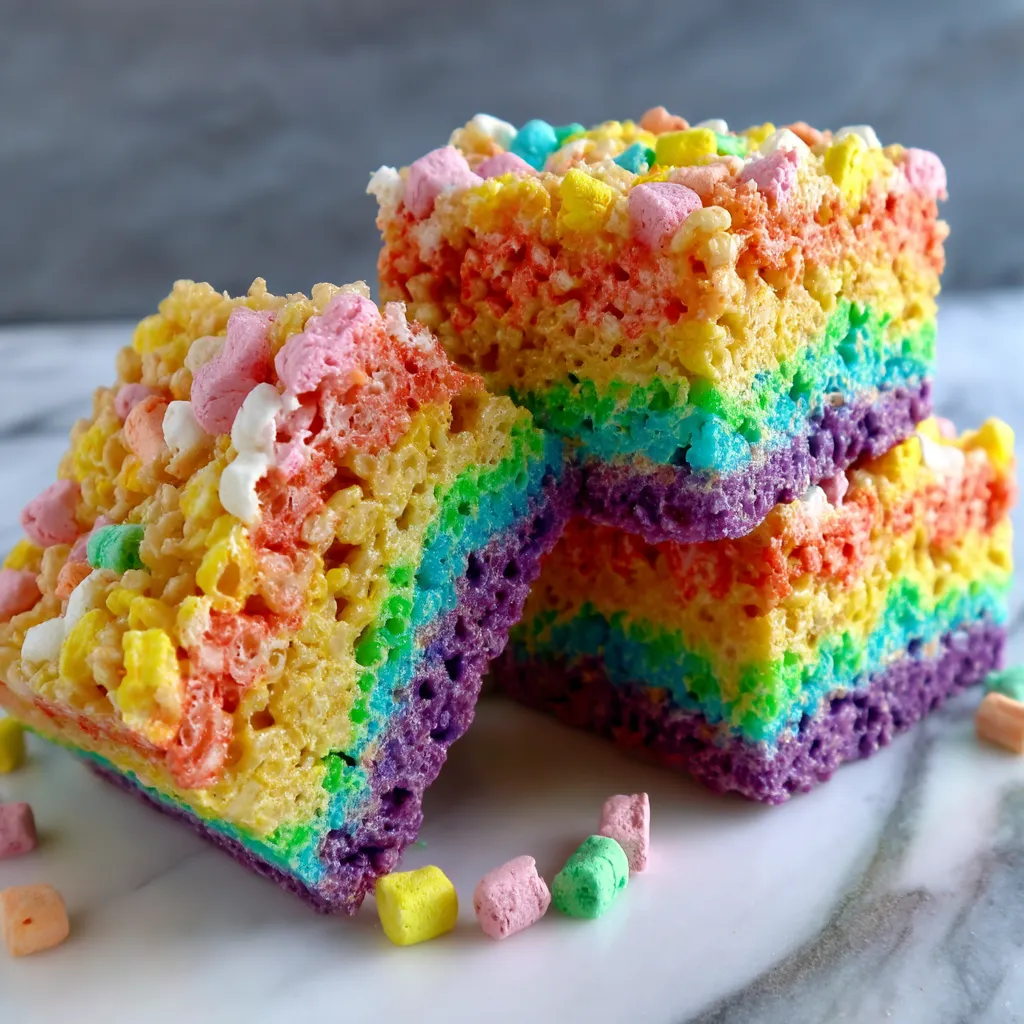
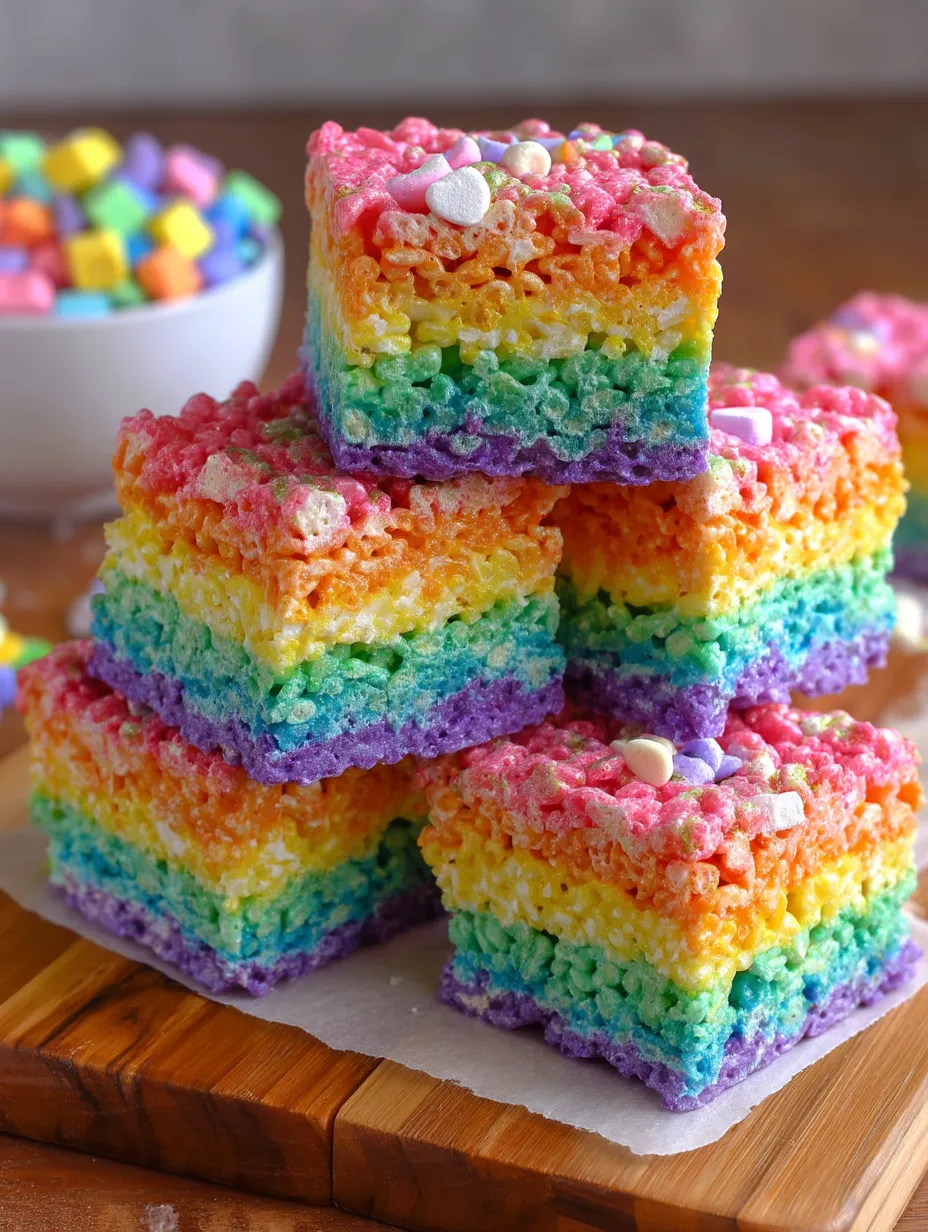
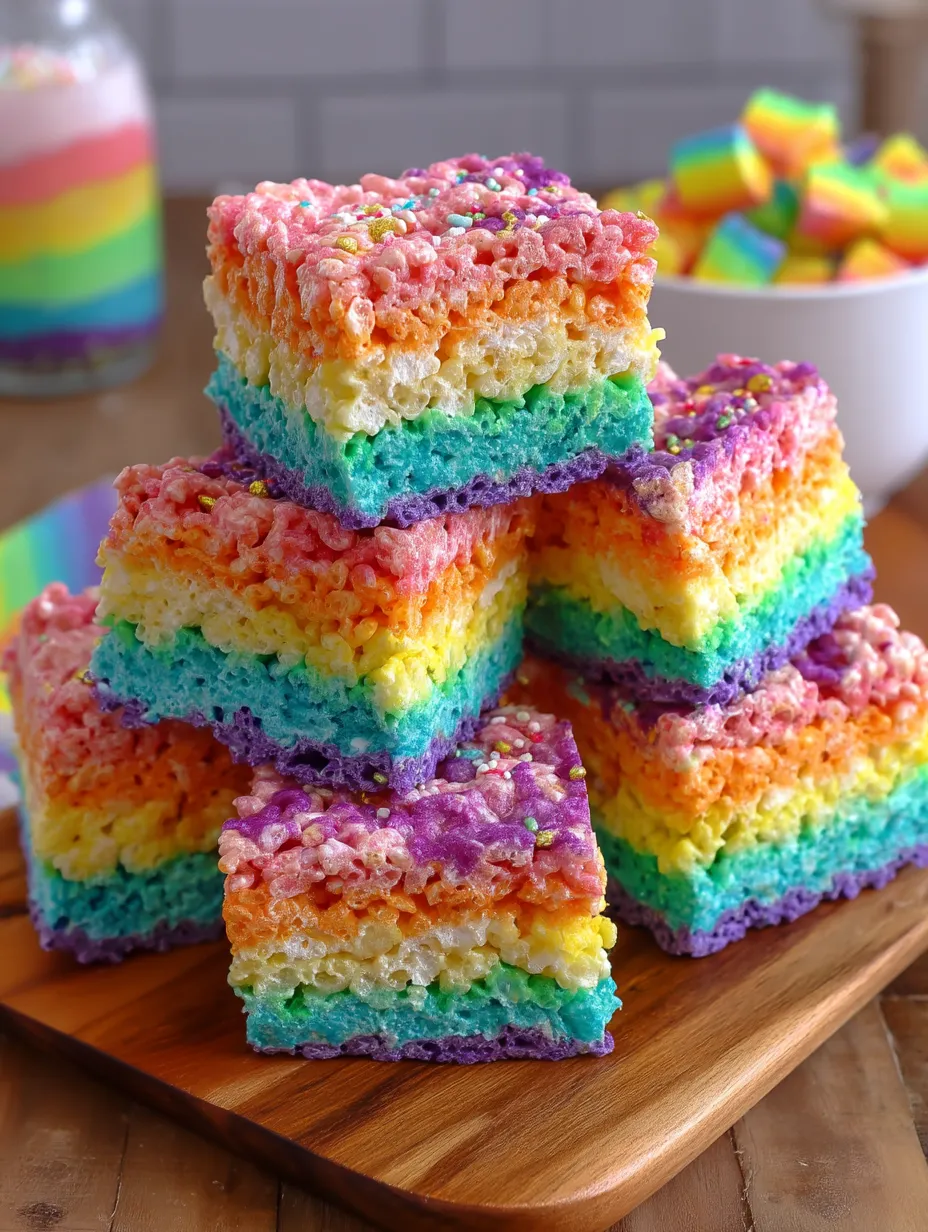
These colorful rice krispie squares with rainbow layers will make everyone grin. We've taken the sweet, gooey snack you already love and jazzed it up with bright colors. They're perfect for any party and look fancy but aren't actually hard to make. You just need a bit of patience as you build up each beautiful layer.
When my niece asked for these at her birthday last year, I couldn't say no. The kids' jaws dropped when they spotted the rainbow squares on the table. And I noticed plenty of grown-ups sneaking them too, which just goes to show some sweets never get old.
Ingredients
- Mini Marshmallows: The tiny ones melt better than the jumbo size—grab a fresh bag for best results
- Butter: Gives these treats their mouthwatering richness—go with unsalted to let the sweetness really come through
- Rice Krispies Cereal: The backbone of our treat that brings the signature snap and pop—any brand will do just fine
- Gel Food Coloring: Creates those bold, bright layers without making things soggy—regular drops can work too but you'll need more
- Wax Paper: Your best friend for clean removal and no sticking—parchment paper makes a good substitute
I learned that gel food colors make all the difference for getting those super bright layers. They pack more punch than regular drops and won't add extra liquid that might make your treats too soft.
Step-by-Step Instructions
- Smart Setup
- Get your pan ready by putting wax paper inside with extra hanging over the edges as lifting handles. Give it a quick spray with cooking oil to stop sticking. A square pan works great for making those pretty layered slices.
- Melt With Care
- Heat your butter and marshmallows in short microwave bursts, stopping to stir between each. This keeps them from burning and helps them melt smoothly. You want everything completely mixed with no lumps or chunks left.
- Split And Color
- Divide your melted marshmallow mix evenly into six bowls. Add your food coloring while everything's still warm and easy to mix. Start with just a little color—you can always add more if you need to.
- Mix In The Crunch
- Add the right amount of cereal to get that perfect balance of gooey and crispy. Fold it in gently to keep things light and airy instead of packed down and dense.
- Build Your Rainbow
- Press each colored layer in firmly but carefully so they stick together without getting squished. Use a buttered spatula to spread without sticking. Start with red on bottom and work your way through orange, yellow, green, blue and purple for a true rainbow effect.
- Let It Rest
- Wait until everything's completely cool before cutting. This might take a while but it's worth it—rush this part and your slices won't look nearly as neat. The waiting is what makes those layers show up so well.
- Cut Like A Pro
- Lift the whole block out using those wax paper handles. Trim the edges for super clean sides and perfect color lines. Use a big sharp knife and wipe it clean between cuts for the prettiest slices.
My first try at these ended up as a messy rainbow blob because I was in too much of a hurry. Now I know that taking my time with each layer and letting them cool properly is the key to those Instagram-worthy treats that make everyone say wow. Some things in the kitchen just can't be rushed.
Serving Suggestions
These bright treats look amazing all on their own but you can make them extra special. For kids' birthdays, stand them up on a white plate to show off all the colors. At St. Patrick's Day parties, arrange them in a rainbow shape with little dishes of chocolate coins at the ends. For unicorn-themed events, drizzle some melted white chocolate on top and add a sprinkle of edible glitter before it hardens for some magic sparkle.
Creative Variations
Switch up your colors to match different events. Try red and green layers for Christmas, your local team colors for game day, or soft pastels for a baby shower. Want to take it up a notch? Add a tiny bit of matching flavor extract to each color—like vanilla for yellow, lime for green, or grape for purple. For a cute finishing touch, push some mini white chocolate chips into the top purple layer while it's still soft to look like fluffy clouds at the rainbow's end.
Storage Success
Keep your treats in a sealed container at room temp for up to three days. Put some wax paper between layers so they don't stick together or swap colors. Don't try freezing them—they'll get too hard and won't have that nice chew when thawed. If you're giving these as gifts, wrap each piece in clear wrap with a pretty ribbon for a colorful present that'll bring smiles.
I've brought these rainbow squares to tons of parties, school events, and family get-togethers over the years. What started as just a fun idea has turned into my most asked-for treat. There's something about biting into what looks like a piece of actual rainbow that makes people happy, no matter how old they are. The extra time it takes to make all those pretty layers is totally worth it when you see the joy they bring.
Frequently Asked Questions
- → Can liquid colors replace gel food coloring?
- You could, but gel works way better here. Liquid food colors need a lot more product to make the layers vibrant, which can impact the flavor and add unwanted moisture. Gel colors keep the texture right and the colors vibrant.
- → How long do these last once made?
- They’ll stay fresh for 1-2 days in an airtight container at room temperature. Place wax paper between layers if stacking. To freeze, wrap individually with plastic and put them in a freezer bag. They’re good for up to 6 weeks.
- → Why did mine turn out hard instead of soft?
- This happens if the marshmallow mix overheats, changing its texture, or if you press the cereal down too hard in the pan. Melt just until smooth and avoid overpacking the layers when stacking them.
- → Can I switch out the Rice Krispies for a different cereal?
- Sure! Light cereals like Fruity Pebbles, Cocoa Krispies, or Frosted Krispies work well. Just stick to the same measurements, and you’re good to go.
- → Do I need to use all the rainbow colors?
- Nope! Choose colors that match your theme—sports teams, holidays, or ombré shades can all work. Just divide the marshmallow mixture by how many colors you’re using.