
 Pin it
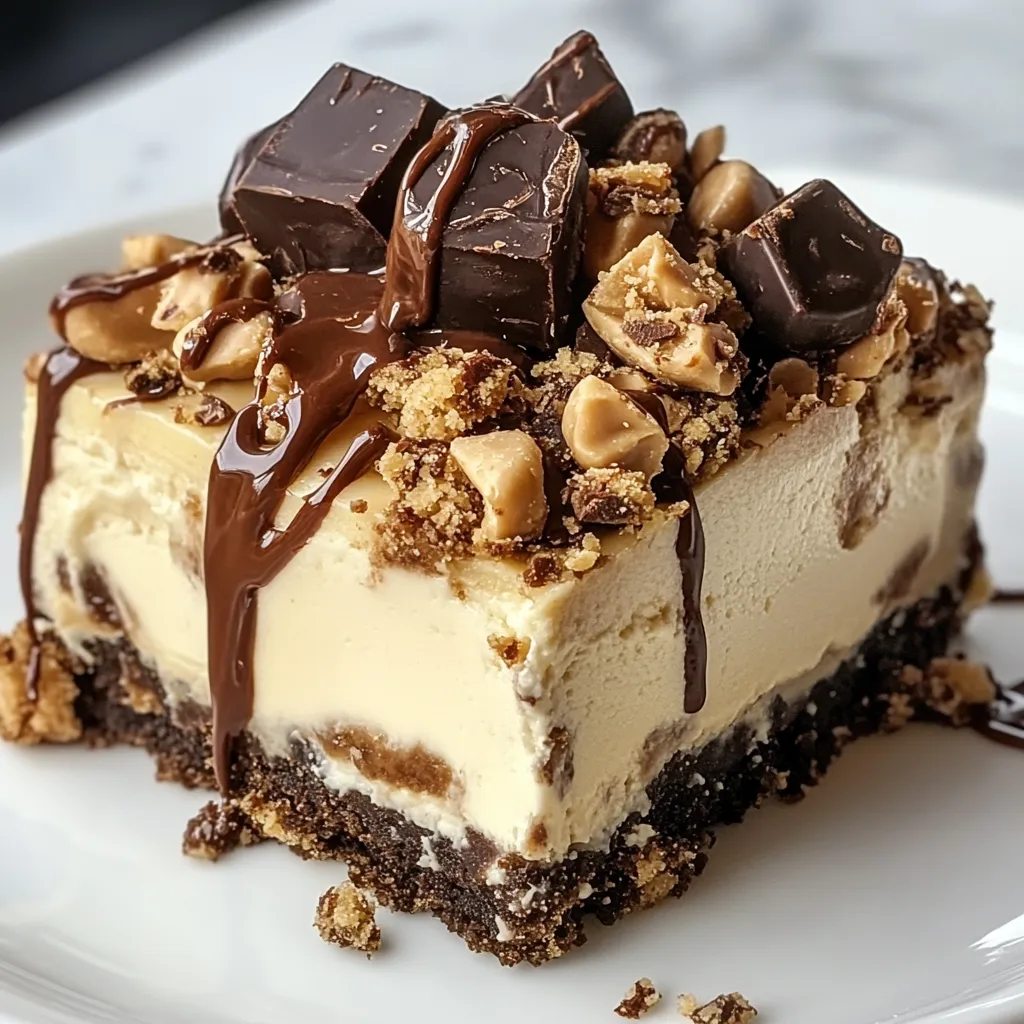
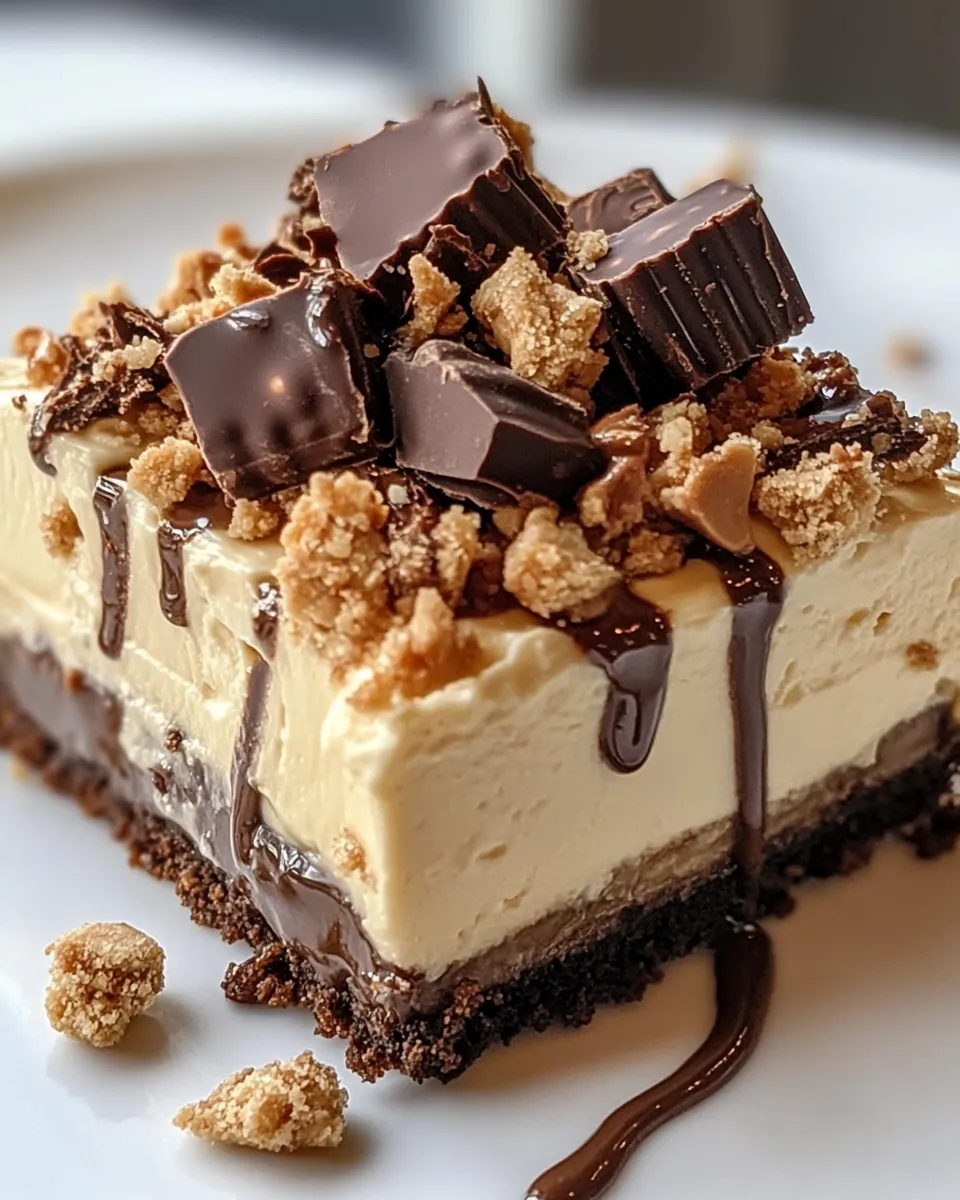
This sinfully delicious peanut butter cup dump cake pairs the classic flavors of chocolate and peanut butter in a gloriously simple dessert. The combination of rich chocolate cake, creamy peanut butter swirls, and chunks of peanut butter cups creates a dessert that feels like a warm hug on a plate.
I first made this cake for my nephew's birthday when I was running behind on preparations. It was such a hit that it's now requested at nearly every family gathering. The look on everyone's face when they take that first warm bite is absolutely priceless.
Ingredients
- Chocolate cake mix: Provides the perfect base and saves so much time. Look for a dark chocolate variety for more depth
- Creamy peanut butter: Creates luscious pockets of flavor throughout the cake. Choose a commercial brand like Jif or Skippy for the best texture
- Milk: Adds moisture to the cake batter. Whole milk gives the richest results
- Chocolate chips: Melt into gooey pockets throughout. Semisweet works best but milk chocolate is fine for a sweeter cake
- Peanut butter cups: Chopped create candy bar flavor bombs in every bite. Refrigerate before chopping for cleaner cuts
- Vegetable oil: Ensures a moist tender crumb. You can substitute melted butter for more flavor
- Large eggs: Bind everything together and add richness. Room temperature eggs incorporate more easily
- Vanilla extract: Enhances all the flavors. Pure vanilla makes a noticeable difference
- Powdered sugar: Adds a beautiful finishing touch and subtle sweetness. Completely optional but very pretty
Step-by-Step Instructions
- Prepare Your Workspace:
- Preheat your oven to exactly 350°F and thoroughly grease your baking dish making sure to get into all corners. Having everything measured and ready before you start mixing will make this process incredibly smooth.
- Create The Cake Batter:
- In your largest mixing bowl combine the chocolate cake mix vegetable oil milk eggs and vanilla. Mix until just combined with no dry spots but avoid overmixing which can make the cake tough. The batter should be thick but pourable with a glossy appearance.
- Build The First Layer:
- Pour precisely half of your batter into the prepared baking dish using a silicone spatula to spread it evenly to all corners. This foundation layer needs to be even for the best final texture.
- Add The Peanut Butter Layer:
- Warm your peanut butter in the microwave for about 15 seconds to make it more spreadable then drop it by generous spoonfuls over the batter. No need to spread it as it will melt during baking. Sprinkle half your chocolate chips and chopped peanut butter cups evenly across the surface.
- Complete The Layers:
- Pour the remaining cake batter over the peanut butter layer carefully covering as much as possible. Some peanut butter peeking through is perfectly fine and adds to the rustic charm of this dessert.
- Add The Final Toppings:
- Sprinkle your remaining chocolate chips and peanut butter cup pieces across the top distributing them evenly. These will partially sink during baking creating pockets of chocolate and peanut butter throughout.
- Bake To Perfection:
- Bake in your preheated oven for 30 to 35 minutes. The cake is done when a toothpick inserted into the center comes out with a few moist crumbs but no wet batter. The edges will pull slightly away from the pan.
- Serve Warm:
- Allow the cake to cool for about 15 minutes before serving. This resting time lets the melted components set slightly while keeping that wonderful warm gooey texture. Dust with powdered sugar just before serving if desired.
The chopped peanut butter cups are truly the star ingredient here. I remember the first time my daughter helped make this she sneaked so many pieces that we had to open another package. Now we always buy extra knowing some will disappear during preparation. That shared laughter over caught candy snitching is now part of our baking tradition.
Storage Suggestions
This cake maintains its delicious texture for several days when stored properly. Cover any leftover cake tightly with plastic wrap or transfer to an airtight container. It will stay fresh at room temperature for 2 days or in the refrigerator for up to 5 days. The cake actually develops even deeper flavors overnight as the peanut butter and chocolate meld together.
Delicious Variations
While this recipe is perfect as written there are several ways to customize it to your taste preferences. Try using chunky peanut butter instead of creamy for added texture. For an extra indulgent version drizzle warm chocolate ganache or peanut butter sauce over the top just before serving. You can also experiment with different candy pieces like peanut butter M&Ms or Reese's Pieces for colorful variety.
Serving Ideas
This cake is versatile enough for nearly any occasion. Serve warm squares topped with a scoop of vanilla ice cream for an over the top dessert experience. Cut into smaller pieces and arrange on a platter for potlucks or parties. For a special touch warm individual servings for 15 seconds in the microwave before adding a dollop of whipped cream and a light dusting of cocoa powder.
Frequently Asked Questions
- → Can I use crunchy peanut butter instead of creamy?
Yes, crunchy peanut butter adds texture to the dessert, but it won't melt as smoothly as creamy peanut butter.
- → Can this cake be made ahead of time?
Yes, you can bake it a day in advance. Warm it up slightly before serving for the best experience.
- → Can I substitute regular butter for vegetable oil?
Yes, melted butter can replace vegetable oil, though it may slightly change the cake's texture.
- → What alternative toppings can I use besides powdered sugar?
Consider drizzling melted chocolate, caramel sauce, or a dollop of whipped cream on top for extra indulgence.
- → How do I store leftover cake?
Store leftover cake in an airtight container at room temperature for up to 2 days or in the refrigerator for up to 5 days.
- → Can I add nuts for extra crunch?
Absolutely! Chopped peanuts or walnuts make a delicious addition to the cake batter or as a topping.