
 Pin it
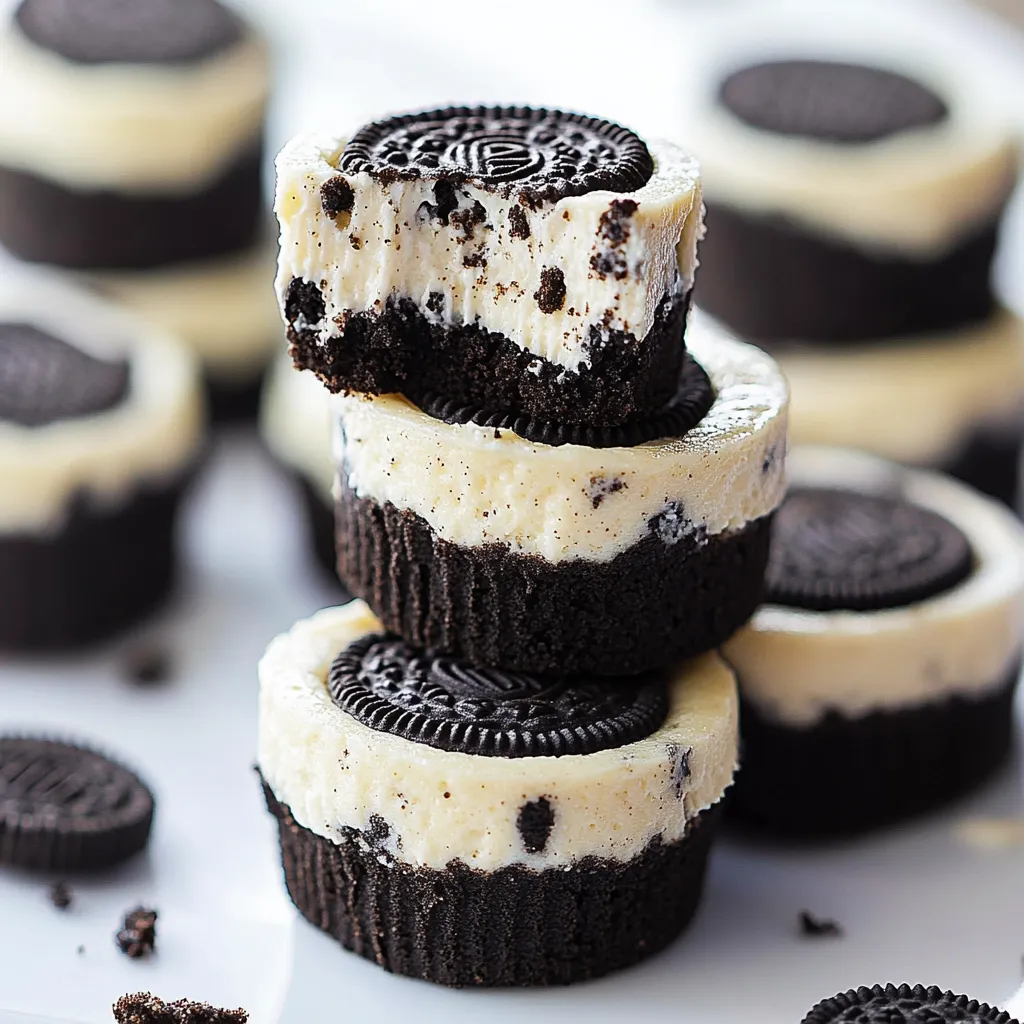
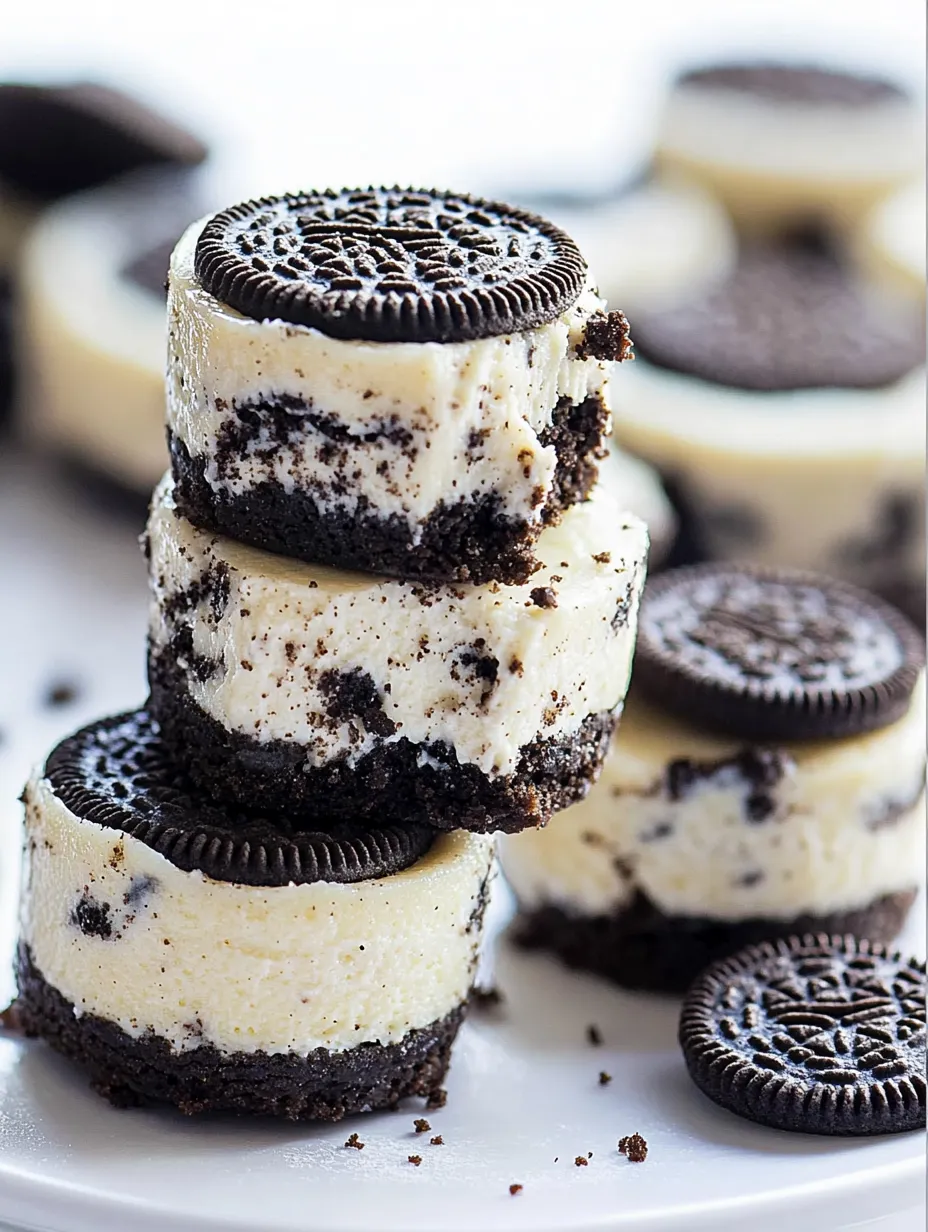
These Mini Oreo Cheesecakes have been my secret weapon for potlucks and family gatherings for years now. They combine two of life's greatest pleasures – creamy cheesecake and Oreo cookies – into perfectly portioned bites of heaven. I discovered this recipe when I needed a dessert that would transport easily to my sister's baby shower, and they were such a hit that I've been making them ever since. The best part? They only need 5 ingredients and come together in under 30 minutes, which makes them perfect for last-minute dessert emergencies (we've all been there!).
The first time I made these for my niece's birthday party, they disappeared faster than the pizza. My brother-in-law, who claims he "doesn't do desserts," ate three of them while standing by the dessert table, thinking nobody was watching. I was, though, and it's still my favorite silent victory. Even my picky mother-in-law asked for the recipe, which in my family is the culinary equivalent of winning an Olympic gold medal.
Simple Ingredients
Cream Cheese - The foundation of our cheesecake filling. You'll need two 8-ounce packages, and make sure they're at room temperature before you start. I've tried using light cream cheese to save calories, but the texture just isn't the same. Some things are worth the splurge.
Oreo Cookies - The stars of the show! You'll need whole cookies for the crusts (one per cheesecake) and crushed cookies for mixing into the filling and sprinkling on top. Regular Oreos work best, but I've experimented with different flavors like mint and golden with great results.
Sugar - Just enough to sweeten the filling without overwhelming the cookies and cream flavor. I've tried reducing it by a tablespoon or two, and honestly, no one noticed the difference.
Eggs - These bind everything together and give the cheesecakes their custardy texture. Make sure they're at room temperature too, or they won't incorporate as smoothly.
Vanilla Extract - A little splash enhances the "cookies and cream" flavor. Use the real stuff if you can – in such a simple recipe, every ingredient matters.
Easy Preparation
Make the Simple CrustPreheat your oven to 350°F and line a standard muffin pan with paper liners. This recipe makes about 16 mini cheesecakes, so you might need to use two pans or bake in batches. Place a whole Oreo cookie in the bottom of each liner – no crushing, no mixing, just drop them in. This is the easiest cheesecake crust you'll ever make, and it works perfectly.
Mix the Creamy FillingIn a large mixing bowl, beat together 16 ounces of softened cream cheese and 1/2 cup of sugar until smooth and fluffy. Take your time with this step – getting air into the mixture now means lighter, fluffier cheesecakes later. Add 2 eggs one at a time, beating well after each addition, then mix in 1 teaspoon of vanilla extract. The mixture should be silky smooth with no lumps.
Add the Oreo MagicThis is where things get good. Crush about 8-10 Oreo cookies into chunks – some bigger, some smaller. You want a mix of textures, not fine crumbs. I usually put them in a zip-top bag and crush them with a rolling pin, leaving some larger pieces for texture. Fold these cookie pieces gently into your cheesecake batter with a spatula. Don't overmix or use the electric mixer for this step – you want visible Oreo pieces throughout the filling.
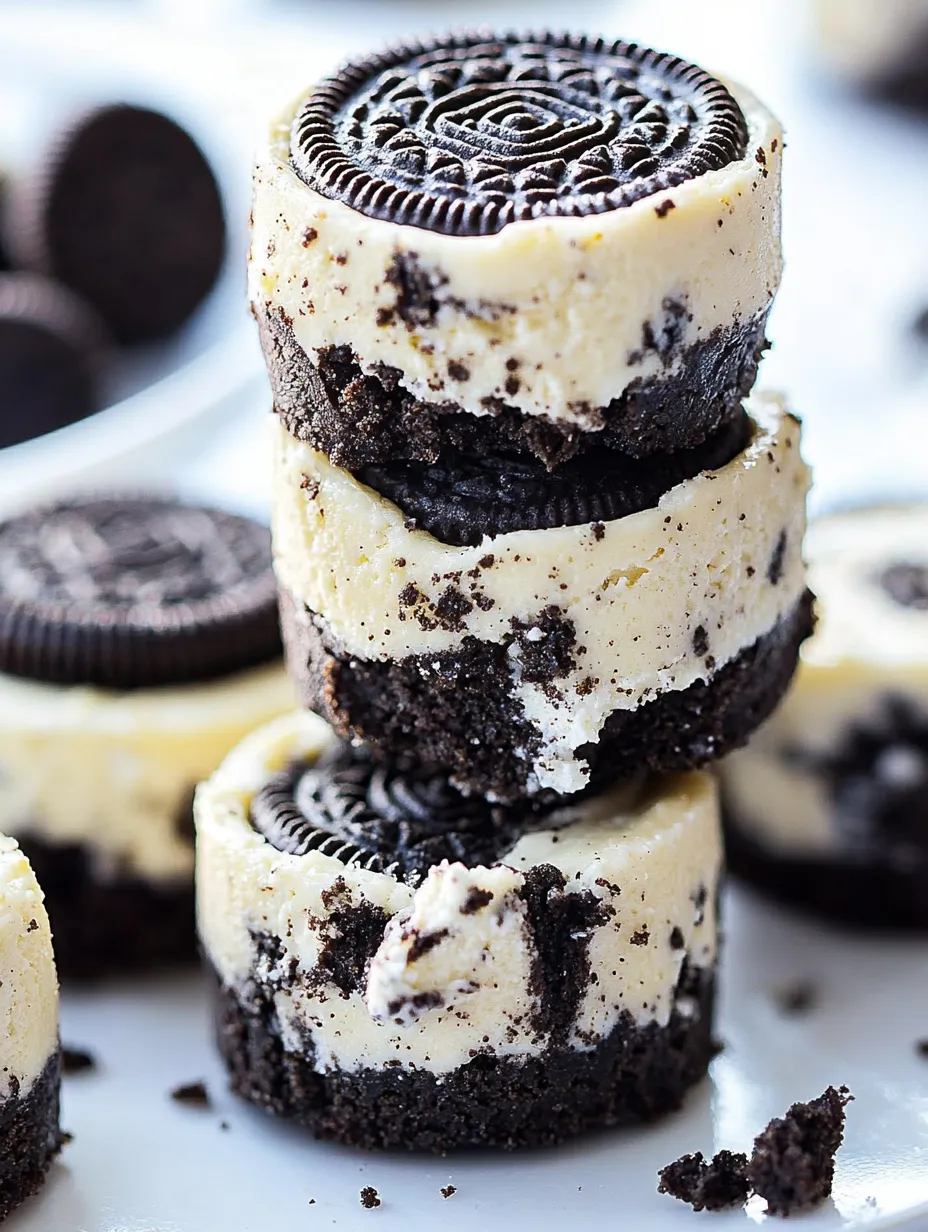
Fill and TopSpoon the Oreo-studded cheesecake filling over each whole Oreo in the muffin cups, filling each about 2/3 full. The cheesecakes will rise a bit during baking but shouldn't overflow if you've measured correctly. Crush a few more Oreos and sprinkle the pieces over the tops of each cheesecake. This gives them that distinctive cookies and cream look and adds extra texture.
Bake to PerfectionBake the cheesecakes for 15-16 minutes, just until the centers are set but still slightly jiggly. They'll firm up more as they cool. Be careful not to overbake – that's what causes cheesecakes to crack and dry out. Let them cool in the pan for about 30 minutes, then transfer to the refrigerator to chill completely, at least 2 hours or overnight.
I learned the perfect timing for these cheesecakes through trial and error. The first batch I made, I baked them for nearly 25 minutes because I was paranoid about raw eggs. They were still delicious but definitely on the dry side. The next time, I got distracted by a phone call and pulled them out after just 14 minutes – they had the most amazing creamy texture that everyone raved about. Now I set my timer for 15 minutes and watch them like a hawk for that slight jiggle in the center that signals perfection.
Creative Twists
These mini cheesecakes are wonderfully adaptable to different flavors and occasions. For a festive holiday version, I swap in Peppermint Oreos and add a drop of peppermint extract to the filling. The red flecks in the cookies make them look beautifully Christmas-y without any extra effort. A tiny candy cane garnish takes them completely over the top. For chocolate lovers in my family (basically everyone), I sometimes add 2 tablespoons of unsweetened cocoa powder to the cheesecake mixture. This creates a double-chocolate effect with the Oreos that's absolutely decadent. Top with a drizzle of warm Nutella just before serving for an indulgence that's almost too good to share. My daughter's favorite variation involves layering. I put half the filling in each cup, add a whole Oreo in the middle, then top with the remaining filling. When you bite into the cheesecake, there's a surprise whole cookie in the center. It takes a bit more time, but the look on people's faces when they discover the hidden cookie makes it worthwhile.
Serving Suggestions
These Mini Oreo Cheesecakes are perfect for serving at parties because guests can just grab and eat without needing plates or forks. I often place them on a tiered dessert stand for a visual impact that makes the dessert table look extra special. For fancier occasions, I'll arrange them on a large platter and surround them with fresh berries for a pop of color. If you're feeling extra indulgent, serve these alongside a simple chocolate sauce for dipping. Just warm some heavy cream and pour it over chocolate chips, stir until smooth, and you've got the perfect accompaniment. A scoop of vanilla ice cream also pairs beautifully with these for a more substantial dessert experience. For a fun dessert bar idea, set out these mini cheesecakes along with various toppings – chocolate sauce, caramel drizzle, crushed nuts, and different flavored whipped creams. Let guests customize their own cheesecake bites. This has been a huge hit at birthday parties and gives everyone a chance to create their perfect dessert.
Storage Secrets
These cheesecakes actually improve with a little time in the refrigerator, making them perfect for preparing ahead. Store them in an airtight container in the refrigerator for up to a week, if they last that long. I like to make them at least a day before I plan to serve them, as the flavors meld and the texture becomes even more wonderful overnight. For longer storage, these freeze beautifully. I wrap each cheesecake individually in plastic wrap, then place them all in a large freezer bag or container. They'll keep for up to three months this way. To thaw, just place them in the refrigerator overnight or leave them on the counter for a couple of hours. Sometimes I'll even eat one straight from the freezer – they're like little cheesecake ice cream bites! If you're transporting these to an event, keep them in the paper liners and place them in a container with a tight-fitting lid. The liners help them keep their shape and make them easier for guests to handle. I've learned the hard way that plastic wrap pressed against the tops will stick to the cheesecake and pull off that beautiful layer of crushed Oreos, so avoid direct contact with any covering.
Chef's Wisdom
Perfect Crushing Technique - For the ideal mixture of Oreo textures, crush half the cookies very finely and leave the other half in larger chunks. This gives you both even distribution of cookie flavor and delightful chunks to bite into. Flavor Enhancer - Add a pinch of salt to the cheesecake mixture to enhance the sweetness and create more depth of flavor. It sounds counterintuitive, but it makes a noticeable difference. Easy Removal - If you're having trouble getting the paper liners off without taking some cheesecake with them, pop the cheesecakes in the freezer for about 10 minutes. The liners will peel away cleanly from the slightly firmed edges.
I've made these Mini Oreo Cheesecakes more times than I can count, and they never fail to impress. There's something about the combination of creamy cheesecake and crisp Oreo cookies that just works perfectly together. The first time my daughter helped me make them, she was about eight years old and insisted on arranging all the Oreos in the bottom of the liners "with the pretty side up." Turns out, she was onto something – that little detail makes them look so much more professional when you peel off the wrapper. These little cheesecakes have become part of our family traditions now, appearing at nearly every celebration. I hope they become a favorite in your household too!
Frequently Asked Questions
- → Can I use low-fat cream cheese?
- Yes, but full-fat cream cheese will give you a richer, creamier texture. If using low-fat, the texture may be slightly different.
- → How do I know when the cheesecake bites are done?
- The middles should be just set - they'll look dry on top but may have a slight jiggle. Avoid overbaking as this can cause cracks.
- → Can I use a mini muffin pan instead?
- Yes! Use mini Oreos for the base and reduce the baking time to about 8-10 minutes.
- → How far in advance can I make these?
- You can make these 2-3 days ahead of time and store them covered in the refrigerator until ready to serve.
- → What toppings work well besides crushed Oreos?
- Try chocolate ganache, caramel sauce, fresh berries, or a dollop of whipped cream for variety.