
 Pin it
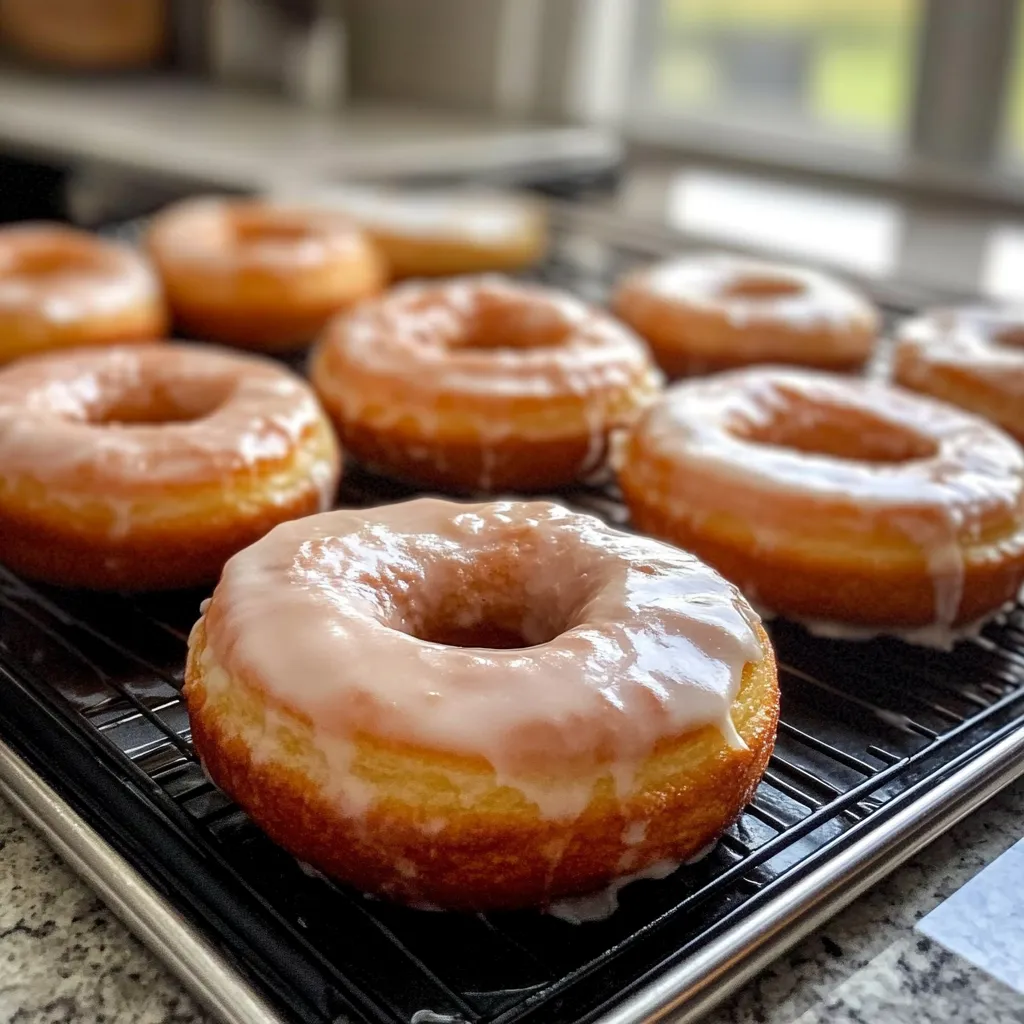
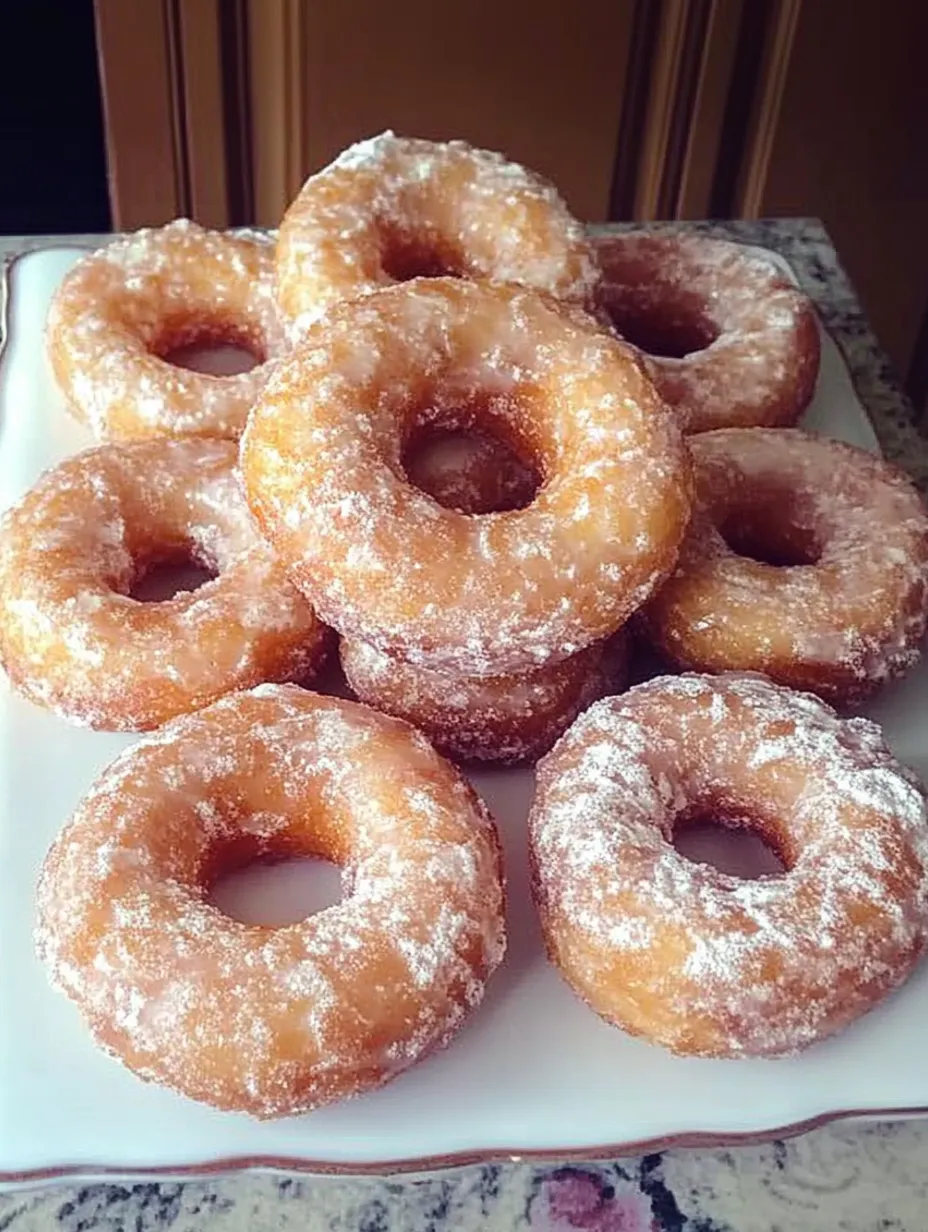
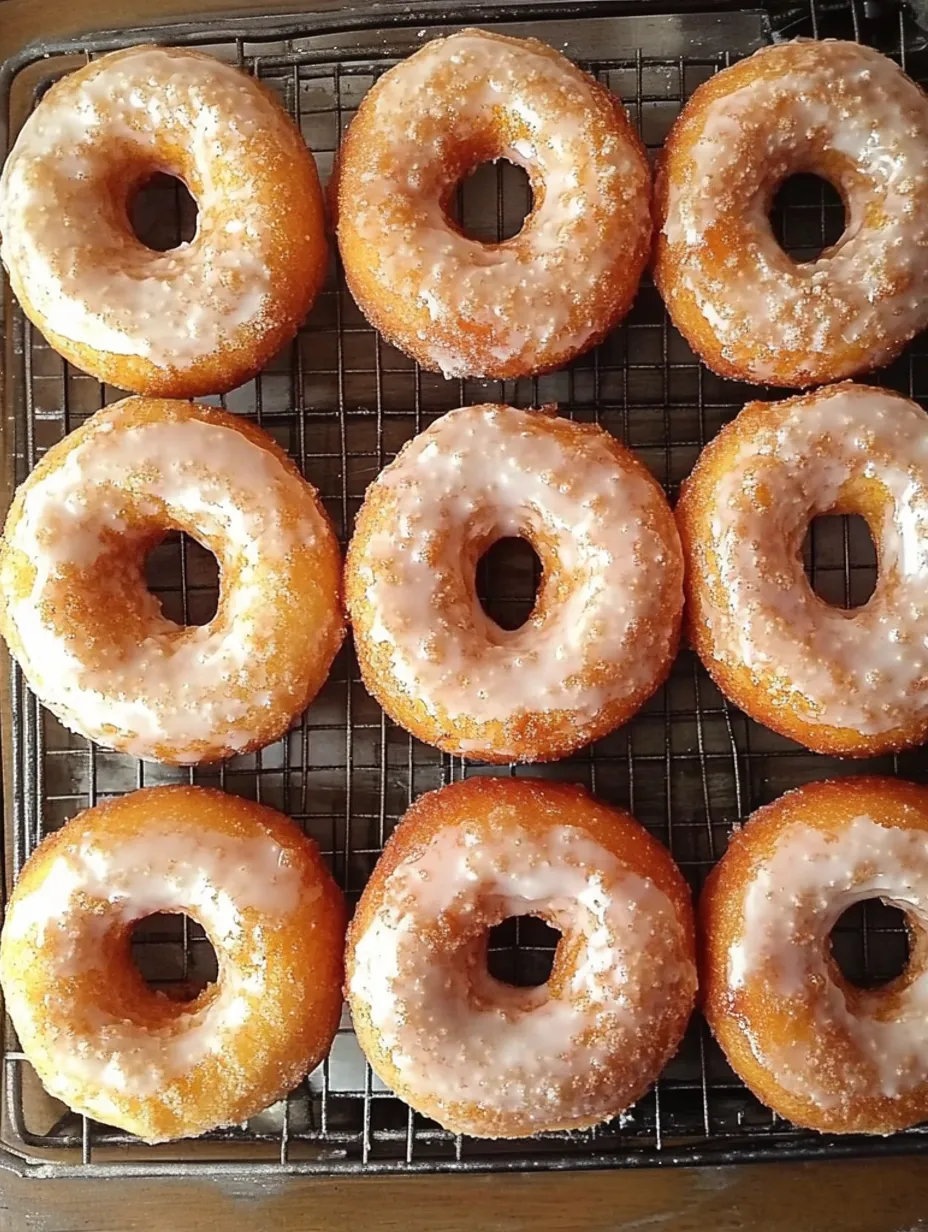
Old-fashioned cake donuts deliver that perfect combination of crispy exterior and tender, cakey interior that makes them a classic bakery favorite. With their characteristic craggy edges and hint of nutmeg and cinnamon, these donuts bring nostalgic comfort with every bite—whether enjoyed alongside your morning coffee or as an afternoon treat.
I discovered the secret to perfect old-fashioned donuts when an elderly neighbor shared her family recipe with me. The key difference from other recipes was the higher ratio of egg yolks and the specific technique of cutting small triangular notches in the dough before frying. Those little incisions create the signature craggy exterior that holds more glaze in each bite.
Main Ingredients
- All-purpose flour provides the structure for these cake-style donuts
- Sour cream contributes moisture and that subtle tang that defines old-fashioned donuts
- Egg yolks create richness and help develop that golden color when fried
- Nutmeg is the signature spice—don't skimp on this as it's crucial for authentic flavor
- Butter adds richness that vegetable oil-based recipes can't match
- Baking powder and baking soda work together for the perfect rise and texture
Donut-Making Method
Dry Ingredient BaseBegin by sifting together your flour, baking powder, and baking soda to ensure even distribution of leavening agents. Whisk in the cinnamon, nutmeg, and salt. This thorough mixing prevents any bitter pockets of baking powder or soda in your finished donuts.
Creaming ProcessIn a separate bowl, beat the sugar, butter, and egg yolks until light and airy—about two minutes of mixing. This incorporates air into the mixture which helps create that desirable cakey texture. Add the sour cream and mix just until combined. The acidity in the sour cream will react with the baking soda, helping your donuts rise properly.
Gentle CombiningAdd the dry ingredients to your wet mixture gradually, about a third at a time, mixing gently between additions. The key here is to avoid overmixing, which develops gluten and results in tough donuts rather than tender ones. Mix just until the flour disappears—a few small lumps are actually preferable to overmixing.
Chilling PeriodWrap the dough tightly in plastic wrap and refrigerate for at least an hour, though overnight is even better. This resting period allows the flour to fully hydrate and the gluten to relax, resulting in more tender donuts. The chilled dough is also easier to handle and cut cleanly.
Shaping TechniqueRoll out the chilled dough on a well-floured surface to about 1/2 inch thickness. Use a floured cutter to stamp out rounds, then create the center holes with a smaller cutter. The traditional technique includes making three small triangle-shaped cuts around the outer edge, which creates those signature craggy edges that catch extra glaze.
Frying PerfectionHeat oil to exactly 350°F—this temperature is crucial. Too hot and the outside will burn before the interior cooks; too cool and the donuts will absorb excess oil. Fry just a few at a time to maintain oil temperature, turning when they float to the surface and continue cooking for about a minute until golden brown on both sides.
Glaze ApplicationLet the donuts cool slightly on a rack before dipping in the simple glaze. For maximum flavor, dip while they're still warm enough for the glaze to partially melt into the surface but cool enough to handle without falling apart—about 3-5 minutes after frying.
My grandmother used to make these donuts for special Sunday mornings, and the scent of nutmeg and frying dough still takes me straight back to her kitchen. She always saved the donut holes for me, claiming they were "just cook's treats," but I later realized she knew they were my favorite part all along.
Serving Suggestions
Serve these donuts at room temperature with coffee or tea for the most traditional experience. For an elevated dessert, try warming them slightly and serving with a scoop of vanilla ice cream and a drizzle of caramel sauce. They also pair beautifully with autumn cider or hot chocolate for cooler weather treats.
Creative Variations
For a seasonal twist, try adding orange zest to the dough in fall or lemon zest in spring. Replace the simple glaze with a maple glaze by substituting some of the milk with maple syrup. For chocolate lovers, add cocoa powder to the glaze or dip half the glazed donut in melted chocolate. During the holidays, add a touch of cardamom to the dough for a festive flavor profile.
Storage Tips
These donuts actually improve with a bit of time, as the flavors develop and meld. Store them in an airtight container at room temperature for up to two days. For longer storage, freeze unglazed donuts in a single layer, then thaw at room temperature and glaze before serving. Avoid refrigerating as this accelerates staling.
Baker's Helpful Insights
- For the most tender result, handle the dough as little as possible after adding the dry ingredients
- If you don't have a donut cutter, use a drinking glass and a bottle cap for the center
- When making the glaze, warm it slightly for a thinner coating or keep it room temperature for a thicker layer
The first time I made these for my children, my son took one bite and declared, "These are REAL donuts!" after being accustomed to the lighter, airier yeast donuts from chain shops. There's something deeply satisfying about the substantial cake texture combined with that sweet glaze that makes these old-fashioned donuts feel like proper indulgence rather than just a sweet snack. They've become our tradition for first-day-of-school breakfasts, with everyone gathering around the kitchen to watch the magic of frying and glazing before heading out the door.
Frequently Asked Questions
- → Why are they called old-fashioned donuts?
- Old-fashioned donuts get their name from their traditional preparation method and distinctive appearance. They're cake-based rather than yeast-raised, with a characteristic cracked surface and irregular shape that results from their unique dough and frying process.
- → Can I bake these donuts instead of frying them?
- While you can bake this dough in a donut pan at 350°F for about 15 minutes, the texture won't be the same as traditional fried old-fashioned donuts. The frying process creates the signature crispy exterior and tender interior.
- → Why does my dough need to chill?
- Chilling the dough firms up the fats, making it easier to handle and cut. It also relaxes the gluten, which results in a more tender donut. Don't skip this step for the best texture.
- → Can I make these ahead of time?
- These donuts are best enjoyed fresh, within hours of frying. However, you can prepare the dough a day ahead and keep it refrigerated. You can also freeze the cut uncooked donuts for up to a month and fry them from frozen (adding extra frying time).
- → What if I don't have a donut cutter?
- You can use two round cutters of different sizes - a larger one (about 3 inches) for the donut and a smaller one (about 1 inch) for the hole. In a pinch, you can even use a drinking glass and a bottle cap.
- → How do I know when the oil is the right temperature?
- The ideal temperature is 350°F (175°C). Use a candy/deep-fry thermometer for accuracy. Without a thermometer, test by dropping a small piece of dough into the oil - it should bubble around the dough and the dough should rise to the surface fairly quickly, but not darken too rapidly.