
 Pin it
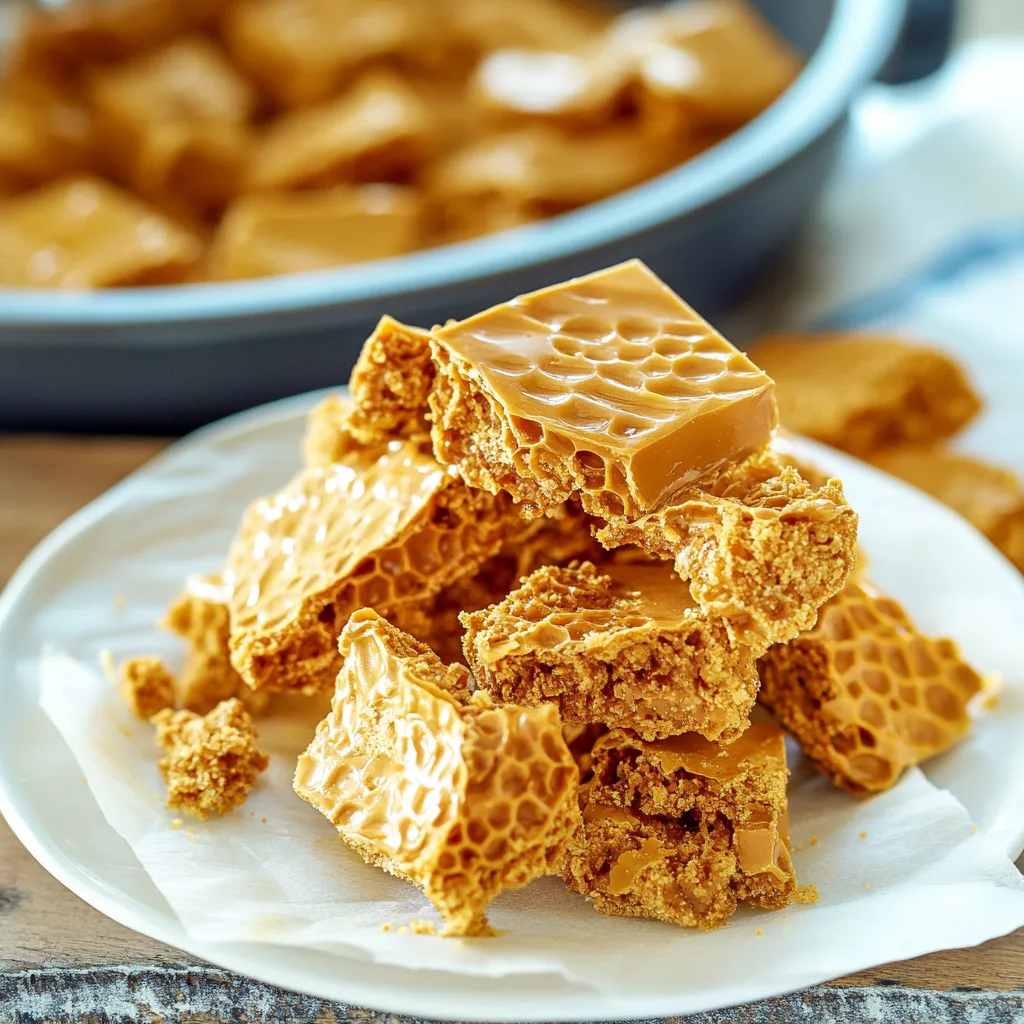
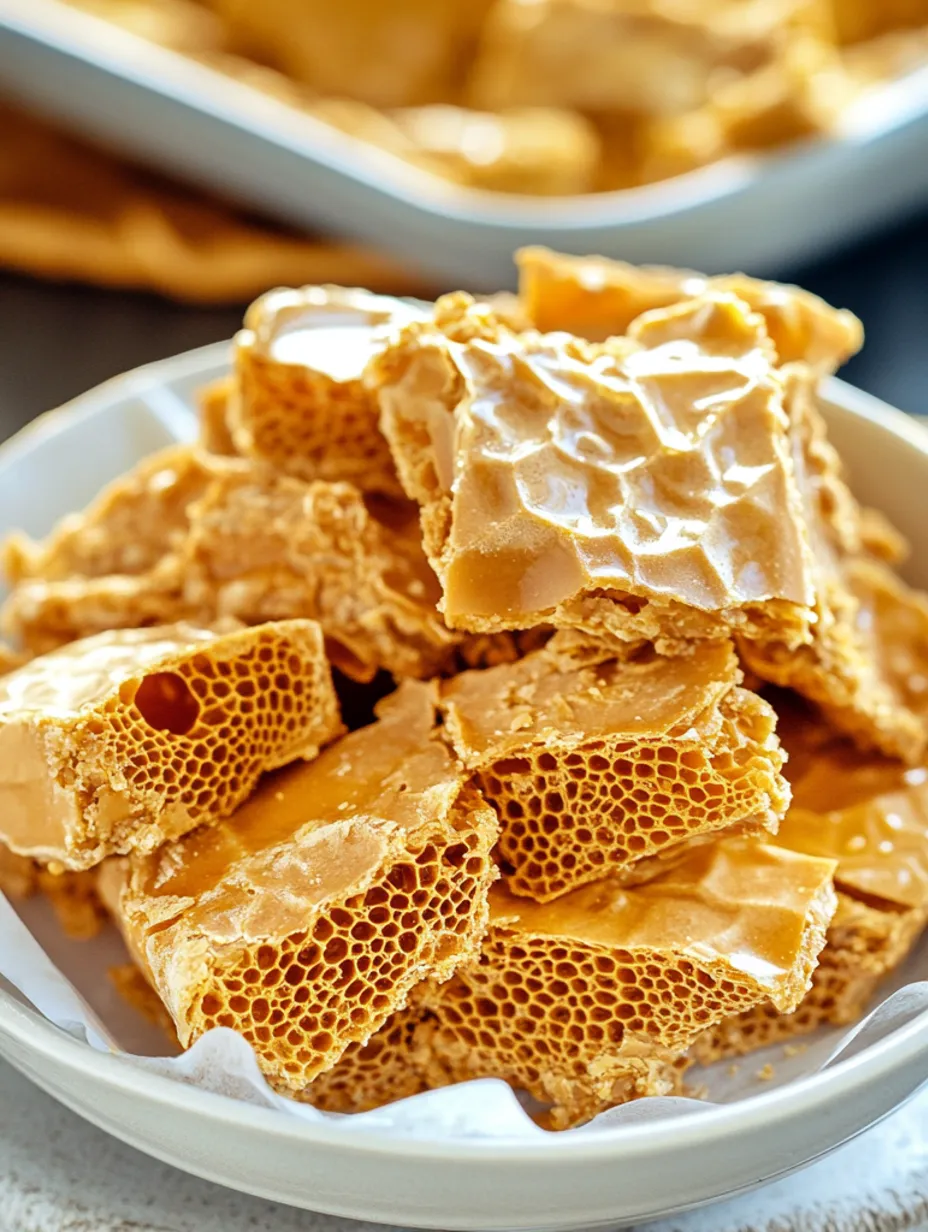
Honeycomb candy transforms simple pantry ingredients into a magical, airy confection that shatters between your teeth before melting into sweet nothingness. This toffee-like treat with its distinctive honeyed flavor and unique bubble-filled texture makes an impressive homemade candy with minimal effort—perfect for gifting, dessert garnishes, or satisfying your own sweet tooth cravings.
I first tried making honeycomb after watching it featured on a baking show and couldn't believe how something so special could come from such simple ingredients. The moment when you add the baking soda and the mixture foams up like a science experiment gone right still makes me giddy every time.
Simple Sweet Ingredients
- Granulated sugar provides the base sweetness and structure for your candy
- Corn syrup prevents crystallization, ensuring that perfect smooth texture
- Honey contributes that distinctive flavor that gives honeycomb its name
- Water helps dissolve the sugar and allows everything to heat evenly
- Baking soda creates the magical reaction that forms all those tiny bubbles
- Vanilla extract adds depth of flavor that balances the sweetness
- Salt enhances all the other flavors and creates a more complex taste

Honeycomb Creation Method
Careful PreparationBegin by lining an 8×8 inch pan with parchment paper, creating overhangs on the sides for easy removal later. Having this ready is crucial because once the mixture foams, you'll need to work quickly. Measure your baking soda, vanilla, and salt in advance so they're ready when needed.
Sugar Syrup BaseCombine sugar, water, corn syrup, and honey in a heavy-bottomed saucepan that's deeper than you think you need—the mixture will expand dramatically. Attach a candy thermometer to the side, making sure it doesn't touch the bottom of the pan. Whisk everything together before turning on the heat.
Precise HeatingCook this mixture over medium heat without stirring (which can cause crystallization). Watch as it begins to bubble and gradually darkens to a beautiful amber color. The candy thermometer is your guide here—you're aiming for exactly 300°F, the hard crack stage where magic happens.
The TransformationOnce your syrup reaches temperature, immediately remove from heat and quickly whisk in the baking soda, vanilla, and salt. This is the exciting moment when chemistry takes over—the mixture will foam up dramatically, sometimes tripling in volume as countless tiny bubbles form throughout.
Quick TransferWorking swiftly but carefully, pour the foaming mixture into your prepared pan. Resist the urge to spread or flatten it—doing so would crush those precious air bubbles. Instead, if needed, gently shake the pan to help the mixture settle evenly.
Cooling PeriodAllow your honeycomb to cool completely at room temperature, which might take about an hour. During this time, the structure sets and the bubbles become fixed in place. Don't refrigerate to speed this process, as moisture can affect the texture.
Breaking TimeOnce fully cooled and set, lift the honeycomb from the pan using the parchment paper overhangs. You can break it into rustic pieces by hand or use a sharp knife to cut it into more uniform shapes. Either way, expect some crumbling—it's part of honeycomb's charm.
My first attempt at honeycomb turned into an unforgettable kitchen disaster when I used a pot that was too small. The mixture foamed right over the top like a science fair volcano! My kitchen counter was covered in sticky amber lava that hardened almost instantly. Now I always use my deepest pot and stand ready with potholders to quickly move it off heat when needed.
Serving Suggestions
Enjoy honeycomb candy on its own as a sweet treat, or use it to add texture and interest to other desserts. Crumbled honeycomb makes an outstanding topping for ice cream, adding both flavor and crunch. Try using larger pieces as edible garnishes for cakes and cupcakes—they'll make even simple desserts look professionally finished. For a special treat, dip pieces in melted chocolate and allow to set for a homemade version of a classic candy bar.
Creative Variations
For a sophisticated twist, try adding a teaspoon of espresso powder along with the vanilla for coffee-infused honeycomb. Around the holidays, a dash of cinnamon or ginger creates a festive variation. For chocolate lovers, drizzle or dip cooled honeycomb in melted chocolate—dark chocolate provides a perfect bitter counterpoint to the sweet candy.
Storage Solutions
Store your honeycomb in an airtight container at room temperature, placing parchment paper between layers to prevent sticking. The candy is best enjoyed within a week, as its porous nature makes it susceptible to absorbing moisture from the air, which can make it sticky. Avoid refrigerating or freezing, as both introduce moisture that ruins the delicate texture.
Candy Maker's Insights
- Clean-up tip: Fill sticky pots and utensils with warm water and let soak—the sugar will dissolve away
- Cut honeycomb with a sharp, non-serrated knife that's been lightly oiled to prevent sticking
- Working in dry weather conditions produces the crispest candy—humidity can make it sticky
When I brought homemade honeycomb to a family gathering, my great-aunt Dorothy (who rarely compliments anything) asked where I'd bought such "fancy store candy." When I told her I'd made it myself, she insisted I was pulling her leg until I showed her a video of the process on my phone. Now whenever I visit, she hopefully asks if I've "brought any of that honeybee candy." Coming from her, that's high praise indeed!
Frequently Asked Questions
- → Why did my honeycomb turn out flat instead of full of bubbles?
- This usually happens if you stir too much after adding the baking soda or press down on the mixture when pouring it into the pan. The baking soda creates carbon dioxide bubbles that give honeycomb its texture, so gentle handling is key.
- → Can I make honeycomb without corn syrup?
- Yes, you can substitute the corn syrup with an equal amount of golden syrup or more honey. The corn syrup helps prevent crystallization, but careful temperature control can help if you omit it.
- → Why did my honeycomb turn bitter?
- If your honeycomb tastes bitter, the sugar mixture likely overcooked or burned. Use a reliable candy thermometer and remove from heat immediately when it reaches 300°F to prevent this issue.
- → How can I keep honeycomb from getting sticky?
- Honeycomb is very sensitive to humidity. Store it in an airtight container with parchment between layers. Adding a food-grade silica gel packet can help in humid environments. Coating it in chocolate also creates a moisture barrier.
- → Can I add flavors to honeycomb candy?
- Yes! Replace the vanilla with other extracts like orange, coffee, or almond. Just make sure to add them after removing from heat along with the baking soda, as heat can damage their flavor.
- → Is honeycomb candy the same as a honeycomb from bees?
- No, though the name comes from its resemblance to a bee's honeycomb structure. This candy is sometimes called sponge toffee, cinder toffee, or seafoam candy depending on the region.