
 Pin it
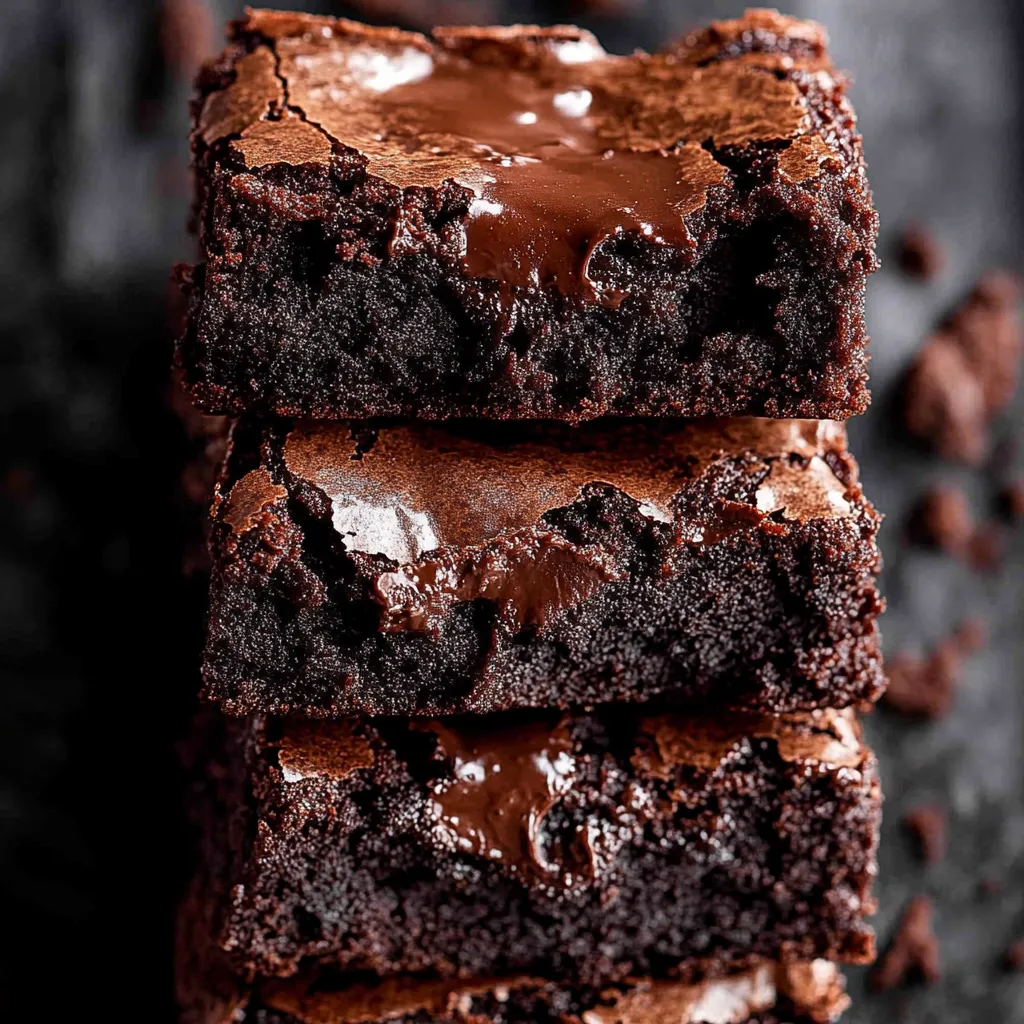
Let me tell you about the day these brownies changed my baking life forever. It was a rainy Sunday afternoon, and my daughter had invited half her soccer team over after practice. I had exactly 30 minutes to throw together something that would impress a bunch of hungry teenagers with notoriously high standards. In desperation, I tried this stripped-down brownie recipe that promised to be both quick and incredible. When I pulled that pan from the oven, the house filled with a chocolate aroma so intense that kids appeared in my kitchen before I'd even set the timer. That first bite – with its crispy, crackly top giving way to a fudgy center studded with melted chocolate pockets – literally stopped conversations mid-sentence. These brownies have since become my signature dessert, requested for everything from school bake sales to holiday gatherings, and now I'm sharing my secrets with you.
After I brought these to my neighbor's dinner party, her husband texted me at midnight asking if there were any leftovers he could "borrow." I'm still not sure if he was joking about climbing our fence to check the kitchen. These brownies inspire that kind of devotion.
Simple Ingredient Secrets
- Unsweetened Cocoa Powder - The backbone of our chocolate flavor. Dutch-processed gives a deeper color and smoother taste, but regular unsweetened works beautifully too. Just make sure it's fresh – old cocoa can taste flat.
- Butter - I use unsalted so I can control the salt level, but if salted is what you have, just reduce the added salt slightly. And yes, melted butter makes all the difference in creating that fudgy texture.
- Vegetable Oil - This might seem strange alongside butter, but this small amount of oil is what helps create that crackly top we all fight over. Don't skip it!
- White and Brown Sugar - The combination is crucial. White sugar creates the crackly top, while brown sugar adds moisture and depth. I've tested endless ratios and this one hits the sweet spot.
- Eggs - These provide structure and richness. Room temperature eggs incorporate better, but if you forgot to take them out early, just place them in warm water for 5 minutes.
- Vanilla Extract - Use the real stuff if possible. It might seem like a small thing, but it rounds out the chocolate flavor beautifully.
- Flour - Just enough to hold everything together without making the brownies cakey. Measuring correctly is critical – too much flour is the most common reason for dry brownies.
- Chocolate Chunks - Choose a chocolate you'd enjoy eating plain. I prefer bittersweet (around 70% cacao) for a deep chocolate flavor, but semisweet works wonderfully too. And yes, chopping a bar rather than using chips creates those magical melty pockets.
Foolproof Method
Perfect PrepStart by preheating your oven to 350°F (175°C) and lining your pan with parchment. Leave some overhang on the sides – these handles will make removing the brownies seamless. I use an 8×12-inch pan for the perfect thickness, but an 8×8 works for extra-thick brownies (just add a few minutes to the baking time).
Mix With PurposeIn your mixing bowl, combine melted butter and oil first, then whisk in both sugars until well blended. This creates the base for that crackly top. Add eggs and vanilla, then beat vigorously for a full minute – this isn't just mixing, it's aerating, which is crucial for the right texture.
Gentle AdditionNow for the dry ingredients. Sift your flour, cocoa powder, and salt directly into the wet mixture. This prevents lumps without dirtying another bowl. Use a rubber spatula to fold everything together with gentle strokes, just until no dry streaks remain. Overmixing activates the gluten in the flour, which can make brownies tough instead of tender.
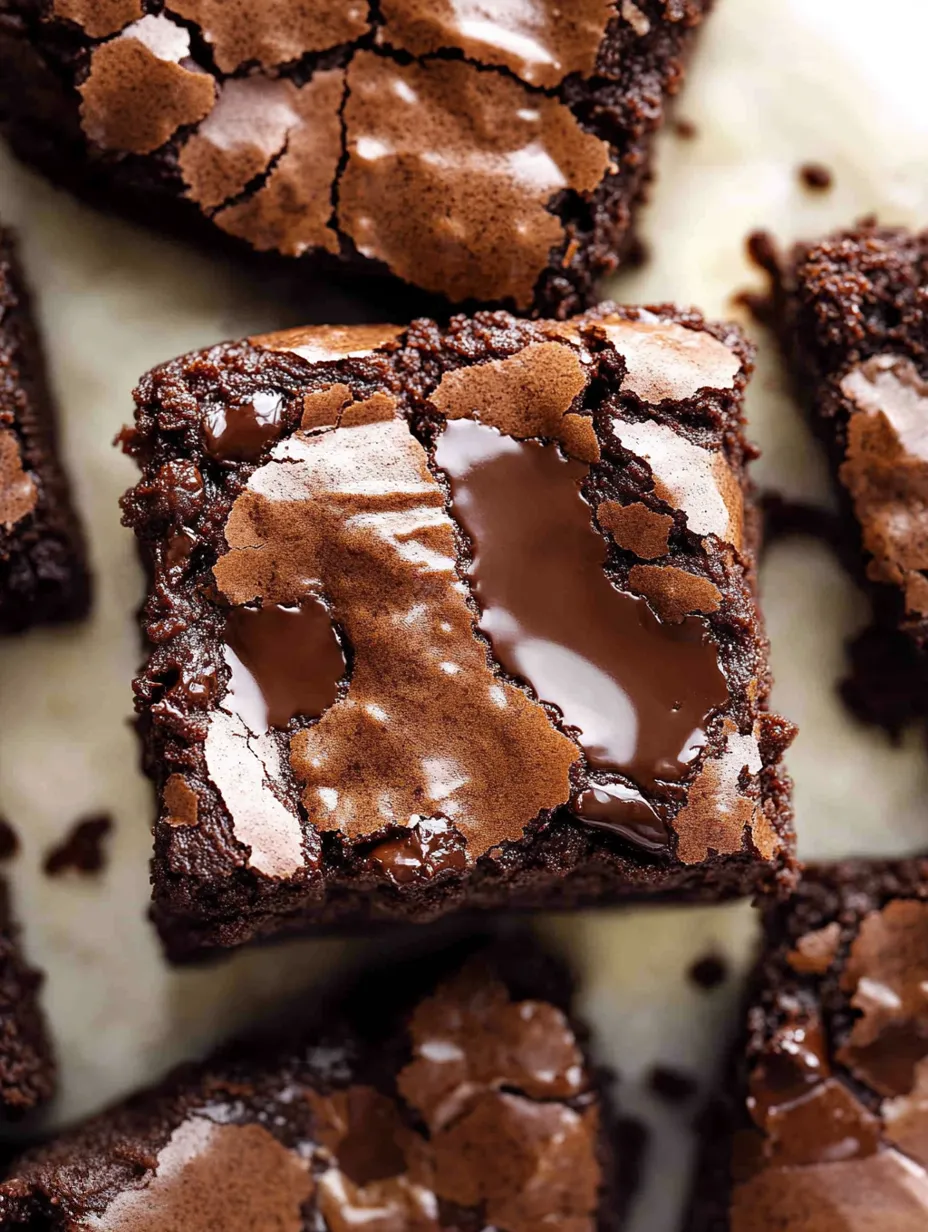
Chocolate LoadingFold in most of the chocolate chunks, saving some to scatter on top. This two-tier approach ensures you get melty chocolate throughout the brownies and beautiful chocolate puddles on top for visual appeal.
Baking BrilliancePour the batter into your prepared pan and smooth the top. Don't bang the pan to remove air bubbles – we want to keep those in for the right texture. Sprinkle the reserved chocolate chunks over the surface, pressing them in slightly.
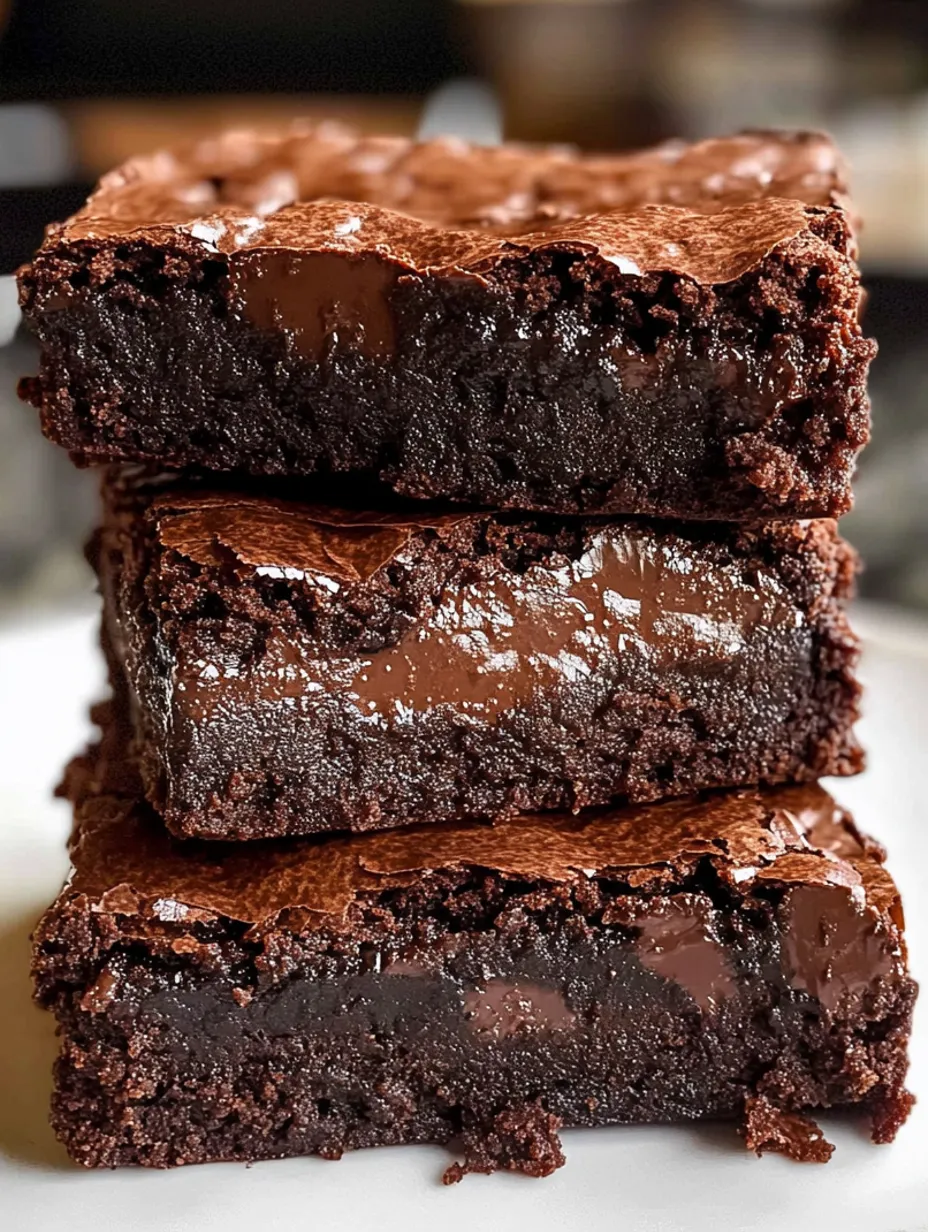
Timing Is EverythingBake for 25-30 minutes if you want that gloriously fudgy center that makes these brownies iconic. The center should no longer jiggle but should still seem slightly underdone. A toothpick inserted will come out with moist crumbs, not completely clean. Remember, the brownies continue cooking from residual heat after you take them out.
Patience Pays OffThis is the hardest part: let the brownies cool in the pan for 15-20 minutes before removing to a wire rack. They need this time to set up properly. For clean cuts, wait until they're completely cool, though I won't judge if you dive in while they're still warm (just embrace the gooey mess).
My daughter's friend Madison, who claims to be a "brownie connoisseur" at age 13, gave these her highest rating ever and asked if I would make them for her birthday instead of a cake. I considered it the ultimate compliment.
Perfect Pairings
Transform these brownies into an elegant dessert by serving slightly warm squares with a scoop of good vanilla ice cream and a drizzle of salted caramel sauce. The temperature contrast between the warm brownie and cold ice cream creates a sensory experience that's greater than the sum of its parts. I serve this combination when I want to impress dinner guests without spending hours on dessert.
Create an irresistible sundae bar for parties by cutting the brownies into bite-sized pieces, then setting them out alongside ice cream, whipped cream, chopped nuts, fresh berries, and various sauces. Guests can build their own creations, and somehow everyone ends up talking around this dessert station. This has saved more than one awkward gathering at my house.
For a simple but satisfying afternoon treat, pair a small brownie square with a cup of strong coffee or espresso. The bitter coffee perfectly balances the sweet, rich chocolate. This is my personal favorite way to enjoy these brownies – it's my 3pm ritual at least once a week.
Flavor Variations
Espresso EnhancementAdd 1 tablespoon of instant espresso powder to the dry ingredients. It won't make the brownies taste like coffee, but it significantly deepens the chocolate flavor. This is my go-to trick when I'm baking to impress chocolate purists.
Nutty IndulgenceFold in 1 cup of toasted chopped walnuts, pecans, or hazelnuts with the chocolate chunks. The contrast between the fudgy brownie and crunchy nuts creates an addictive texture variation. My husband won't eat these brownies without nuts now.
Peppermint ParadiseDuring the holidays, replace the vanilla extract with 1/2 teaspoon of peppermint extract and sprinkle the top with crushed candy canes instead of additional chocolate chunks. These festive brownies disappear faster than any other Christmas cookie at our annual neighborhood exchange.
Storage Secrets
Counter KeepingStore completely cooled brownies in an airtight container at room temperature for up to 3 days. Place parchment paper between layers if you need to stack them. The flavor actually improves after a day as the chocolate notes develop further.
For longer storage, refrigerate for up to a week. The cold firms them up significantly, so let them come to room temperature before serving for the best texture, or warm them slightly in the microwave for that just-baked experience.
Freezer FriendlyThese brownies freeze beautifully for up to 3 months. Cut them into individual portions, wrap each tightly in plastic wrap, then store in a freezer bag. This way, you can thaw just what you need for that emergency chocolate craving.
To defrost, unwrap and place at room temperature for about 2 hours, or microwave for 15-20 seconds for that warm, gooey texture. Nobody will ever know they were frozen.
Chef Tips
Chocolate QualityThe better your chocolate, the better your brownies. This doesn't mean expensive, just good quality chocolate you enjoy eating plain.
Foil TrickIf your brownies are browning too quickly on top but still not done in the center, loosely cover with aluminum foil for the remainder of the baking time.
Cutting HackUse a plastic knife to cut brownies – it doesn't drag through the fudgy center the way metal can. Sounds strange but works like a charm!
Last Valentine's Day, I packaged these brownies in little heart-shaped boxes for my daughter's teachers. One teacher emailed me that evening asking for the recipe because her husband had stolen the entire box and she "needed to make more immediately." That's the power of a truly perfect brownie – they make chocolate lovers lose all sense of sharing and moderation.
Frequently Asked Questions
- → What makes these brownies fudgy instead of cakey?
- The high ratio of fats (butter and oil) to flour creates the fudgy texture. Also critical is not overmixing the batter after adding the dry ingredients, which would incorporate air and create a more cake-like texture.
- → How do I know when the brownies are done baking?
- For fudgy brownies, bake until the center is just set and no longer jiggles when you gently shake the pan, about 25-30 minutes. A toothpick inserted should come out with some moist crumbs still attached. Remember, they'll continue cooking in the hot pan after removal from the oven.
- → Can I use Dutch processed cocoa powder?
- Yes, you can use either natural unsweetened or Dutch-processed cocoa powder in this recipe. Dutch-processed will give a deeper, smoother chocolate flavor, while natural cocoa powder provides a more intense, fruity chocolate taste.
- → Why do I need to use room temperature eggs?
- Room temperature eggs incorporate more easily into the batter and help create that shiny, crackly top that's characteristic of perfect brownies. Cold eggs can cause the melted butter to solidify and result in an uneven texture.
- → Can I double this recipe?
- Yes! You can double the recipe and bake in a 9×13-inch pan for about 35-40 minutes. Check for doneness using the jiggle test - the center should be just set but not completely firm if you want that fudgy texture.