
 Pin it
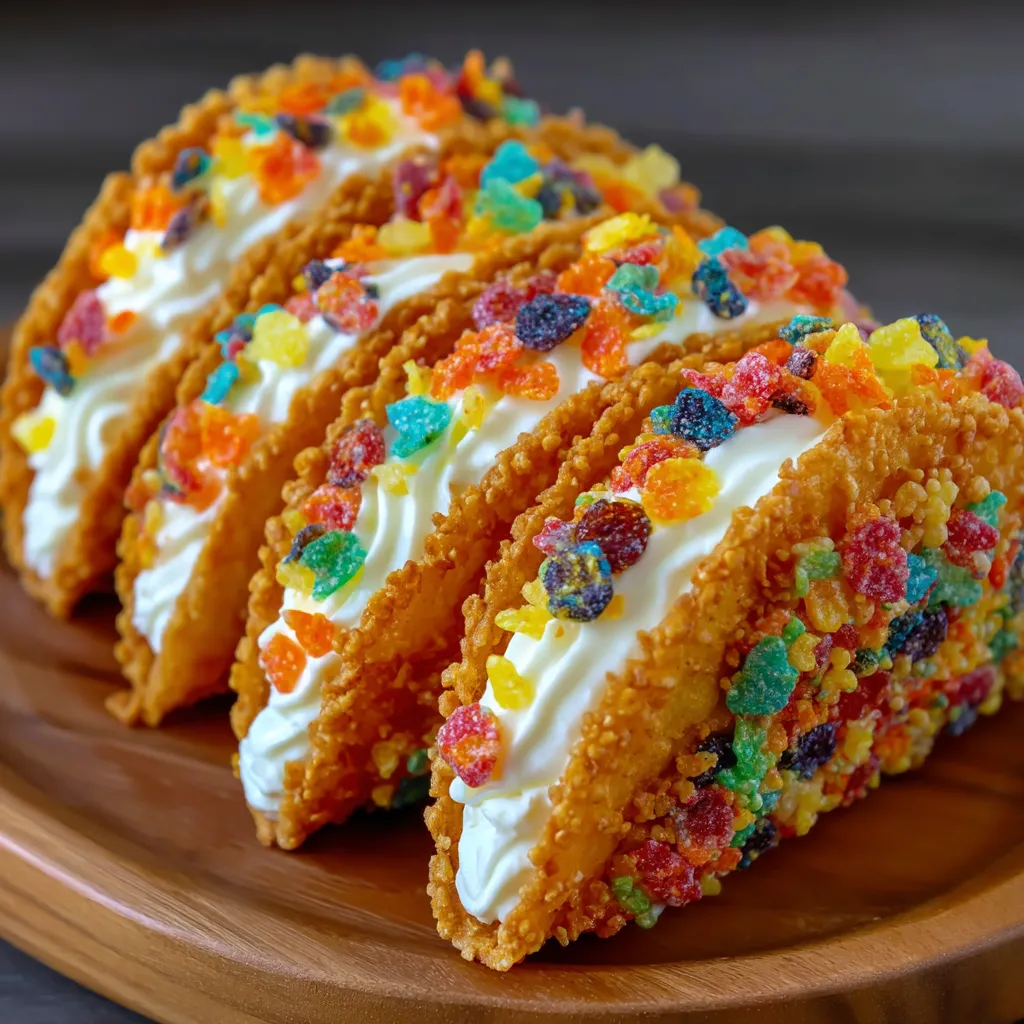
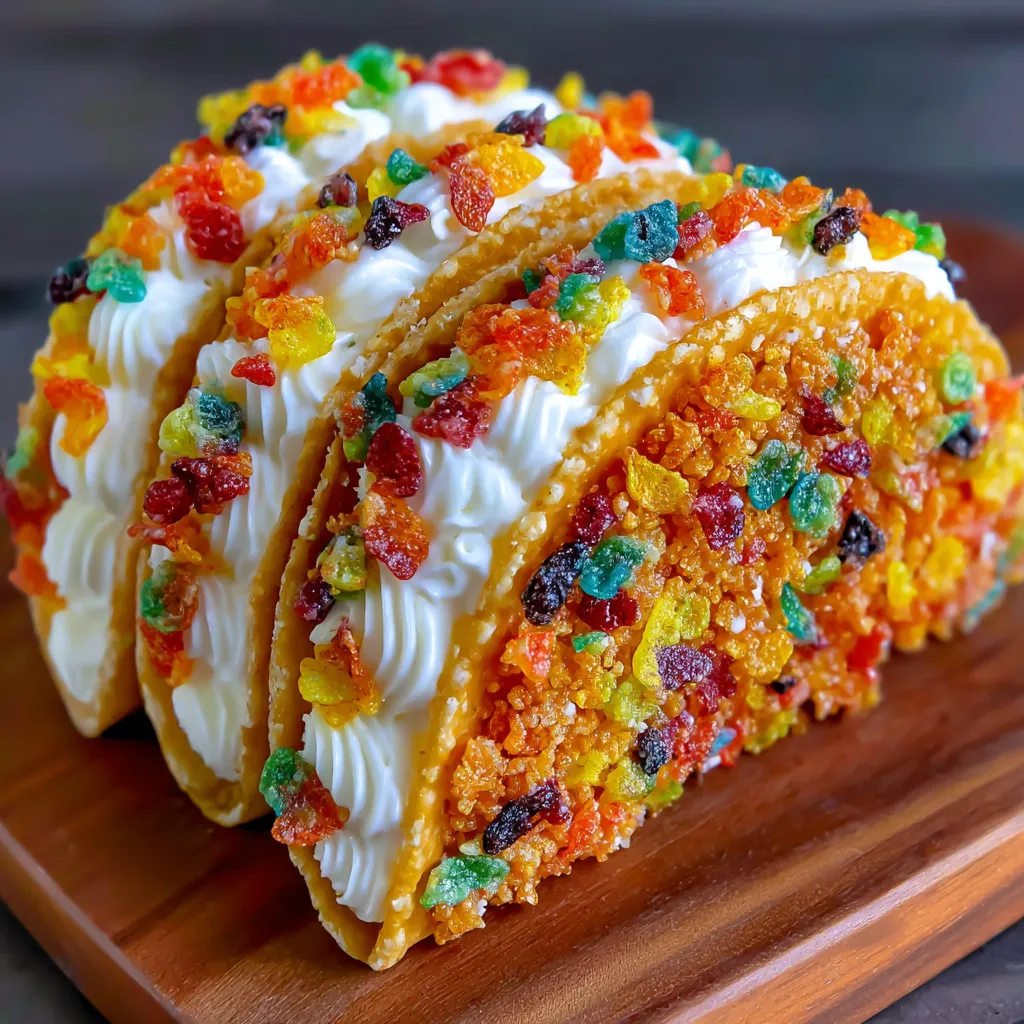
This vibrant Fruity Pebbles Cheesecake Tacos recipe transforms breakfast cereal into a playful dessert that brings pure joy to the table. The combination of crunchy, colorful shells and velvety cheesecake filling creates an unexpected treat that delights both kids and adults alike.
I created these on a rainy afternoon when my nieces were visiting and needed an activity. Now they request these "rainbow tacos" every time they come over because they love both making and eating them.
Ingredients
- Fruity cereal: the vibrant colors create eye-catching shells and the fruity flavor pairs perfectly with the creamy filling. Choose fresh boxes for maximum crunch
- Unsalted butter: binds the cereal together while adding richness. Quality butter makes a noticeable difference in flavor
- Cream cheese: forms the base of our filling. Philadelphia brand works best for its smooth texture and balanced tanginess
- Powdered sugar: sweetens without graininess. Sifting prevents lumps for the silkiest filling
- Pure vanilla extract: enhances all the flavors. Use real extract rather than imitation for best results
- Whipped cream: lightens the filling to a cloud-like consistency. Freshly whipped creates better structure than store-bought
Step-by-Step Instructions
- Prepare the Cereal Mixture:
- Combine fruity cereal with completely melted butter in a large bowl. Work quickly but thoroughly to coat every piece evenly before the butter starts to cool and harden. The mixture should be glossy and cohesive without any dry spots.
- Form the Shells:
- Press the mixture firmly against taco molds or into muffin tins using the back of a spoon or your fingers. Create an even thickness throughout to prevent breaking. Compact with gentle pressure until the shells hold their shape. Refrigerate for at least 30 minutes until completely firm.
- Prepare the Cheesecake Filling:
- Beat room temperature cream cheese with an electric mixer on medium speed for 2-3 minutes until completely smooth and fluffy. Scrape down the sides of the bowl frequently. Gradually add sifted powdered sugar and vanilla extract, mixing on low speed at first to prevent a sugar cloud, then increasing to medium until fully incorporated and silky.
- Incorporate the Whipped Cream:
- Using a rubber spatula, gently fold in the whipped cream with an under-and-over motion rather than stirring. Work slowly to maintain as much air as possible in the mixture. The filling should be light and mousse-like when properly combined.
- Assemble the Tacos:
- Carefully remove the shells from their molds once completely firm. Fill each shell generously with the cheesecake mixture using a spoon or piping bag for a cleaner look. Leave a small border at the top for garnishes.
- Add Final Touches:
- Sprinkle additional fruity cereal over the filled tacos just before serving. For best presentation, add the cereal topping at the last minute to maintain crispness and vibrant colors.
The moment these colorful treats hit the table at my last birthday party everyone immediately reached for their phones to snap pictures before diving in. The fruity cereal brings such nostalgic joy that even my most sophisticated adult friends couldn’t resist their charm.
Make-Ahead Options
While these dessert tacos are best assembled shortly before serving you can prepare components ahead of time. The shells can be formed and refrigerated up to two days in advance stored in an airtight container. The cheesecake filling stays fresh for up to three days when kept covered in the refrigerator. Simply assemble when ready to serve for maximum crunch and visual appeal.
Creative Variations
This versatile recipe welcomes personalization. Try Cocoa Pebbles for a chocolate version or Cinnamon Toast Crunch for a warm spiced flavor profile. Beyond cereal variations consider adding fresh fruit slices crushed cookies or a drizzle of chocolate sauce as additional toppings. For special occasions add a sprinkle of edible glitter or gold dust for extra pizzazz.
Serving Suggestions
These playful treats deserve an equally fun presentation. Arrange them standing upright on a serving platter with colorful napkins and small bowls of additional toppings for a DIY dessert bar. They pair wonderfully with cold milk for kids or coffee for adults. For extra indulgence serve alongside scoops of vanilla ice cream or frozen yogurt.
Frequently Asked Questions
- → How do I make the cereal shells firm?
Ensure the cereal mixture is tightly compacted into the molds or muffin tins and refrigerate for at least 30 minutes to set properly.
- → Can I prepare the shells ahead of time?
Yes, you can make the shells a day in advance and store them in an airtight container in the refrigerator.
- → What other toppings can I use besides fruity cereal?
You can use mini marshmallows, chocolate chips, fresh fruit, or sprinkles as additional toppings.
- → Can I substitute whipped cream with another ingredient?
Yes, you can use whipped topping or heavy cream whipped to stiff peaks as a substitute for whipped cream.
- → How long can these tacos be stored?
Store the filled tacos in the refrigerator for up to 2 days, ensuring they are covered to maintain freshness.