
 Pin it
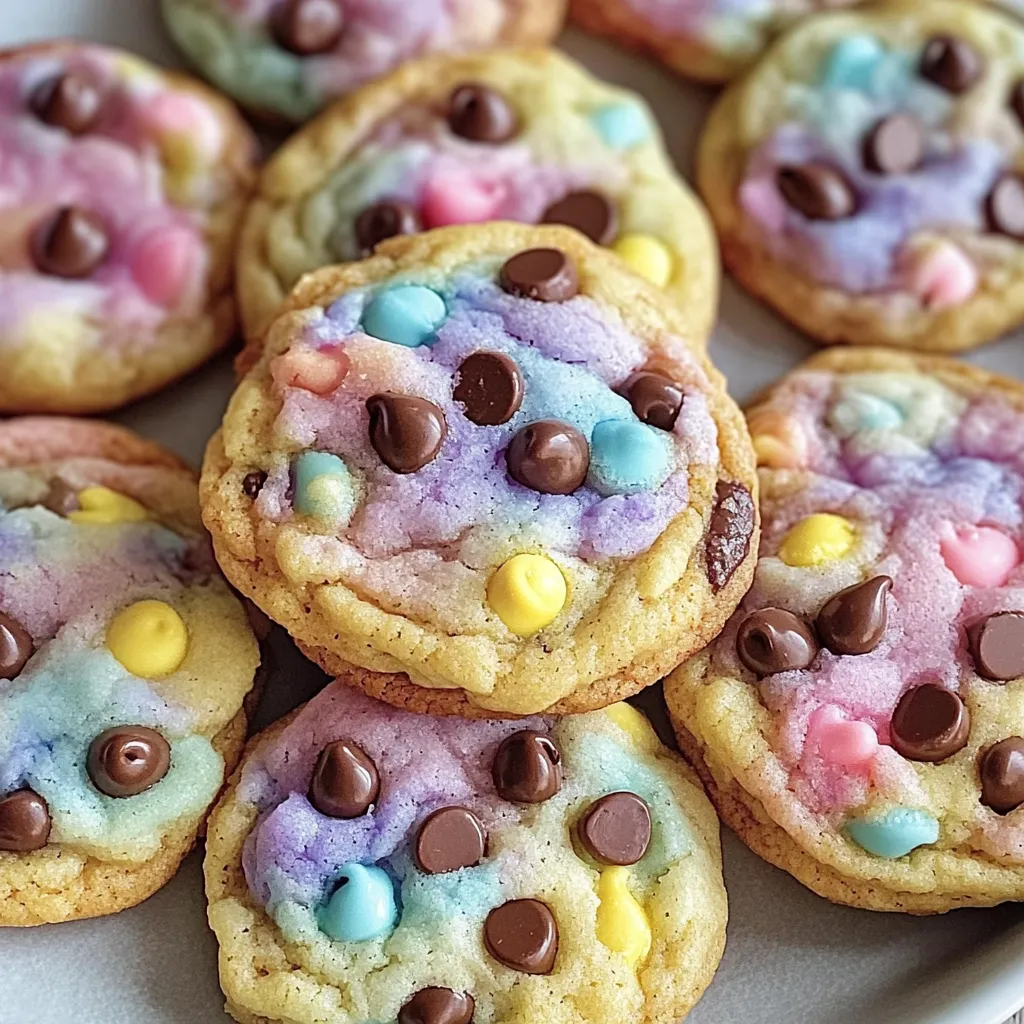
I stumbled upon this Easter chocolate chip cookie recipe last spring when I needed something fun to make with my kids during spring break. The combination of classic chocolate chip cookies with that creative pastel marbling creates these incredible treats that are as beautiful as they are delicious. They've become our Easter tradition, bringing just as much joy in the creating as in the eating.
My neighbor's children were playing with mine when we made these, and their eyes went wide with excitement when they saw the colorful dough. Their mom texted me later asking for the recipe because her kids couldn't stop talking about the "rainbow cookies." Sometimes the simplest twists on classic recipes create the biggest impact.
What You'll Need
- Butter and sugars: The foundation for that perfect chewy texture we all love
- Gel food coloring: Creates more vibrant colors than liquid without affecting the dough consistency
- Chocolate chips: The classic mix-in that balances the sweetness beautifully
- Vanilla extract: Adds that warm, aromatic depth that makes homemade cookies special
- Standard cookie ingredients: Nothing fancy required beyond your basic cookie staples
How I Make Them
Butter TemperatureThe butter should be properly softened—not melted or too firm. I leave mine out for about an hour before baking, or if I'm in a hurry, I cut it into cubes which softens it faster. When creamed with the sugars, it should become noticeably lighter in both color and texture. This creates the perfect base for chewy cookies.
Mixing MethodAdding the eggs one at a time allows each to be fully incorporated before adding the next, creating a smoother, more cohesive dough. When adding the dry ingredients, I mix just until the flour disappears—overmixing develops gluten which can make cookies tough instead of tender. I usually switch from my mixer to a wooden spoon for this final incorporation to avoid overmixing.
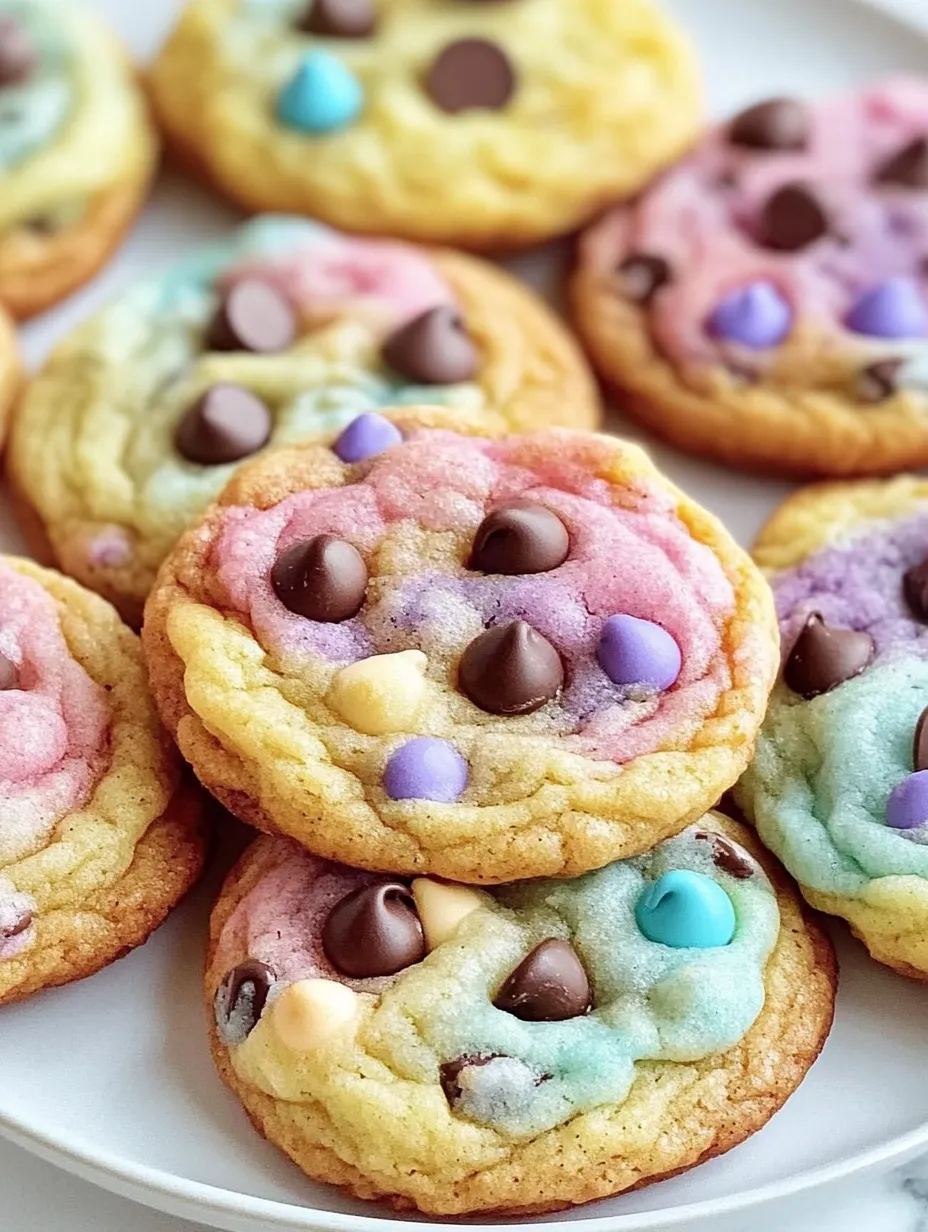
Coloring StrategyGel food coloring is definitely the way to go for these cookies—liquid coloring can add too much moisture and affect the texture. I portion the dough into four equal parts using a kitchen scale for accuracy, then use a toothpick to add small amounts of color, working it in gradually until I reach the desired pastel shade. For Easter, I stick with classic pastel pink, purple, yellow, and blue.
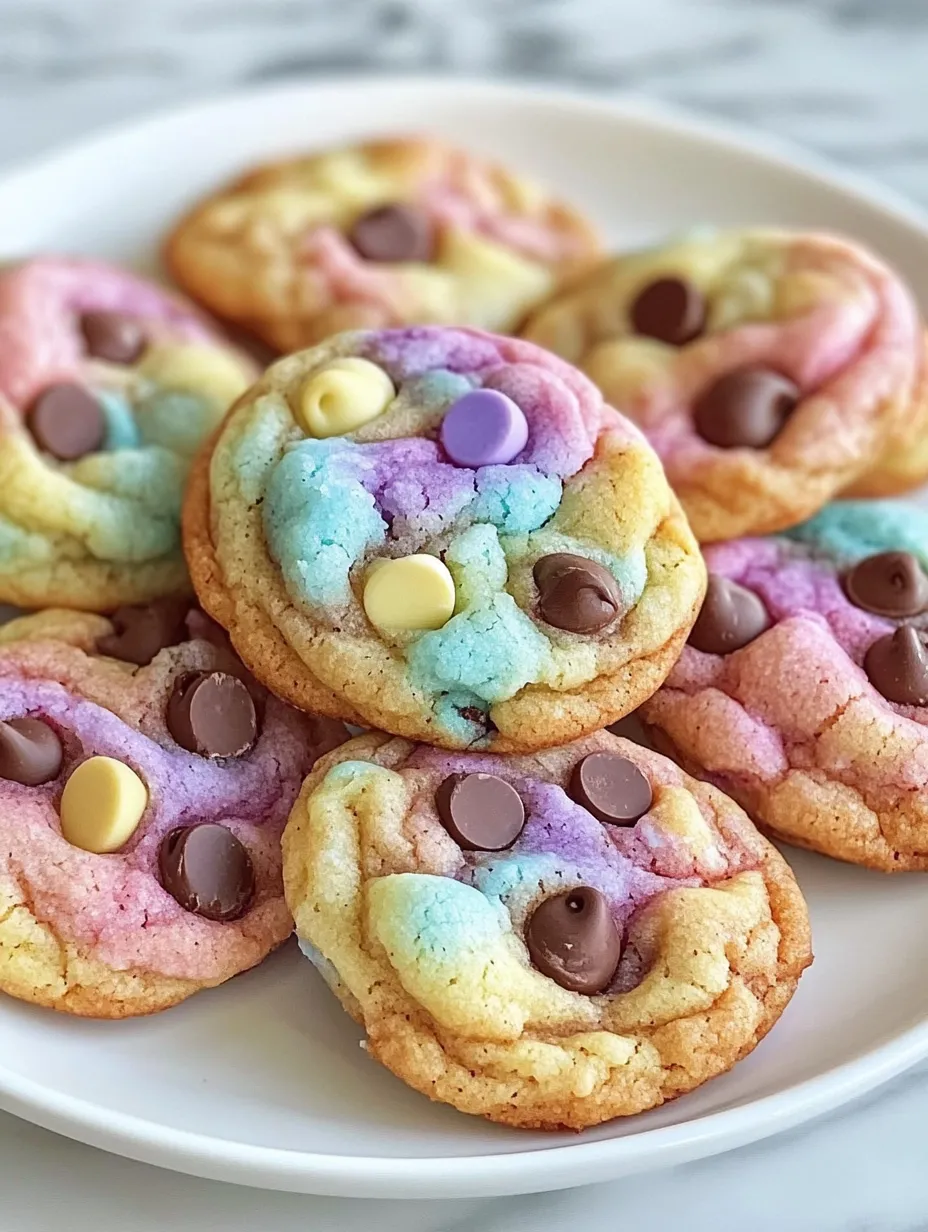
Marbling TechniqueThis is where the magic happens, and there's no wrong way to do it. I take small pieces of each colored dough (about a tablespoon of each), loosely press them together, and give them just one or two gentle twists to create that marbled effect without fully blending the colors. Overworking the dough at this stage can cause the colors to mix completely, losing that beautiful swirled look.
Baking PrecisionThese cookies bake quite quickly because of the multiple handling stages the dough goes through. I start checking at 9 minutes, though 10-12 is usually perfect in my oven. They're done when the edges are just set and lightly golden, but the centers still look slightly underdone—they'll continue cooking from residual heat after removal from the oven.
My husband, who typically passes on "fancy" cookies in favor of classic chocolate chip, actually said these were even better than regular chocolate chip cookies because the marbling process creates sections with different levels of chocolate intensity. There's something about that interplay of colors and flavors that elevates an everyday treat into something special.
Serving Ideas
Serve these colorful cookies with milk in pastel-colored glasses for an extra festive touch. For Easter gatherings, arrange them on a platter with fresh berries for a beautiful spring dessert display. Include them in Easter baskets along with other treats for a homemade touch. My kids love them as an after-school snack during the Easter season, while I enjoy them with afternoon coffee or tea.
Make It Your Own
Try using white chocolate chips or pastel candy-coated chocolate pieces for extra spring vibes. Add a teaspoon of almond extract along with the vanilla for a more sophisticated flavor. For a confetti effect, mix in colorful sprinkles with the chocolate chips. Last Easter, I experimented with dividing the dough in half, leaving one half natural and marbling the other half with just one or two colors, then combining them for a more subtle effect that was equally beautiful.
Storage Smarts
These cookies stay fresh in an airtight container at room temperature for up to 5 days. For longer storage, freeze the baked cookies in a single layer, then transfer to a freezer bag once solid. They'll keep for about 3 months. The cookie dough also freezes beautifully - I sometimes make a double batch, form all the cookies, freeze them on a baking sheet, then transfer to a bag for ready-to-bake treats anytime.
Pro Tips
- Use a cookie scoop to ensure all cookies are uniform in size for even baking
- Press extra chocolate chips on top of each cookie before baking for the prettiest presentation
- Let your baking sheets cool completely between batches for the most consistent results
I've made these Easter chocolate chip cookies for everything from classroom parties to family gatherings, and they never fail to bring smiles. There's something magical about the way the pastel colors swirl together, creating treats that are as beautiful as they are delicious. My daughter has started requesting them for playdates and birthday parties year-round, saying we can just change the colors to match any occasion!
Frequently Asked Questions
- → How do I get the marbling effect without the colors fully mixing?
- Gently press pieces of each colored dough together without kneading or overworking them. Stack and fold the pieces rather than rolling them together, which would blend the colors too much.
- → Can I use liquid food coloring instead of gel?
- Gel food coloring is recommended because it gives more vibrant colors without adding excess liquid to the dough. If you only have liquid coloring, use it sparingly and be prepared to add a tiny bit more flour if the dough becomes too sticky.
- → Can I freeze this cookie dough?
- Yes! Form the marbled dough balls, place them on a baking sheet, and freeze until solid. Transfer to a freezer bag and store for up to 3 months. Bake directly from frozen, adding 1-2 minutes to the baking time.
- → Why are my cookies spreading too much?
- This could be because the butter was too warm or the dough was overworked. Chill the dough for 15-20 minutes before baking, and make sure your baking sheets are cool between batches.
- → What other mix-ins work well with these cookies?
- White chocolate chips, pastel M&Ms, or spring-colored sprinkles all work beautifully with these Easter cookies. You could also add 1/2 cup of chopped nuts if you enjoy some crunch.