
 Pin it
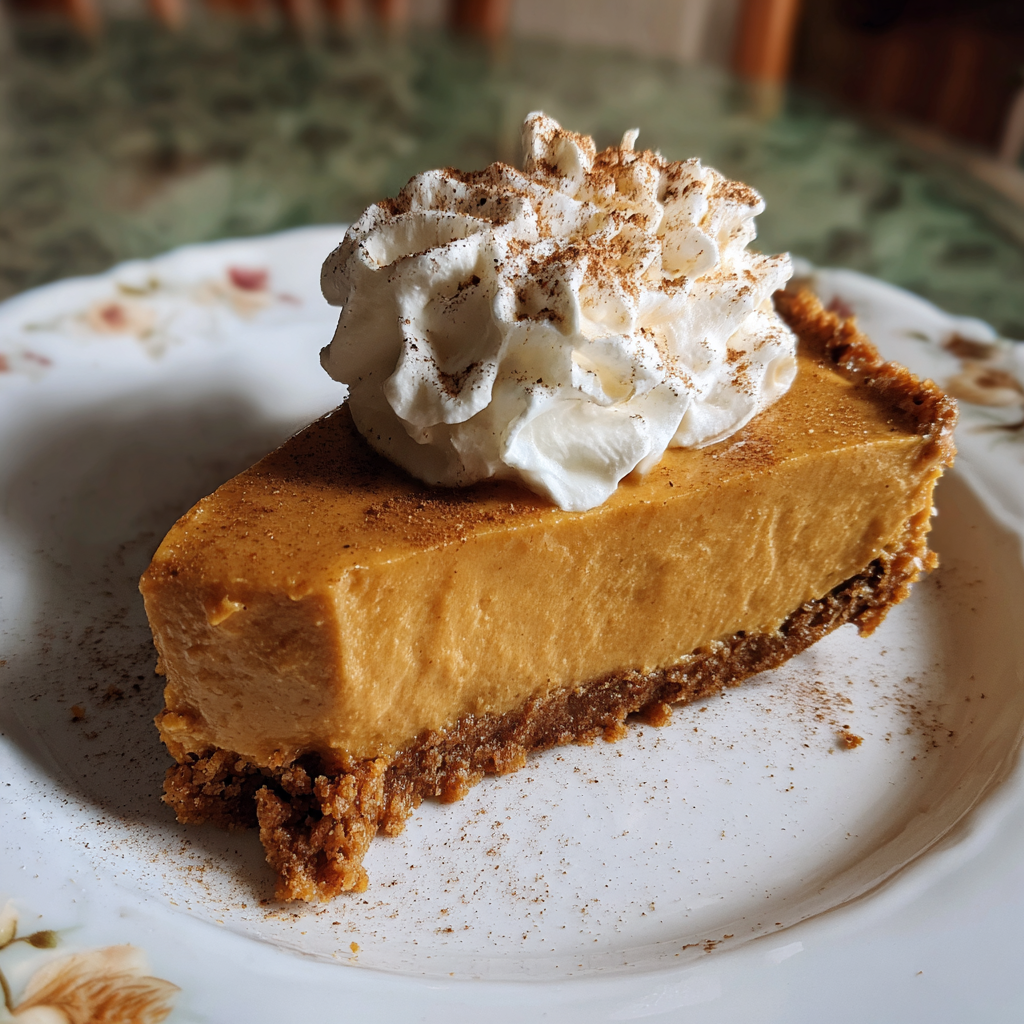
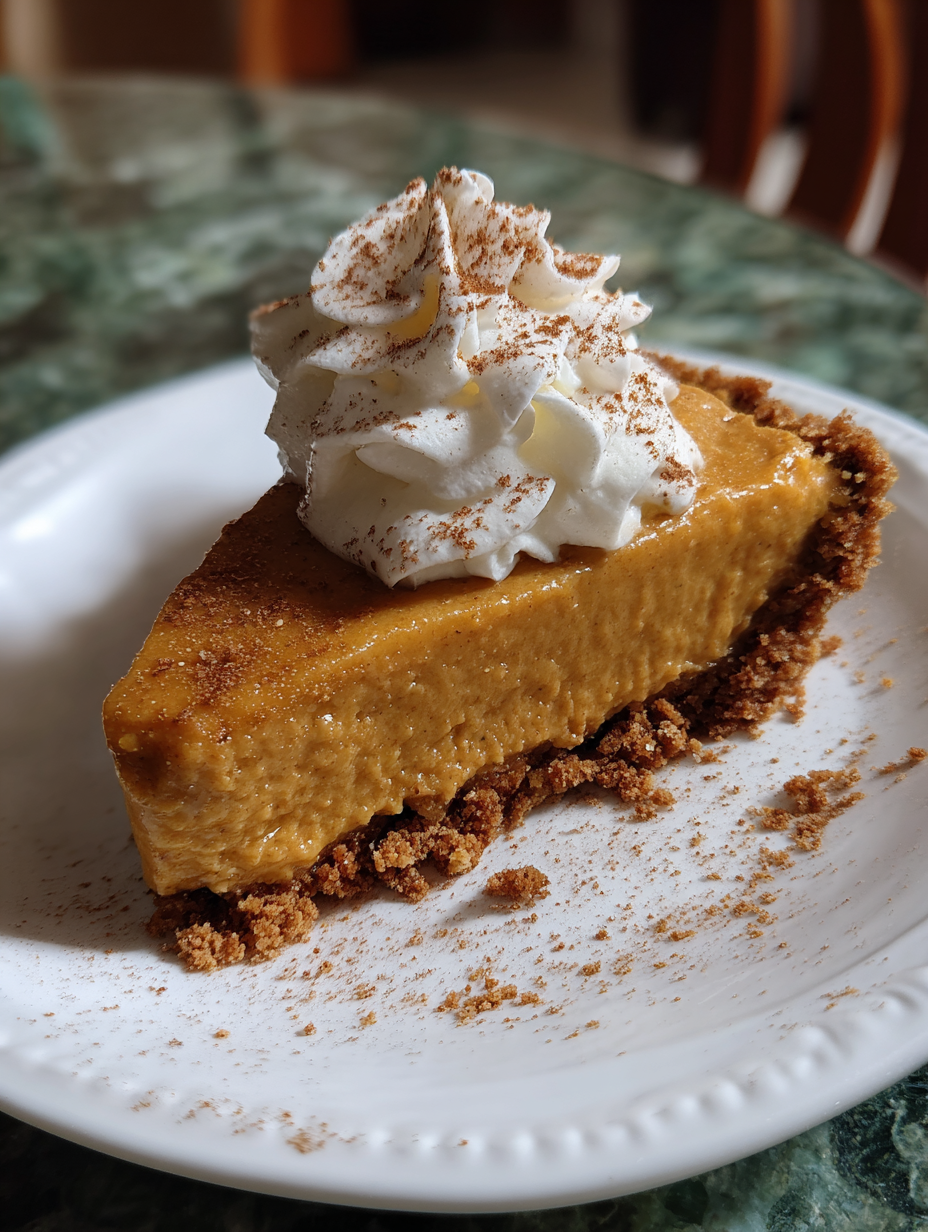
This dreamy no bake pumpkin pie is the ultimate holiday lifesaver, especially when your oven is already working overtime. It delivers all the creamy, spiced flavor of a traditional pumpkin pie with a fraction of the effort, creating a smooth, luscious dessert that will disappear in minutes.
I first made this for a Thanksgiving where the oven was completely taken over by the turkey and a giant casserole. This pie saved the day, and now it's a non negotiable part of our holiday spread.
Ingredients
- Graham cracker crumbs: you'll need about one and a half cups for that perfect buttery, crunchy base
- Brown sugar: this adds a hint of molasses flavor that pairs beautifully with the pumpkin
- Unsalted butter: melted butter is the glue that holds the delicious crust together
- Cinnamon: just a touch in the crust gives an extra layer of warmth
- Pumpkin purée: make absolutely sure you grab pure pumpkin purée, not pumpkin pie filling, which is already sweetened and spiced
- Cream cheese: use a full fat block and let it soften to room temperature so it beats up perfectly smooth without any lumps
- Powdered sugar: this dissolves easily into the filling for a silky, non gritty texture
- Pumpkin pie spice: a classic blend that gives the pie its signature autumnal flavor
- Vanilla extract: a teaspoon of pure vanilla extract enhances all the other flavors
- Whipped topping: this makes the filling light and airy, but you can also use homemade whipped cream
Step by Step Instructions
- Prepare the Crust:
- In a medium bowl, combine your graham cracker crumbs, brown sugar, and the optional cinnamon. Pour in the melted butter and stir with a fork until every crumb is evenly moistened and the mixture resembles wet sand. Tip this mixture into a 9 inch pie dish. Use the bottom of a measuring cup or your fingers to press the crumbs firmly and evenly across the bottom and up the sides of the dish. This firm pressure is the secret to a crust that doesn't fall apart. Slide the crust into the refrigerator to chill for at least 30 minutes so it can set up nicely.
- Mix the Creamy Base:
- While the crust is chilling, place your softened cream cheese in a large mixing bowl. It's so important that it's truly soft, otherwise you’ll get little lumps. Beat it with an electric mixer on medium speed until it’s completely smooth and creamy. Scrape down the sides of the bowl, then add the powdered sugar and beat again until it's fully incorporated and the mixture is light and fluffy.
- Incorporate the Pumpkin:
- Add the pumpkin purée, pumpkin pie spice, and vanilla extract to the cream cheese mixture. Continue to beat on medium speed until everything is well combined and the filling is a uniform, beautiful orange color. Scrape down the bowl one more time to make sure there are no stray bits of cream cheese hiding at the bottom.
- Assemble and Chill:
- Gently add the whipped topping to the pumpkin mixture. Use a spatula to fold it in, using gentle sweeping motions from the bottom of the bowl up to the top. Keep folding just until no white streaks remain. You want to keep the mixture as light and airy as possible. Spoon this glorious filling into your chilled graham cracker crust and use the back of the spatula to smooth the top. Cover the pie loosely with plastic wrap and place it in the refrigerator to set for at least 4 hours, though letting it chill overnight is even better for the firmest set.
My favorite part is the softened cream cheese. It adds a subtle tang that keeps the pie from being overly sweet and gives it that incredible cheesecake like texture. I remember my grandmother tasting it for the first time and being amazed that it didn't come from a fancy bakery.
Storage Tips
This pie needs to be stored in the refrigerator. Keep it covered with plastic wrap or in an airtight pie container, and it will stay fresh and delicious for up to 4 days. I actually think the flavor gets even better on day two as the spices have more time to meld together.
Ingredient Substitutions
For a gluten free version, simply swap the regular graham crackers for your favorite gluten free variety. The result is just as delicious. If you're not a fan of store bought whipped topping, you can easily make your own. Just beat three quarters of a cup of very cold heavy whipping cream with two tablespoons of powdered sugar until stiff peaks form, then fold that into your filling instead.
Serving Suggestions
When you're ready to serve, a dollop of extra whipped topping on each slice is a must. For a little extra flair, add a sprinkle of cinnamon or pumpkin pie spice on top. I also love adding a few crumbled graham crackers for a bit of texture. This pie is best served chilled, straight from the refrigerator, for the cleanest slices and best flavor.
Frequently Asked Questions
- → Can I use pumpkin pie filling instead of pumpkin purée?
No, using pumpkin pie filling will result in a pie that is too sweet and has a different consistency. Stick with pure pumpkin purée for the best results.
- → How long does the pie need to chill?
The pie needs to chill for at least 4 hours, but overnight is even better. This allows the filling to fully set and develop its flavors.
- → Can I make this pie gluten-free?
Yes! Simply use gluten-free graham crackers to make the crust gluten-free.
- → Can I use homemade whipped cream instead of Cool Whip?
Absolutely! Homemade whipped cream will add a richer flavor. Beat ¾ cup cold heavy cream with 2 tablespoons of powdered sugar until stiff peaks form.
- → How can I make the graham cracker crust firmer?
For a firmer crust, bake it at 350°F (175°C) for 8-10 minutes before adding the filling. Let it cool completely before filling.
- → Can I freeze this pie?
Yes, you can freeze this pie. Wrap it tightly in plastic wrap and then in foil. It can be frozen for up to 2 months. Thaw overnight in the refrigerator before serving.