
 Pin it
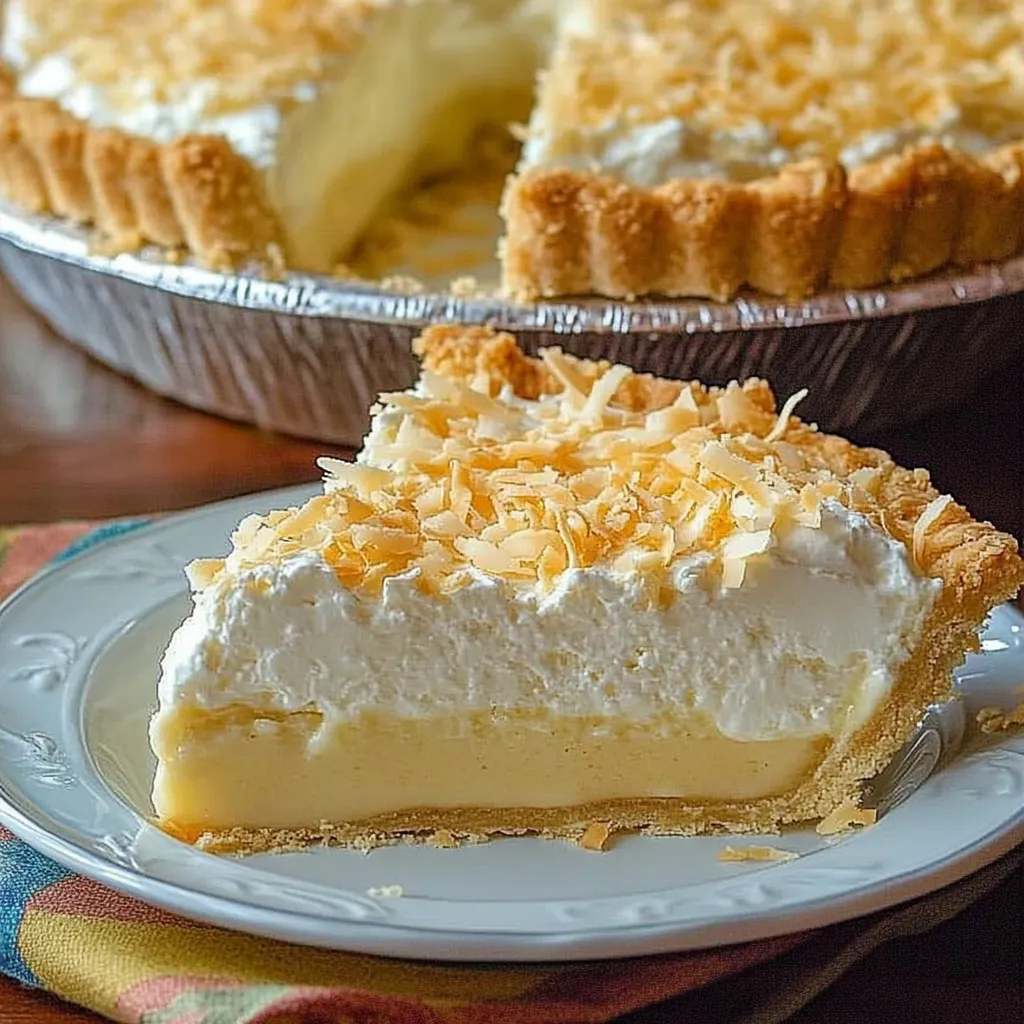
This luscious coconut cream pie has been my ultimate crowd-pleaser for years, perfected over countless family gatherings and holiday celebrations. The silky coconut filling paired with buttery homemade crust creates a dessert that consistently earns rave reviews from even the most discerning pie connoisseurs.
I first made this pie for my grandmother's birthday after trying dozens of recipes that never quite measured up. Her eyes lit up with the first bite, and she declared it better than her mother's recipe that had been our family standard for generations.
Ingredients
- Butter: cold and cubed for the flakiest pastry possible
- Flour: creates the structure for both crust and filling without being heavy
- Whole milk: delivers richness that transforms the filling texture
- Unsweetened fine coconut: provides authentic flavor throughout the filling
- Egg yolks: give the custard its silky smooth texture and rich color
- Vanilla and almond extracts: work together to enhance the coconut flavor
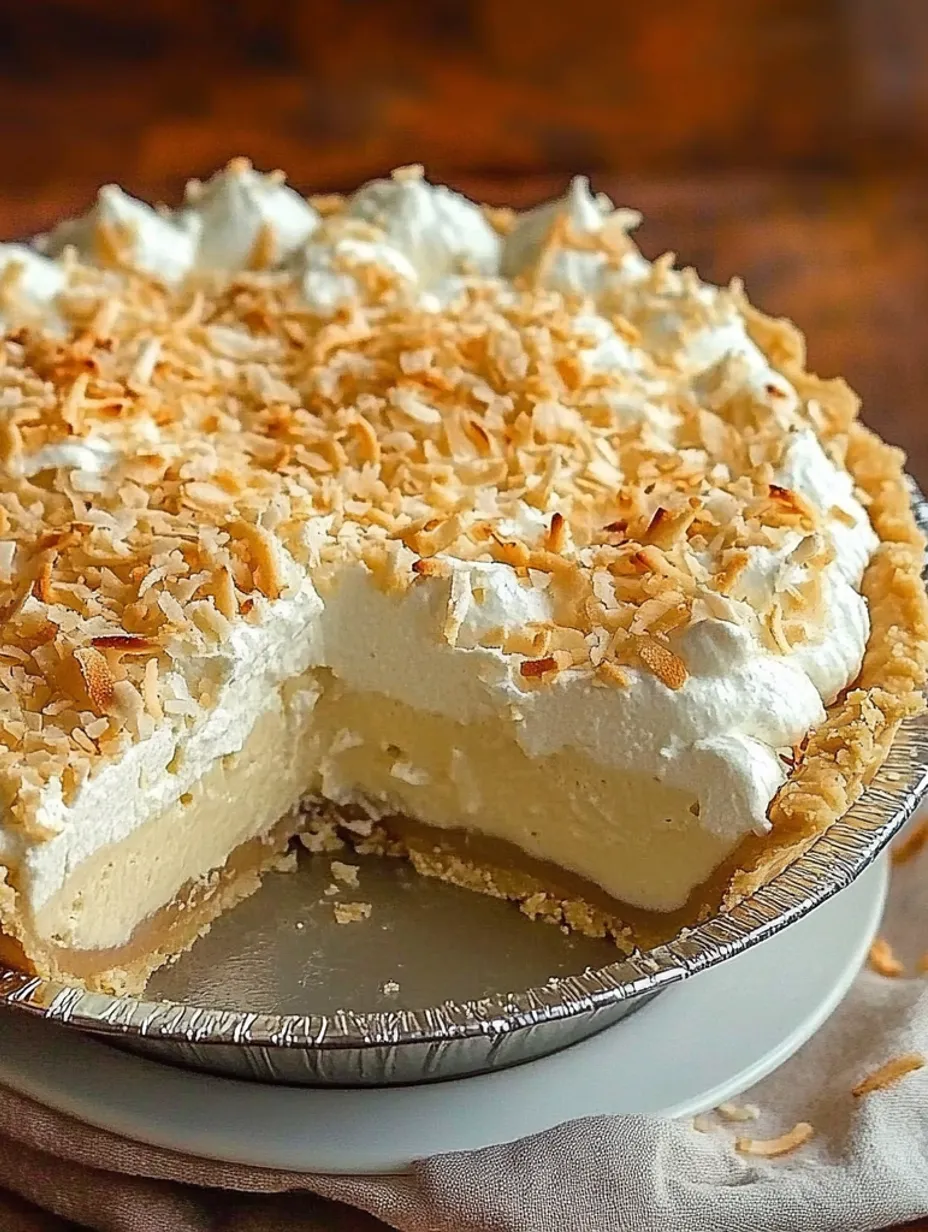
- Whipping cream: creates a cloud like topping that complements the dense filling
Step-by-Step Instructions
- Prepare the Pastry:
- Work with extremely cold butter and minimal handling to create a truly flaky crust. The food processor method saves time without sacrificing quality. The key is visible butter pieces throughout the dough these create steam pockets during baking that result in those perfect flaky layers.
- Rest the Dough:
- Allow your pastry to rest in the refrigerator for at least 20 minutes before rolling. This relaxes the gluten and firms up the butter making it easier to roll and ensuring a tender final result. This step cannot be rushed if you want that professional bakery quality crust.
- Blind Bake the Shell:
- Bake your crust completely before adding the filling to prevent the dreaded soggy bottom. The holes poked in the bottom prevent the crust from puffing up during baking. Watch carefully during the final minutes the difference between golden perfection and burnt disappointment happens quickly.
- Create the Filling:
- Scald the milk first before combining with the dry ingredients. This seemingly small step actually activates the thickening properties of the flour more effectively. The gradual addition of hot milk while constantly stirring prevents lumps from forming in your custard.
- Temper the Eggs:
- This critical step prevents scrambled eggs in your filling. The slow addition of hot mixture to egg yolks while whisking constantly brings them up to temperature without cooking them prematurely. Once properly tempered they can be safely returned to the main mixture.
- Chill Thoroughly:
- Allow the pie to chill completely before adding the whipped cream topping. Overnight is ideal as it allows the flavors to fully develop and the filling to set properly for clean slicing. Patience here makes all the difference in the final presentation.
The almond extract is my secret weapon in this recipe. I discovered its magic by accident when I ran low on vanilla during a holiday baking marathon. Just that tiny quarter teaspoon transforms the flavor profile completely elevating it from good to unforgettable.
Mastering the Perfect Filling Consistency
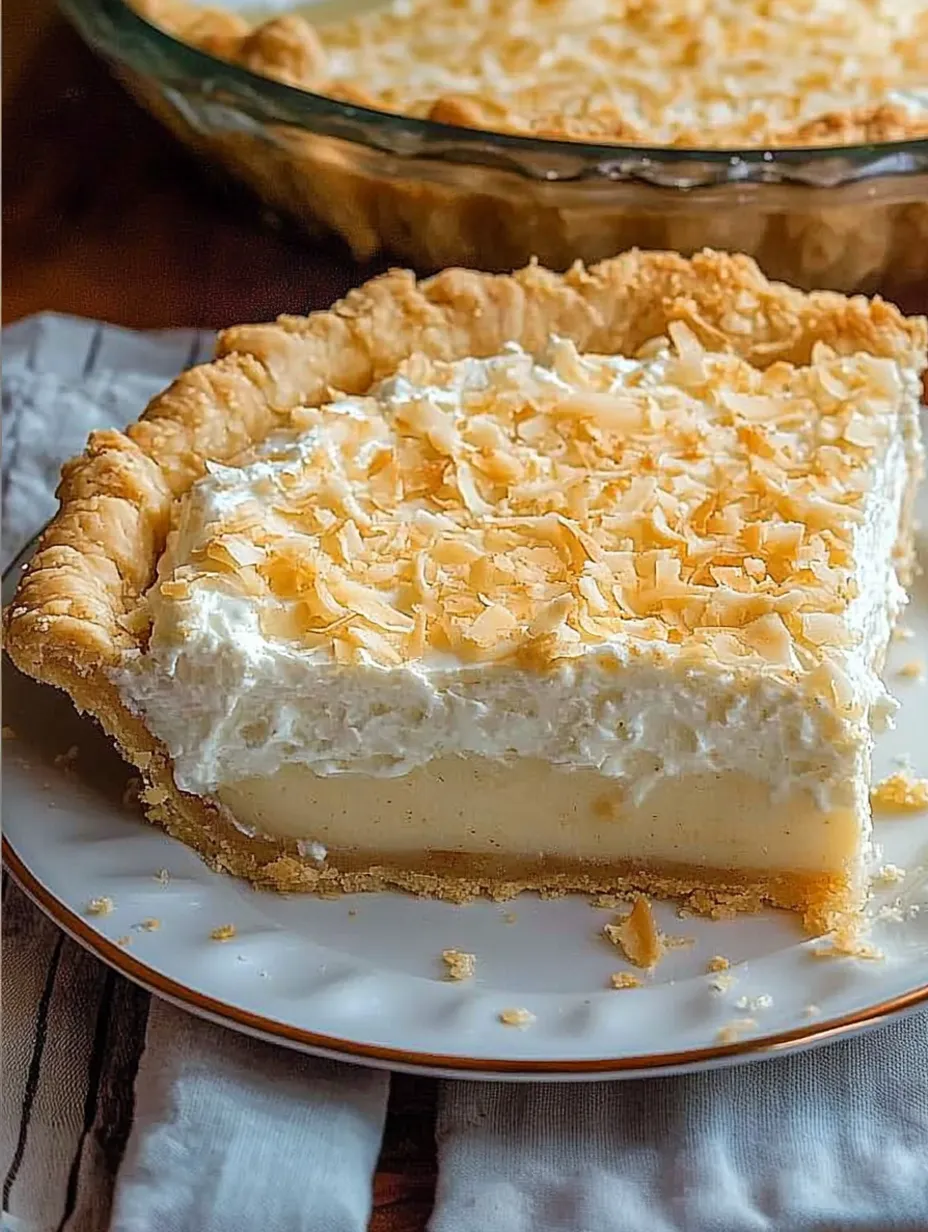
The trickiest part of any cream pie is achieving that perfect texture firm enough to hold its shape when sliced but still gloriously creamy on the tongue. The key is constant gentle stirring and knowing exactly when to remove it from the heat. Look for the first signs of bubbling and a noticeable thickening rather than waiting until it becomes too thick. Remember the filling will continue firming up as it cools.
Make Ahead and Storage Tips
This pie actually improves with an overnight rest in the refrigerator. The flavors meld together and the filling sets to the perfect consistency. If making further in advance prepare the filling and crust but wait to add the whipped cream until within 24 hours of serving. The completed pie will keep beautifully for up to 4 days refrigerated though the whipped cream may begin to weep slightly after the second day.
Coconut Variations and Customizations
While unsweetened fine coconut creates the classic texture you can customize this pie in several ways. For more pronounced coconut flavor toast half the coconut before adding to the filling. For texture contrast sprinkle toasted coconut chips over the whipped cream just before serving. Coconut milk can replace one cup of the whole milk for an even more tropical flavor profile though you may need to increase the flour slightly to maintain the proper thickness.
Serving Suggestions
This pie makes a stunning centerpiece for any dessert table especially when garnished with curls of white chocolate and toasted coconut. For a tropical twist serve alongside fresh mango or pineapple. For an elevated restaurant style presentation slice the pie when cold but allow it to stand at room temperature for 15 minutes before serving to allow the flavors to fully bloom on the palate.
Frequently Asked Questions
- → Can I use sweetened coconut instead of unsweetened?
Yes, but it will make the pie sweeter. You may want to reduce the sugar in the filling slightly to balance flavors.
- → How can I make the pastry crust flakier?
Use very cold butter and minimize handling the dough. Resting the dough in the fridge before rolling is essential for the best results.
- → Can I prepare the pie in advance?
Absolutely! This pie tastes even better when made a day ahead, as it allows the flavors to meld and the filling to set properly.
- → What’s the best way to toast the coconut?
Spread the coconut evenly on a baking sheet and place it in a 350°F oven. Toast for 5-7 minutes, stirring occasionally to ensure even browning.
- → Can I substitute almond extract if I don’t have it?
Yes, you can omit almond extract or substitute it with additional vanilla extract for a slightly different flavor profile.
- → How long should I chill the pie before serving?
Chill the pie for at least 4 hours or ideally overnight to ensure the filling sets completely.