 Pin it
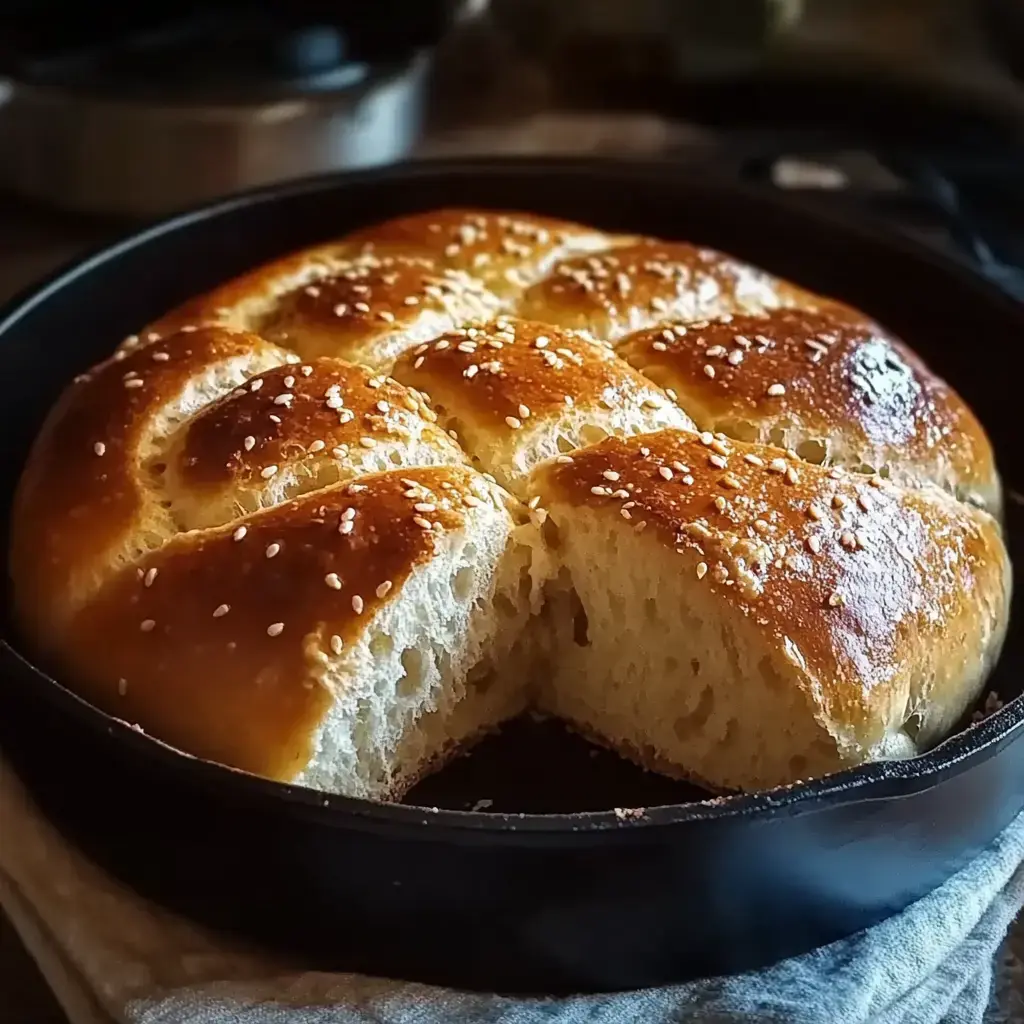
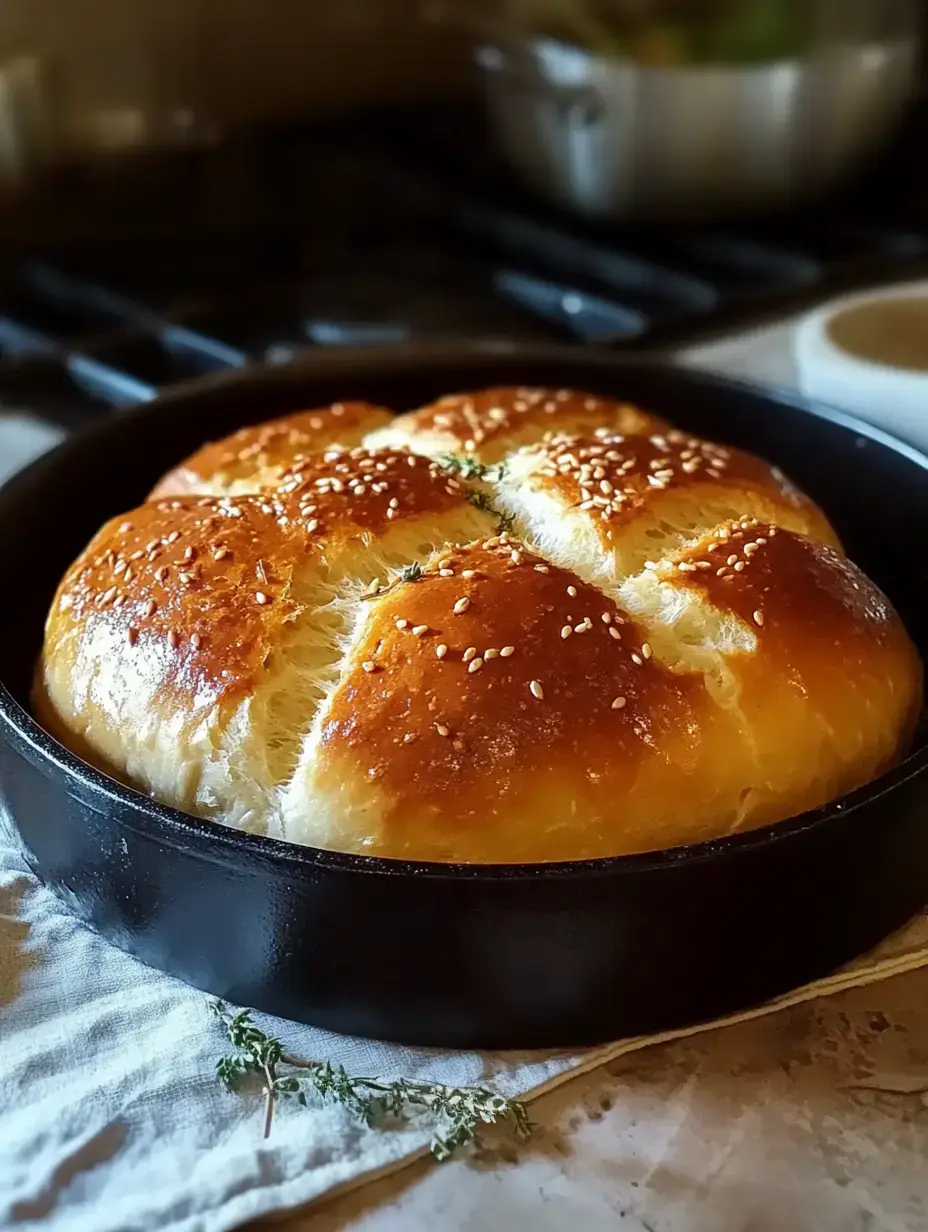
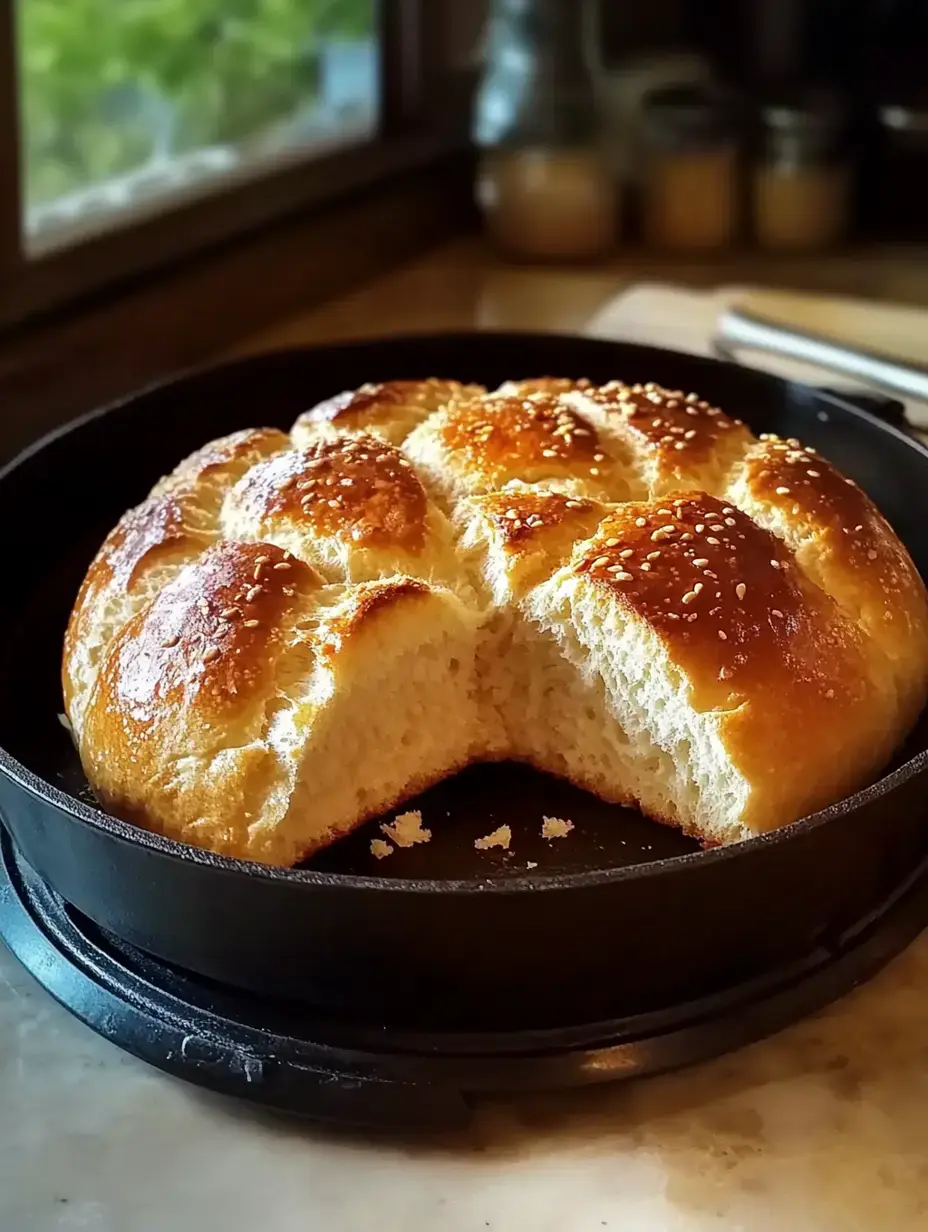
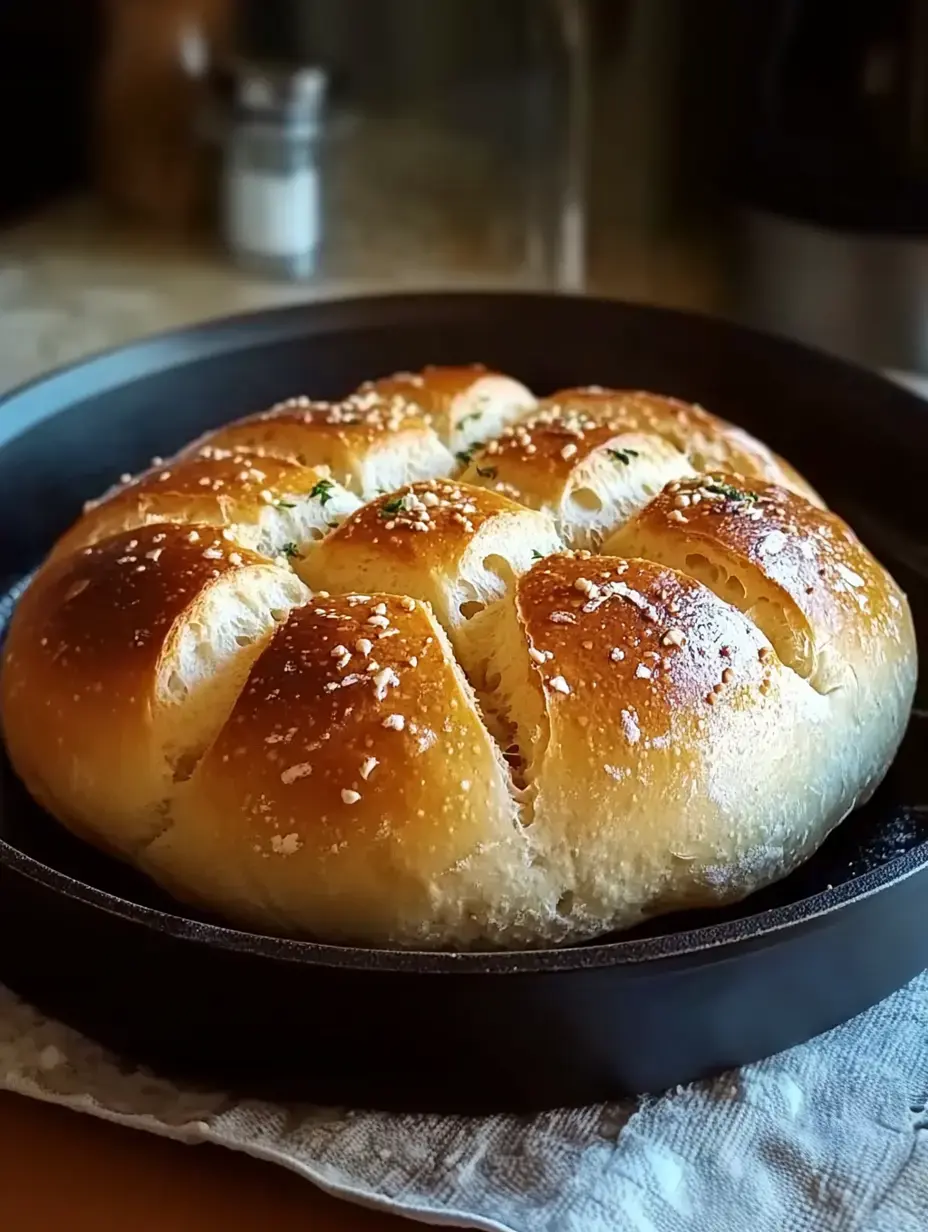
One winter when my oven broke I discovered the magic of making bread right on my stovetop and honestly it changed my baking game forever. The smell of fresh bread still fills my kitchen but now I don't even bother turning on the oven. This method gives you the most amazing texture crispy outside perfectly fluffy inside and it's ready in half the time.
No Oven No Problem
Making bread on the stovetop isn't just a backup plan it's become my go to method. It's perfect when you're craving fresh bread but don't want to heat up the whole house. My tiny apartment kitchen stays cool and I get to enjoy warm homemade bread in record time. Plus the process reminds me of making bagels just easier.
What You'll Need
- Flour: 5 cups, all-purpose, providing the structure and base for the bread.
- Milk: 2 cups, warm, helping to activate the yeast and create a tender dough.
- Oil: 1 cup, vegetable or canola, for moisture and richness.
- Dry Yeast: 1 tablespoon, ensuring a good rise for the dough.
- Granulated Sugar: 1 tablespoon, aiding in yeast activation and adding a hint of sweetness.
- Salt: 1 teaspoon for the dough, plus 1 teaspoon for boiling water, enhancing flavor.
- Water: 2.5–3 liters, used for boiling the dough.
 Pin it
Let's Make Bread
- Prepare the Dough
- Mix warm milk, sugar, and dry yeast in a bowl. Let it rest for 5-10 minutes until frothy. Add flour, oil, and salt. Stir until combined, then knead on a floured surface for 8-10 minutes until smooth and elastic.
- First Rise
- Place the dough in a greased bowl, cover with a damp cloth, and let it rise in a warm place for 1 hour or until doubled in size.
- Boil the Dough
- Shape the risen dough into balls. Boil water with a teaspoon of salt, then drop in the dough pieces. Boil for 1-2 minutes, until they puff up and float.
- Cook on Stovetop
- Heat a skillet over medium heat. Place the boiled bread pieces in the skillet, cooking each side for 2-3 minutes until golden brown and crispy.
Perfect Pairings
Nothing beats warm butter melting into fresh bread but we love getting creative with toppings. Sometimes I brush the hot bread with garlic butter for an instant garlic bread fix. My kids love it with jam for breakfast and it makes the most amazing sandwich bread especially toasted.
My Kitchen Secrets
Here's what I've learned from lots of trial and error make sure your yeast is fresh and your milk is just warm enough to activate it. Keep that water at a gentle boil too vigorous and your bread balls might fall apart. And don't skip the oil in the dough it makes such a difference in the final texture.
 Pin it
Mix It Up
I love playing with different flavors in this recipe. Sometimes I knead in fresh rosemary and garlic or sprinkle everything bagel seasoning on top. My recent favorite is adding shredded cheddar and jalapeños to the dough. The possibilities are endless just follow your taste buds.
Storage Success
These breads freeze beautifully just let them cool completely first. I make a big batch on weekends and freeze half for busy weeknights. A quick reheat in a skillet brings back that fresh baked crispiness. If you're keeping them on the counter store them in an airtight container they'll stay fresh for about 4 days.
Common Questions Solved
If your dough isn't rising check your yeast's freshness and milk temperature. For those wanting to try gluten free flour you'll need to adjust the liquid ratio slightly. And yes you can make these ahead for parties just reheat them quickly before serving. My family actually prefers them slightly toasted the next day.
Why This Method Shines
That quick boil before cooking creates this amazing bagel like texture crispy on the outside perfectly fluffy inside. It's become my favorite way to make bread especially on busy days. Once you try this method you might never go back to oven baking I know I haven't.
 Pin it
Frequently Asked Questions
- → Why boil the dough first?
Boiling helps create the initial structure and allows the bread to puff up before pan-frying gives it a crispy exterior.
- → How do I know when the dough has risen enough?
The dough should double in size, which typically takes about an hour in a warm spot. Press it gently - it should leave an indentation.
- → Can I make smaller portions?
Yes, you can divide the dough into smaller pieces for individual servings. Just adjust boiling and cooking times accordingly.
- → Why use warm milk?
Warm milk activates the yeast properly. It should be warm to touch but not hot, which would kill the yeast.
- → How should I store leftovers?
Store in an airtight container at room temperature for up to 2 days. Reheat briefly in a skillet to restore crispiness.
Conclusion
This unique bread-making technique demonstrates how to create delicious bread without using an oven, proving that creativity in the kitchen knows no bounds.
