
 Pin it
Creating your own sourdough starter opens up a world of incredible homemade bread possibilities. This simple mixture of flour and water transforms into a living, bubbling culture that brings tangy flavor and perfect texture to your baked goods. After years of experimenting with different methods, I've discovered this straightforward approach that takes the mystery out of sourdough starting.
I remember being intimidated by sourdough at first, but this method has become second nature in my kitchen. My starter, which I named Bubbles, has been going strong for three years now, producing countless loaves of bread that have my family fighting over the last slice.
Essential Ingredients
- All-Purpose Flour: While fancy organic flour is nice, regular unbleached flour works perfectly. I've even used budget store brands with great results
- Water: Room temperature water is key. If you have chlorinated tap water, let it sit out overnight. I keep a dedicated water jug just for feeding my starter
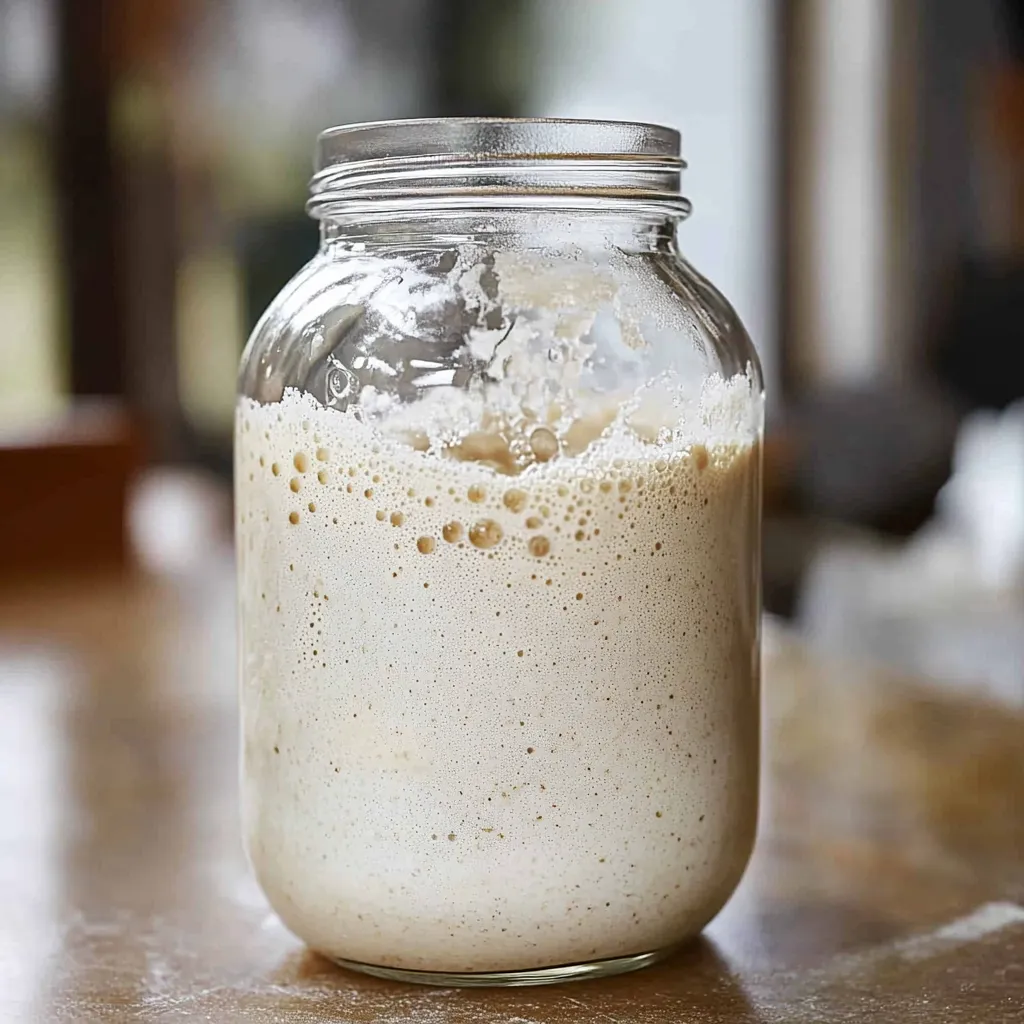
- Glass Container: A quart-sized mason jar is perfect. The clear glass lets you watch those exciting bubbles develop
- Cover: A simple paper towel and rubber band work better than an airtight lid. Your starter needs to breathe
Detailed Instructions
Creating Your Base
Mix exactly 1/2 cup flour with 1/4-1/3 cup water in your clean jar
Stir thoroughly with a wooden spoon until you get a thick pancake batter consistency
Secure your paper towel cover - tight enough to stay put but loose enough for air flow
Place in a warm spot - I use the top of my refrigerator
The First 24 Hours
Leave your mixture undisturbed for a full day
Look for tiny bubbles forming - this means wild yeast is starting to grow
Don't worry if you don't see bubbles yet - some starters take longer to wake up
Keep the temperature steady around 70°F
First Feeding Stage
After 24 hours, examine your starter for signs of life
Remove half the mixture (save this discard!)
Add your 1/2 cup flour and 1/4-1/3 cup water
Mix thoroughly until smooth
Return to its warm spot
Establishing the Routine
Repeat this feeding process every 24 hours
Always remove half before feeding
Keep your measurements consistent
Watch for increasing bubble activity
After countless batches of sourdough bread, I've learned that each starter develops its own personality. My current starter likes warmer temperatures and gets extra bubbly when I feed it with rye flour occasionally - it's like giving it a special treat!
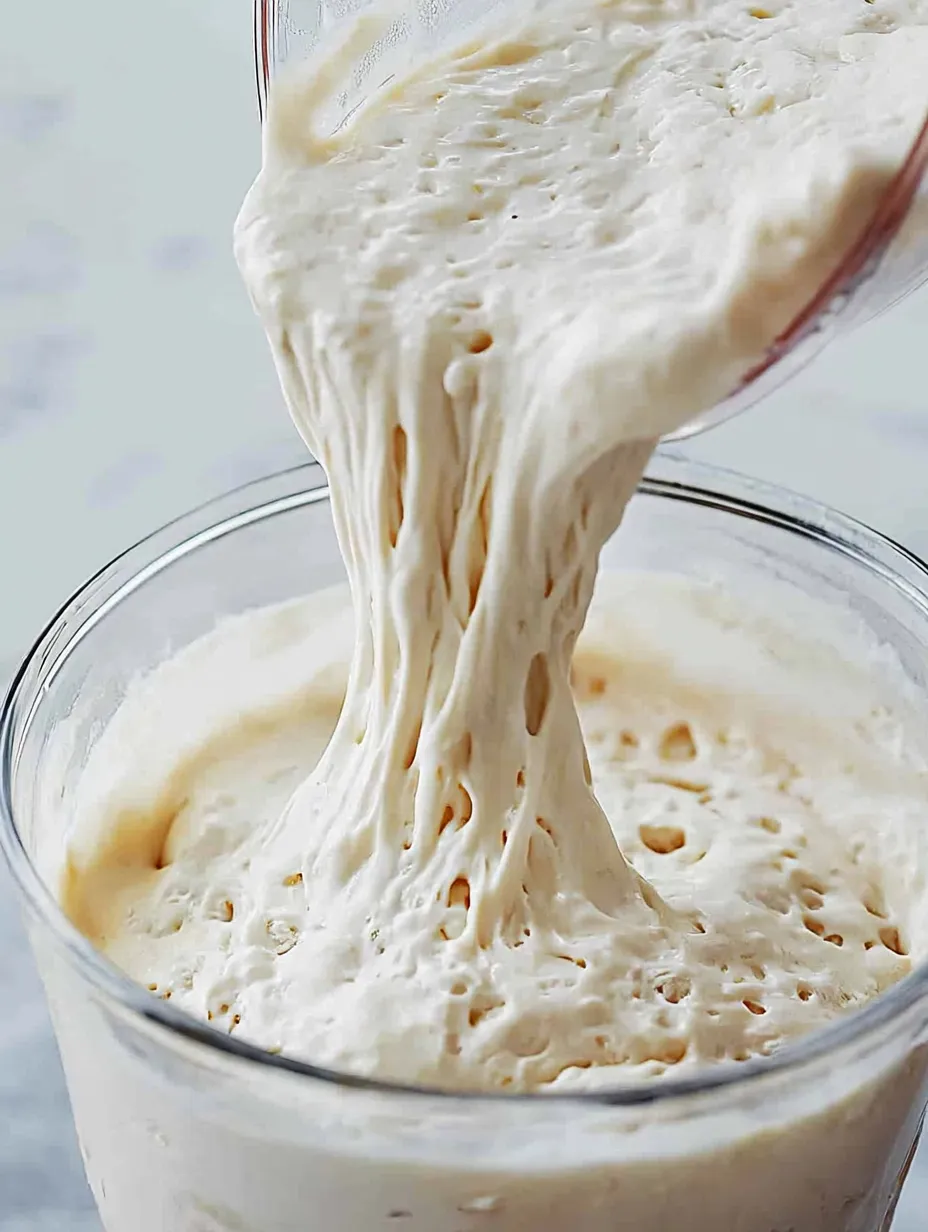
Understanding Your Starter's Growth
When your starter is healthy, you'll notice it follows a predictable pattern. After feeding, it rises steadily for several hours, then gradually falls back down. This rhythm becomes second nature once you're familiar with it. I mark the jar with a rubber band to track the rise - a trick I learned from my grandmother that's never failed me.
Troubleshooting Common Issues
Sometimes your starter might seem sluggish or develop a layer of liquid on top (known as "hooch"). Don't panic! This usually means it's hungry and needs feeding. Like a cherished pet, your starter communicates its needs - you just need to learn its language. In colder months, I've found moving it closer to my oven helps maintain better activity.
Storing Your Sourdough Starter
Once established, your starter becomes incredibly resilient. I keep mine in the refrigerator between weekend baking sessions, feeding it just once a week. Before a baking day, I pull it out and give it two feeds to wake it up. The transformation from sleepy starter to vibrant, bubbling culture never ceases to amaze me.
Making the Most of Your Discard
Don't toss that excess starter! Over the years, I've developed a collection of delicious ways to use it. My family especially loves sourdough pancakes made with the discard - they have an incredible flavor that store-bought mix can't match.
Chef's Helpful Tips
- Always use room temperature water - cold water shocks the yeast and slows fermentation
- The rubber band marking trick helps you easily monitor starter activity
- Keep a dedicated set of utensils for your sourdough to avoid any contamination
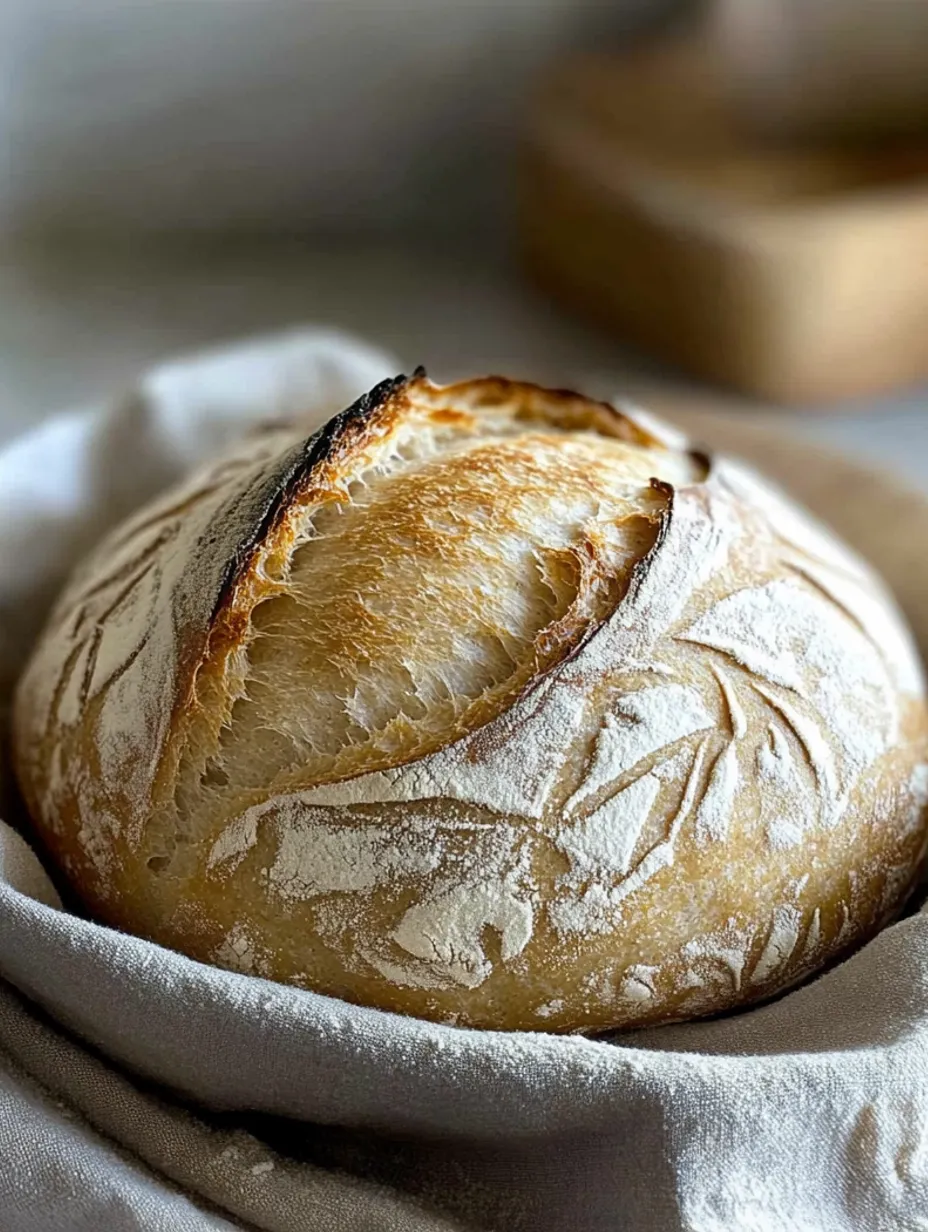
Creating and maintaining a sourdough starter has become one of my most rewarding kitchen projects. There's something magical about nurturing this living culture that transforms simple flour and water into countless delicious possibilities. While it takes patience at first, the reward of pulling your first loaf of true sourdough bread from the oven makes it all worthwhile. Remember, every legendary sourdough starter had to begin somewhere - yours could be the next great one!