 Pin it
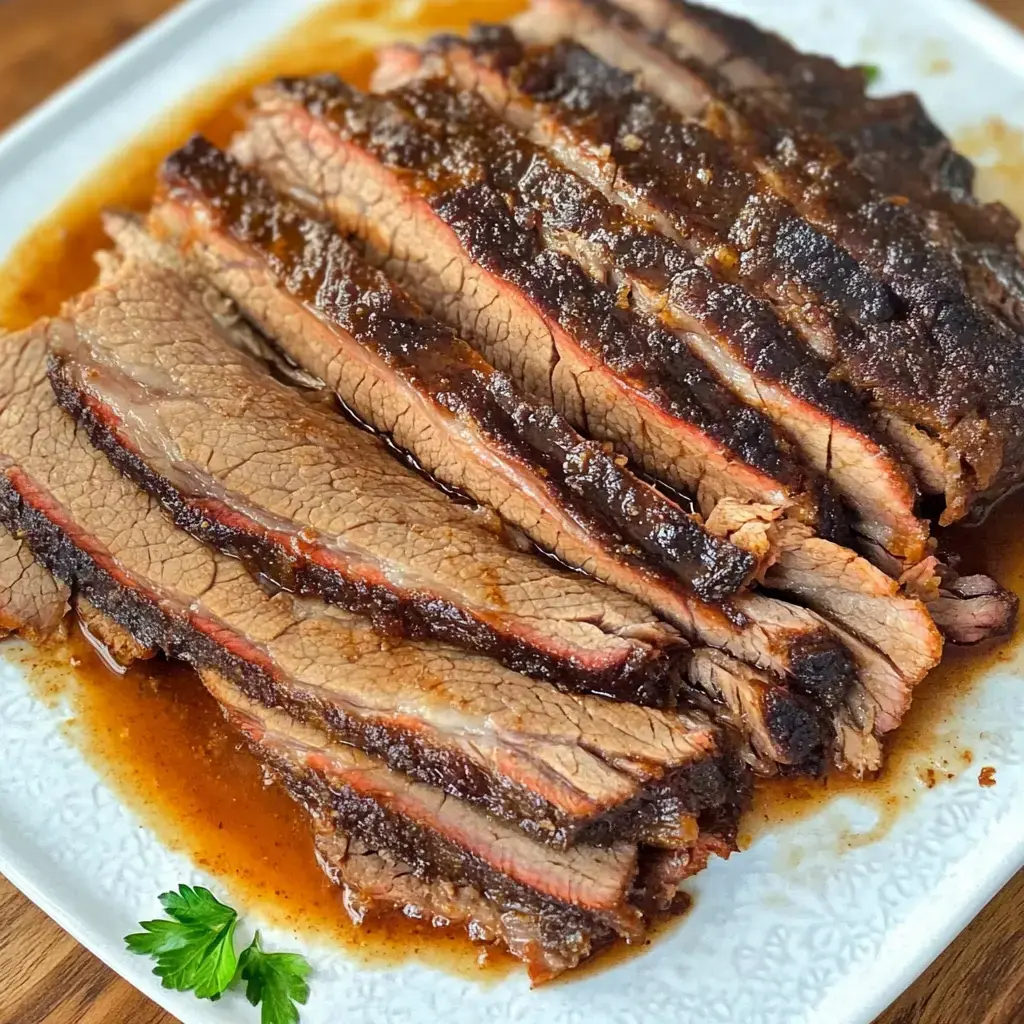
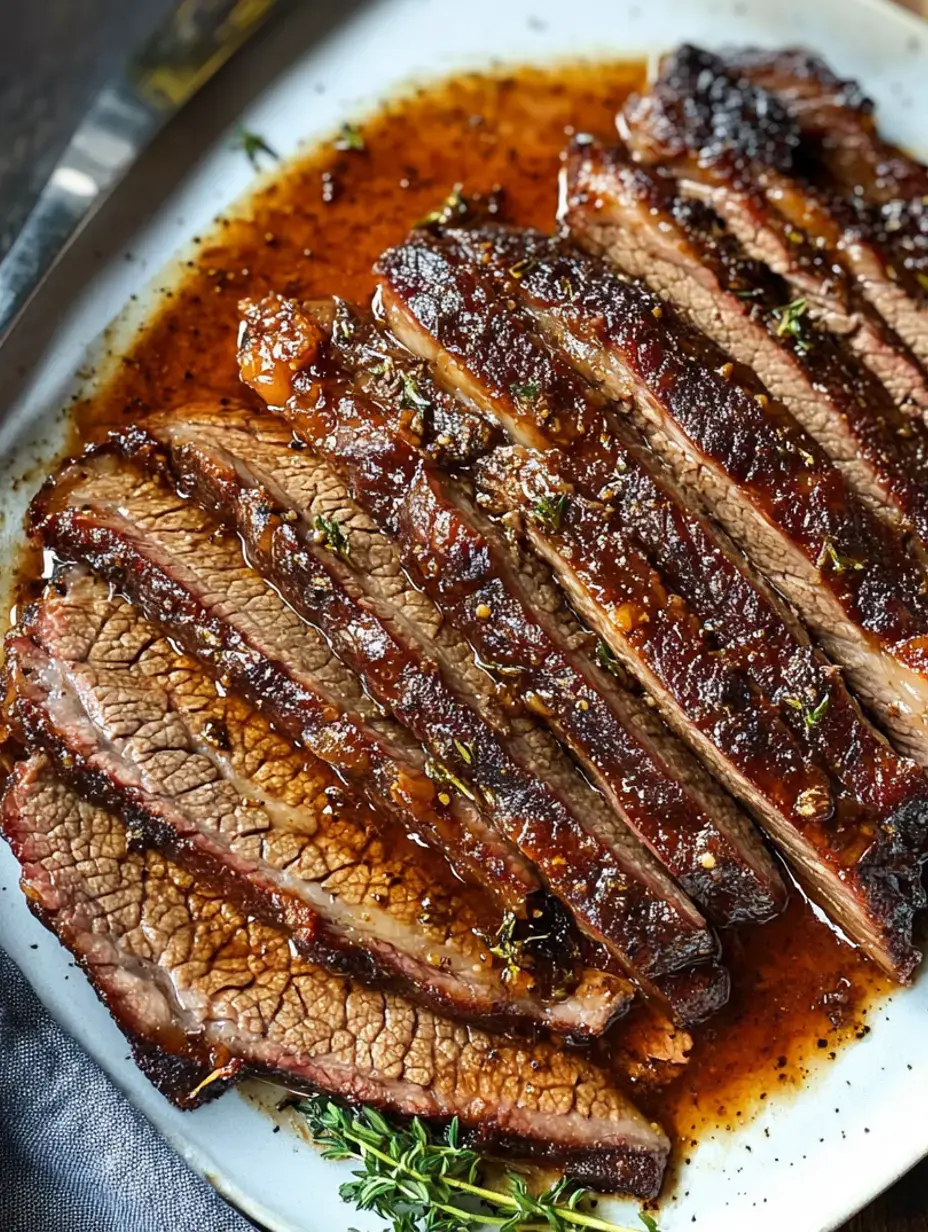
I'm sharing my treasured oven brisket recipe that brings Texas-style flavors right to your kitchen. After years of perfecting this method, I can promise you'll get that incredible juicy tenderness without needing a smoker. The secret lies in my special dry rub and a foolproof cooking technique that never fails to impress.
Understanding Your Cut
In my butcher days I learned all about brisket's unique character. This beautiful cut comes from the cow's lower chest and needs plenty of patience to transform from tough to tender. Most supermarkets carry the leaner flat cut but don't worry that's exactly what we want for this recipe.
Gathering Your Ingredients
- Beef Brisket: Look for that beautiful flat cut with just the right amount of fat on top
- My Special Dry Rub: I mix up salt pepper paprika garlic powder and a touch of brown sugar
- Aluminum Foil: Your brisket's best friend for keeping all those juices locked in
- Roasting Pan: Make sure it has a rack we want that heat circulating nicely
Getting Started
- Season with Love
- Get your hands messy really work that spice mix into every nook and cranny of your brisket
- The Waiting Game
- Wrap it up snug in foil then let it rest overnight in the fridge this is where the magic starts
- Patience Pays Off
- An hour before cooking let your brisket warm up on the counter trust me it makes a difference
Let's Get Cooking
- Set the Stage
- Get your oven nice and warm at 300°F line that pan with foil for easy cleanup later
- The Main Event
- Fat side up always wrap it loosely and let it cook about 75 minutes per pound until it hits that sweet spot of 185°F
- The Final Touch
- Open up that foil and let it go another hour reaching for 200 202°F
- Rest and Relax
- This is crucial give it a good 30 minutes under the foil tent before you even think about slicing
 Pin it
The Art of Slicing
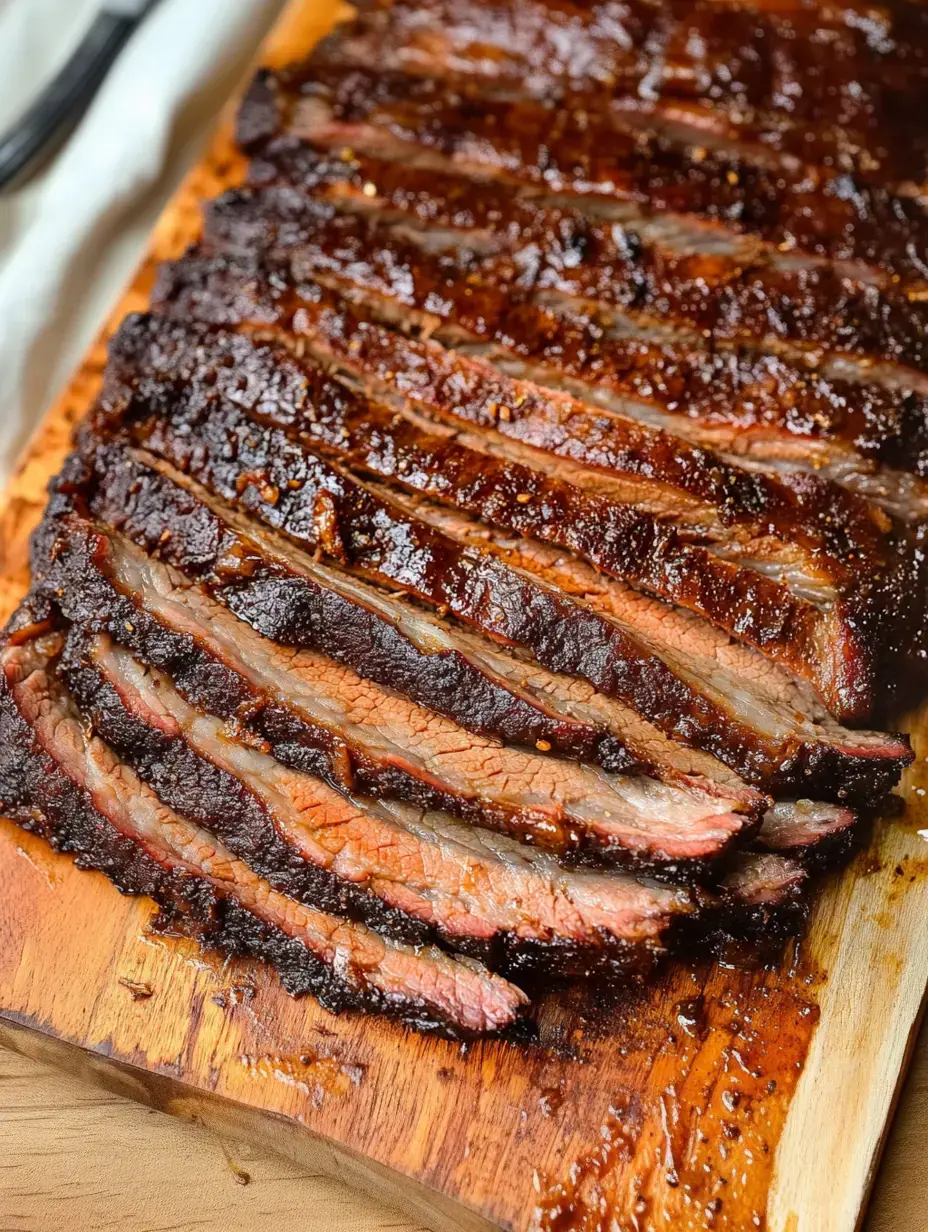
My grandmother taught me the importance of slicing against the grain. It's like finding the lines in a piece of wood and cutting across them. This simple technique turns each bite into butter soft perfection.
Feeding Your Crowd
In my experience half a pound per person is the sweet spot. But honestly I always make extra. Nothing beats brisket sandwiches the next day and trust me your family will thank you for the leftovers.
Keeping It Fresh
My trick for storing leftover brisket is wrapping it first in parchment then in foil. Pop it in the fridge where it'll stay perfect for nearly a week though it rarely lasts that long in my house.
Bringing Back The Heat
When it's time to reheat I always slice the cold brisket first then wrap it in foil. Fifteen minutes in a 350°F oven brings back that just cooked tenderness. It's almost better the second time around.
My Kitchen Secrets
Don't wrap that foil too tight around your brisket. Give it room to breathe and always keep your meat thermometer handy. These little details make the difference between good and absolutely amazing brisket.
 Pin it
Time Saving Tips
I love prepping my brisket the night before. The seasoning has time to work its magic and dinner comes together so much easier the next day. It's become my go to method for stress free entertaining.
Perfect Pairings
In my house brisket always comes with creamy mashed potatoes and tangy coleslaw. Sometimes I whip up a quick BBQ sauce but honestly this meat is so flavorful it barely needs it.
Making The Most of Leftovers
Leftover brisket is like gold in my kitchen. We love it in soft tacos loaded with fresh salsa or piled high on crusty bread for sandwiches. Sometimes I'll even dice it up for the most amazing chili you've ever tasted.
Keeping It Juicy
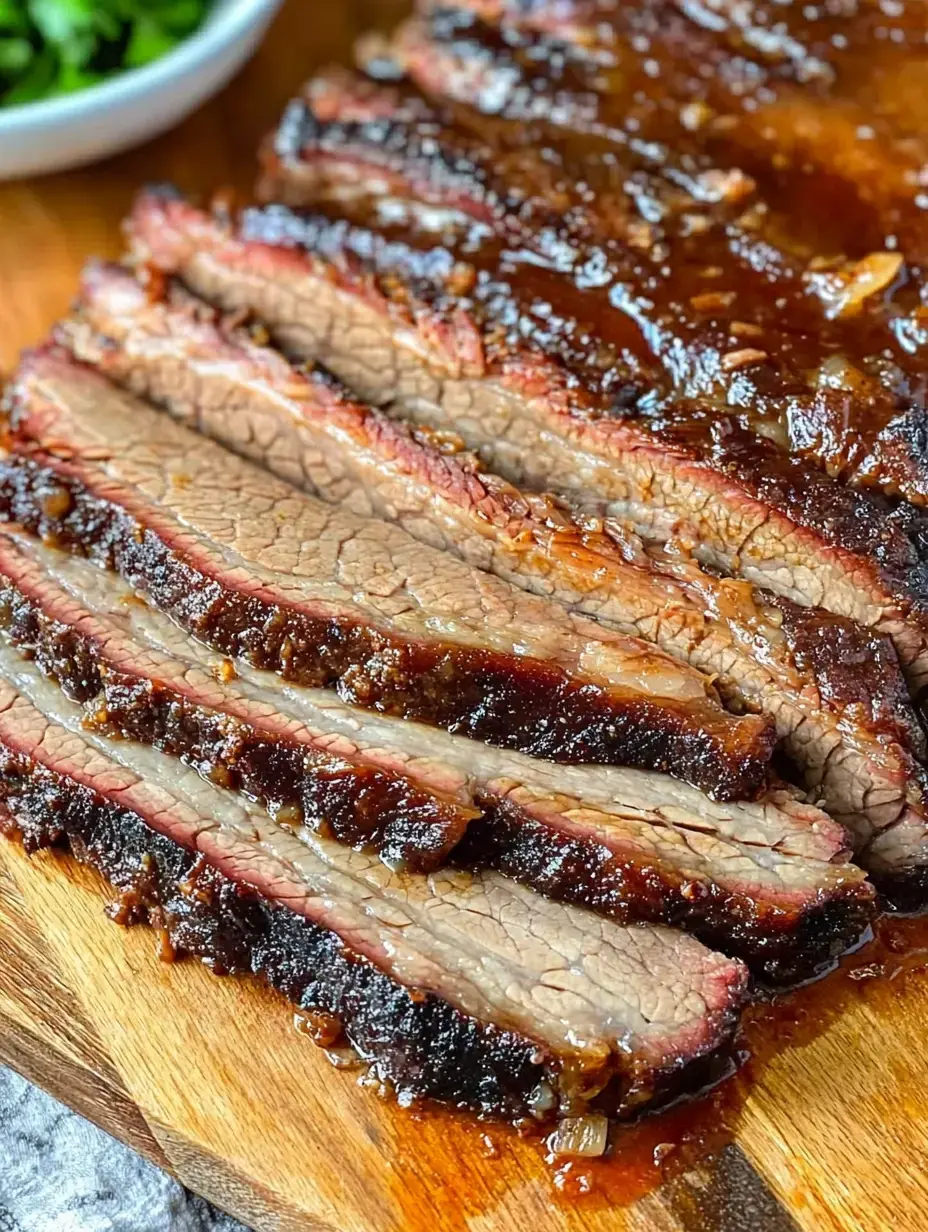
The secret to moist brisket is patience with that thermometer and never skipping the rest time. I always cook fat side up letting those beautiful juices baste the meat naturally.
Made For Sharing
Every time I serve this brisket at family gatherings the plates come back empty. Something about its tender texture and rich flavor brings people together. It's become our celebration staple.
 Pin it
The Magic of Time
There's something special about cooking low and slow. As the hours pass my kitchen fills with the most amazing aroma and that tough cut transforms into something incredibly tender.
Essential Equipment
I never start a brisket without my trusty meat thermometer and sharp carving knife. That sturdy roasting pan with a rack is crucial too. These tools have never let me down.
That Smoky Touch
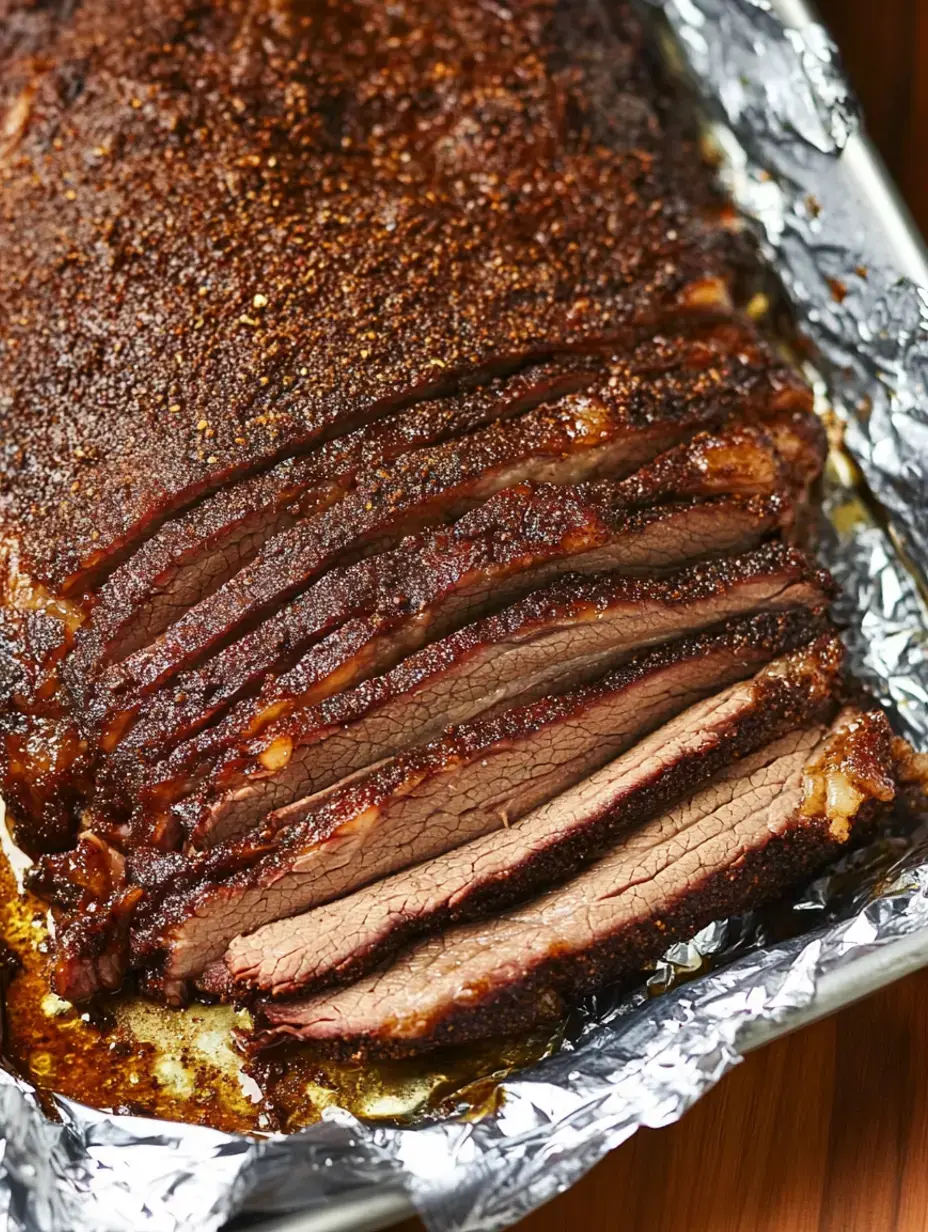
My little trick for getting that outdoor flavor indoors? A good pinch of smoked paprika in the rub. Sometimes I'll add a few drops of liquid smoke too. It gives you that wonderful BBQ taste right from your oven.
Worth The Wait
That final rest under the foil tent might test your patience but it's absolutely worth it. Those precious 30 minutes let all the juices settle back into the meat making every slice pure perfection.
Pure Comfort Food
This oven brisket has become my signature dish. It carries all the soul of traditional BBQ with the convenience of indoor cooking. When the weather turns cold or time is tight this recipe never disappoints.
 Pin it
Frequently Asked Questions
- → Why refrigerate overnight?
- The overnight rest allows the seasonings to penetrate the meat and helps tenderize it for better flavor and texture.
- → Why cook fat side up?
- Cooking with the fat cap up allows the fat to baste the meat as it melts, keeping it moist and adding flavor.
- → How do I know when it's done?
- Use a meat thermometer in the thickest part - it should reach 180°F. Cooking time is about 1 hour 15 minutes per pound.
- → Why let it rest?
- Resting for 30 minutes allows juices to redistribute through the meat. Cutting too soon will lose moisture.
- → Why cut against the grain?
- Cutting against the grain shortens the muscle fibers, making each bite more tender and easier to chew.
