
 Pin it
I make these no-bake peanut butter cups at least twice a month - they've saved me from ordering takeout desserts more times than I can count! The best part is they take just minutes to throw together with stuff I always have in my pantry. My kids think they're getting a treat, while I know they're basically eating oatmeal with benefits.
Last month when my sister dropped by unexpectedly with her kids, I pulled these out of the freezer and suddenly I was the coolest aunt ever. The kids had no idea they were eating something relatively healthy!
What You'll Need
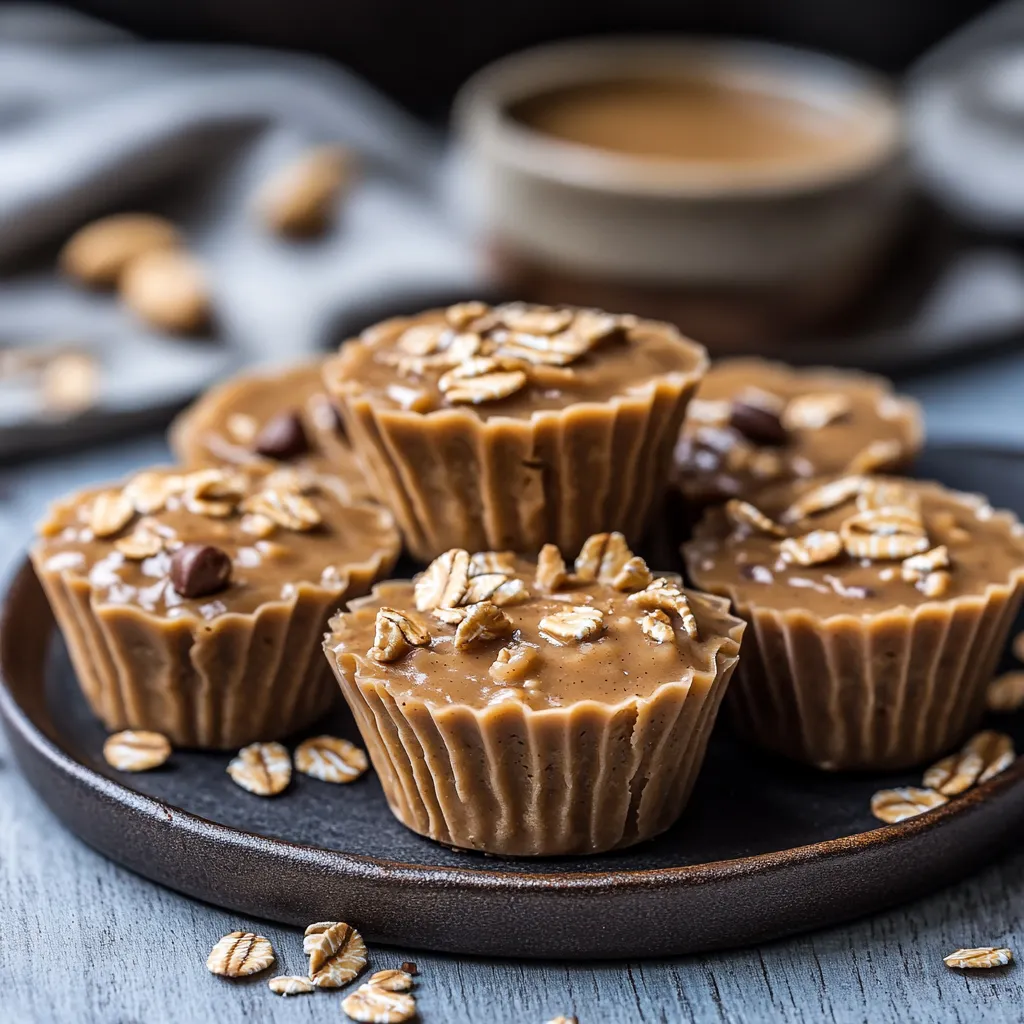
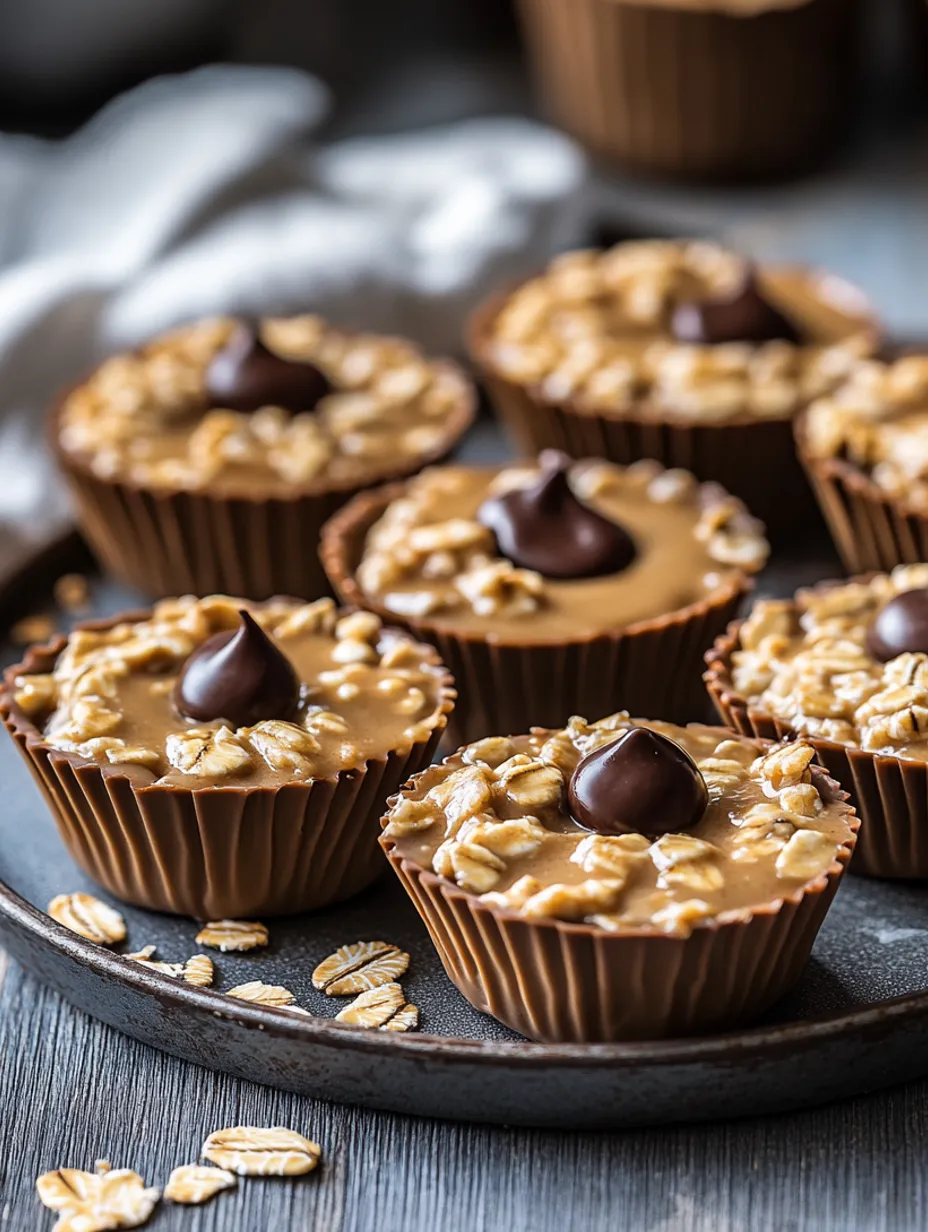
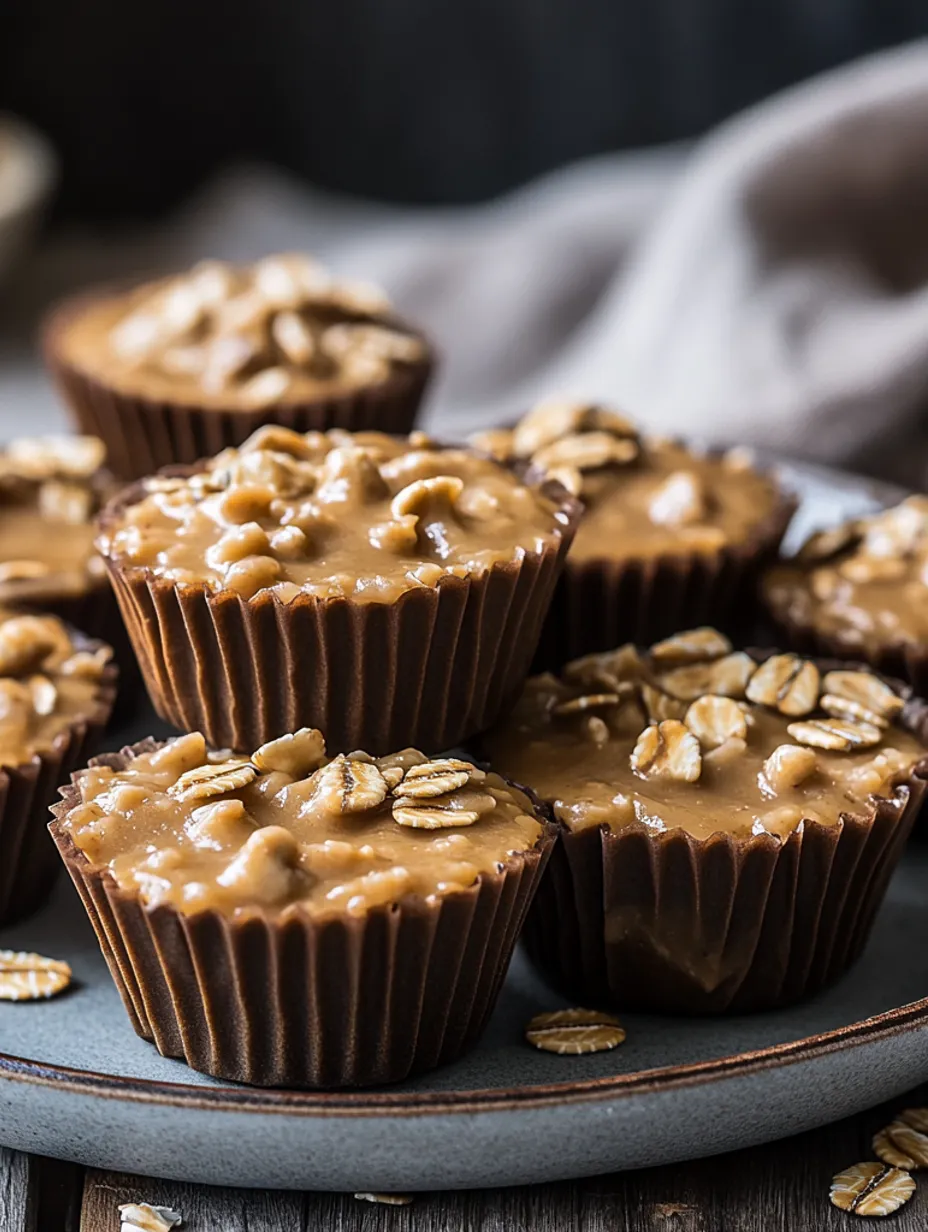
- Rolled oats: The hearty base that gives these substance. I use old-fashioned oats for the best texture, but quick oats work in a pinch.
- Natural peanut butter: The drippy kind from the health food section works best. The oils help everything stick together without needing extra fat.
- Honey or maple syrup: Either works great. Honey makes them a bit stickier, while maple gives a slightly more complex flavor.
- Dark chocolate chips: Don't skip these! They elevate these from "healthy snack" to "actual treat." The bitterness balances the sweet perfectly.
- Vanilla extract: Just a splash adds warmth and depth. Totally optional but worth it if you have it.
- Salt: Only needed if your peanut butter is unsalted. That sweet-salty combo is what makes these addictive.
How I Make Them
The Mix-UpI dump everything except the chocolate chips into a bowl and stir with a wooden spoon. Sometimes if my peanut butter is thick, I microwave it for 15 seconds first. You know it's ready when it clumps together when pressed.
Forming The CupsI've found that lining a mini muffin tin with paper liners makes cleanup a breeze. For pressing the mixture in, the back of a teaspoon works perfectly to create that cup shape. Don't be shy about pressing firmly - they hold together better that way.
Chocolate Topping TrickMicrowaving chocolate can be tricky, so I never go more than 15 seconds without stirring. The residual heat will continue melting the chocolate, and you definitely don't want it to seize up. I use a small spoon to drizzle it over each cup in a zigzag pattern - looks fancy with minimal effort!
Chill FactorThey need at least an hour in the fridge to firm up properly. Sometimes I'm impatient and stick them in the freezer for 20 minutes instead. Just don't tell anyone about my shortcut.
I created this recipe during a late-night craving when I wanted something sweet but didn't want to bake or run to the store. I scrounged around my pantry and was so happy with how they turned out that they've become a regular in my snack rotation!
Serving Ideas
Keep these in the freezer for a firmer texture that takes longer to eat - great for kids who rush through snacks. Serve alongside berries or banana slices for a more substantial treat. For company, place each cup in a mini cupcake liner and arrange on a platter with fresh mint sprigs for a fancy presentation that belies how simple they are.
Make It Your Own
Add a tablespoon of chia seeds for extra nutrition and a fun popping texture. Swap half the peanut butter for almond butter to change up the flavor profile. Try pressing a fresh raspberry into the top before adding chocolate for a fruity twist. Sprinkle with flaky sea salt right after adding the chocolate for a gourmet touch.
Storage Smarts
These keep beautifully in the fridge for a week, but honestly, they rarely last that long in my house. For longer storage, freeze them in a single layer until solid, then transfer to a container or zip-top bag. They thaw in about 10 minutes at room temperature, but I actually prefer them slightly frozen - they're like little peanut butter cookie dough bites that way!
Kitchen Hacks
- No mini muffin tin? Use a regular-sized one for larger portions, or roll into balls for energy bites
- Add a tablespoon of coconut oil to the chocolate chips for a topping that sets with a nice snap
- If mixture seems too dry, add an extra tablespoon of peanut butter; if too wet, add more oats
These little cups have become my secret weapon against processed snacks. They're substantial enough to actually satisfy hunger, unlike a lot of "healthy" desserts that leave you wanting more. The best compliment I got was from my husband who asked if they were "real peanut butter cups" - he couldn't believe something this simple could taste so good!
Frequently Asked Questions
- → Can I use a different nut butter?
- Yes, almond or cashew butter work great as substitutes for peanut butter.
- → How long do these keep?
- Store in fridge for up to a week or freeze for longer storage.
- → Can I add other ingredients?
- Yes, try shredded coconut, chia seeds, or crushed nuts for added texture.
- → Is this recipe vegan?
- Yes if using maple syrup instead of honey and ensuring chocolate chips are dairy-free.
- → Can I use quick oats?
- Yes, quick oats work but will create a softer texture than rolled oats.