 Pin it
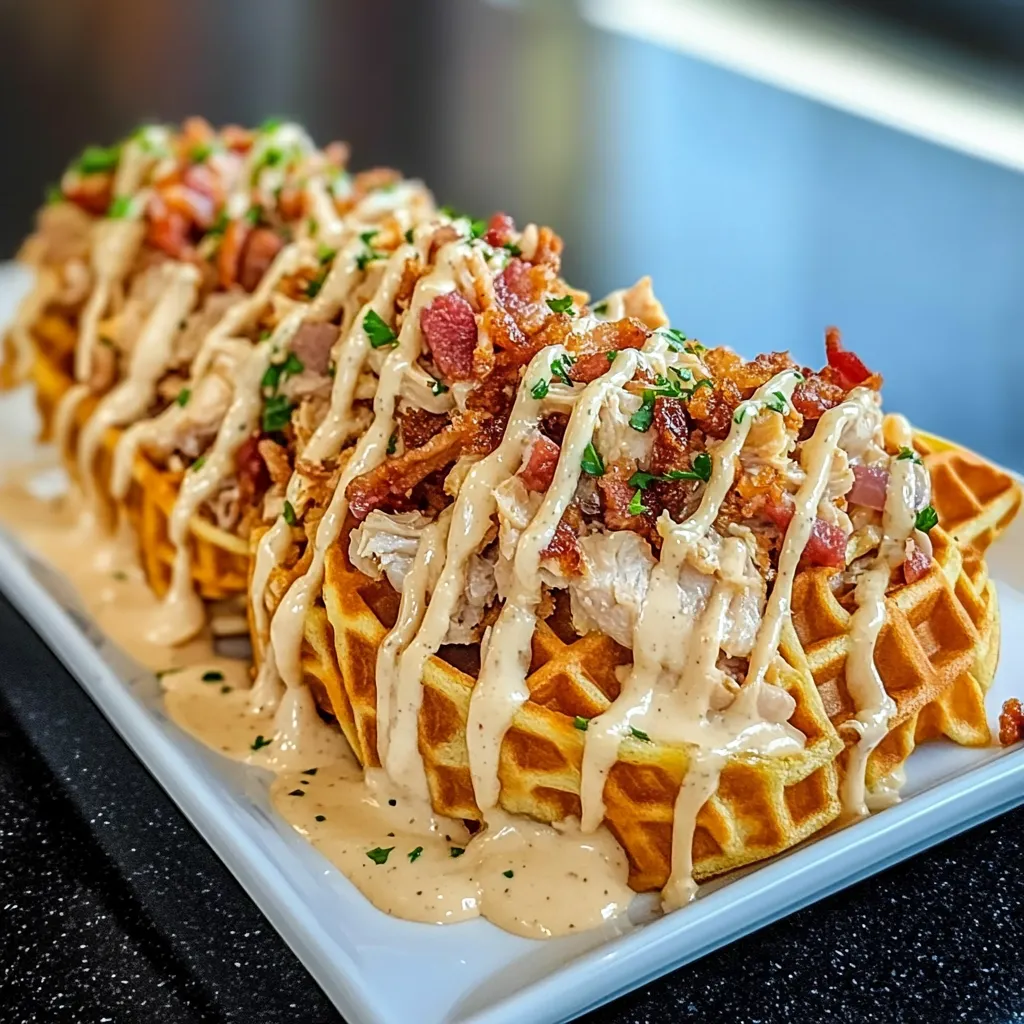
This handheld meal is my ultimate secret weapon for game days and casual get togethers, turning a simple, savory chicken dip into a fun, edible cone everyone loves. They are the first thing to disappear from the table every single time.
I first made these for a neighborhood potluck, and they were gone in minutes. Now, people specifically ask me to bring them to every single gathering we have.
Ingredients
- Waffle cones: you need six of them and it is best to find fresh, crisp ones so they hold up to baking
- Cooked chicken: shredded about two cups a rotisserie chicken is a fantastic time saver and adds amazing flavor
- Shredded cheddar cheese: two cups of it because the sharp tangy flavor pairs perfectly with the ranch and bacon
- Cooked and crumbled bacon: a half cup for that essential salty smoky crunch
- Ranch dressing: you will need a half cup use your favorite brand for that classic creamy herby flavor
- Cream cheese: four ounces softened to room temperature this is the secret to a rich cohesive filling
- Green onions: a quarter cup chopped for a mild fresh bite that cuts through the richness
- Salt and pepper: just a bit to taste to bring all the flavors together
Step by Step Instructions
- Prepare Your Oven and Workspace:
- First things first, preheat your oven to 375 degrees Fahrenheit. Getting the oven fully hot ensures the cones bake evenly and get crispy without the filling making them soggy. Line a sturdy baking sheet with parchment paper to prevent sticking and make cleanup a breeze.
- Create the Savory Filling:
- In a medium sized bowl, combine your softened cream cheese and ranch dressing. Mix them together until they are smooth. Then, add the shredded chicken, two cups of shredded cheddar, the crumbled bacon, and the chopped green onions. Season with a pinch of salt and pepper. Stir everything together thoroughly until every piece of chicken is coated in that creamy, cheesy mixture.
- Carefully Stuff the Cones:
- Now for the fun part. Gently spoon the chicken mixture into each of the six waffle cones. You want to pack it in firmly enough so it is full, but be careful not to be too aggressive or you might crack the cone. I like to tap the bottom of the cone lightly on the counter to help the filling settle all the way to the bottom.
- Bake Until Golden:
- Stand the filled cones upright on your prepared baking sheet. It helps to leave a little space between them for air to circulate, which helps them crisp up. Bake for 15 to 20 minutes. You’re looking for the cones to turn a beautiful golden brown and for the cheese on top to be melted and bubbly. Keep a close eye on them during the last few minutes as the edges of the cones can go from golden to burnt very quickly.
- Cool and Serve:
- Once they’re done, carefully remove the baking sheet from the oven. Let the cones cool for at least a few minutes. They will be incredibly hot, and this cooling time allows the cheesy filling to set up a bit, making them easier to handle and eat.
 Pin it
The softened cream cheese is truly the star player here. It acts as the delicious glue that holds everything together, ensuring the filling is unbelievably creamy and not dry at all. I’ll never forget my son’s face the first time he bit into one of these, the pure joy was priceless.
Storing and Reheating Your Cones
If you have any leftovers, which is rare, store them in an airtight container in the refrigerator for up to two days. The biggest challenge is preventing the cone from getting soft. The best way to reheat them is in a toaster oven or an air fryer at around 350 degrees for a few minutes until the filling is warm and the cone is crisp again. I strongly suggest avoiding the microwave, as it will turn that wonderfully crisp cone into a soft, chewy disappointment.
Fun Ingredient Swaps and Variations
This recipe is incredibly forgiving and easy to customize. Don't love cheddar? Try a Monterey Jack or a spicy pepper jack for a little kick. You can swap the bacon for crumbled cooked sausage or even diced ham. For a lighter take, you can use low fat cream cheese and substitute half of the ranch dressing with plain Greek yogurt for a tangy protein boost.
Serving Suggestions
These cones are a meal in themselves, but they also play well with others. I love serving them with a simple green salad with a vinaigrette to cut through the richness. They are also fantastic with a side of celery and carrot sticks for dipping, or even a small bowl of marinara or buffalo sauce if you want to get extra creative.
Frequently Asked Questions
- → What's the best way to keep the waffle cones from getting soggy?
Bake the cones upright on a parchment-lined baking sheet. Avoid overfilling them with wet ingredients. Serve shortly after baking for optimal crispness.
- → Can I use a different type of cheese?
Absolutely! Monterey Jack or pepper jack cheese would be delicious alternatives to cheddar. Consider the flavor profile you're aiming for.
- → What kind of chicken works best in these cones?
Pre-cooked rotisserie chicken is a convenient and tender option. You can also use shredded chicken breasts that have been baked, boiled, or grilled.
- → Can I make these ahead of time?
While best served fresh, you can prepare the filling in advance and store it in the refrigerator. Assemble and bake the cones just before serving to prevent sogginess.
- → What's a good substitute for bacon?
Turkey bacon or crumbled cooked sausage are great alternatives. You can even use vegetarian bacon substitutes.
- → How do I reheat leftovers?
Reheat in a toaster oven or air fryer for the best results. Microwaving is not recommended as it can make the cones soggy. Store leftovers in an airtight container in the refrigerator for up to two days.
