
 Pin it
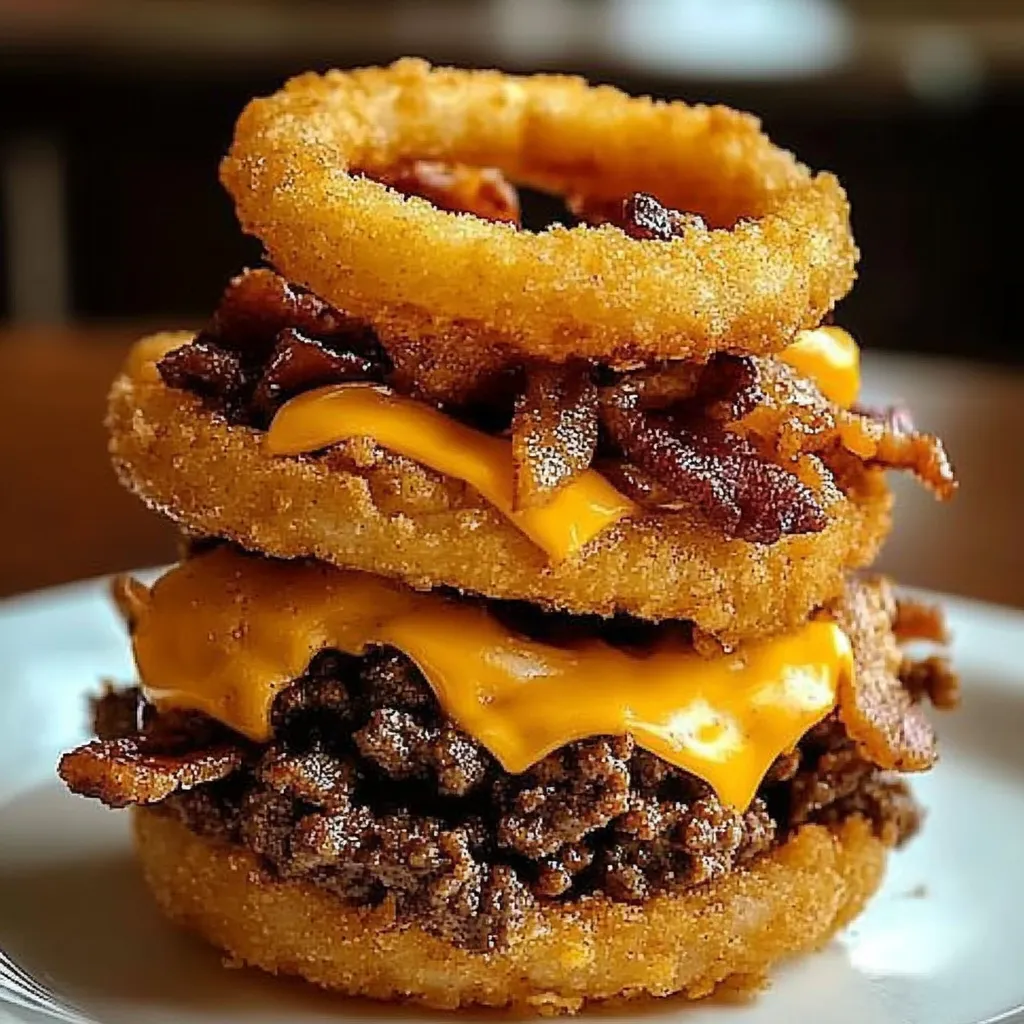
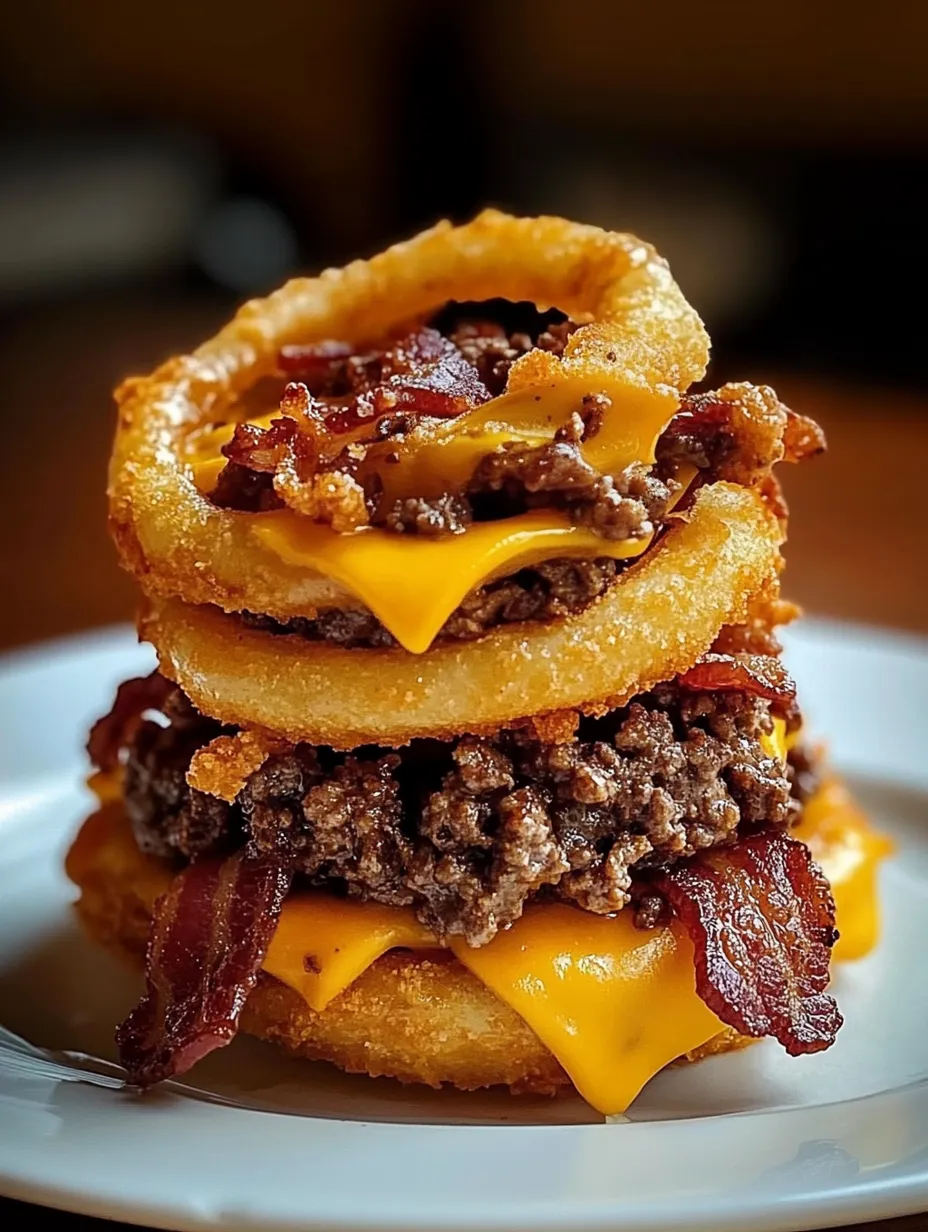
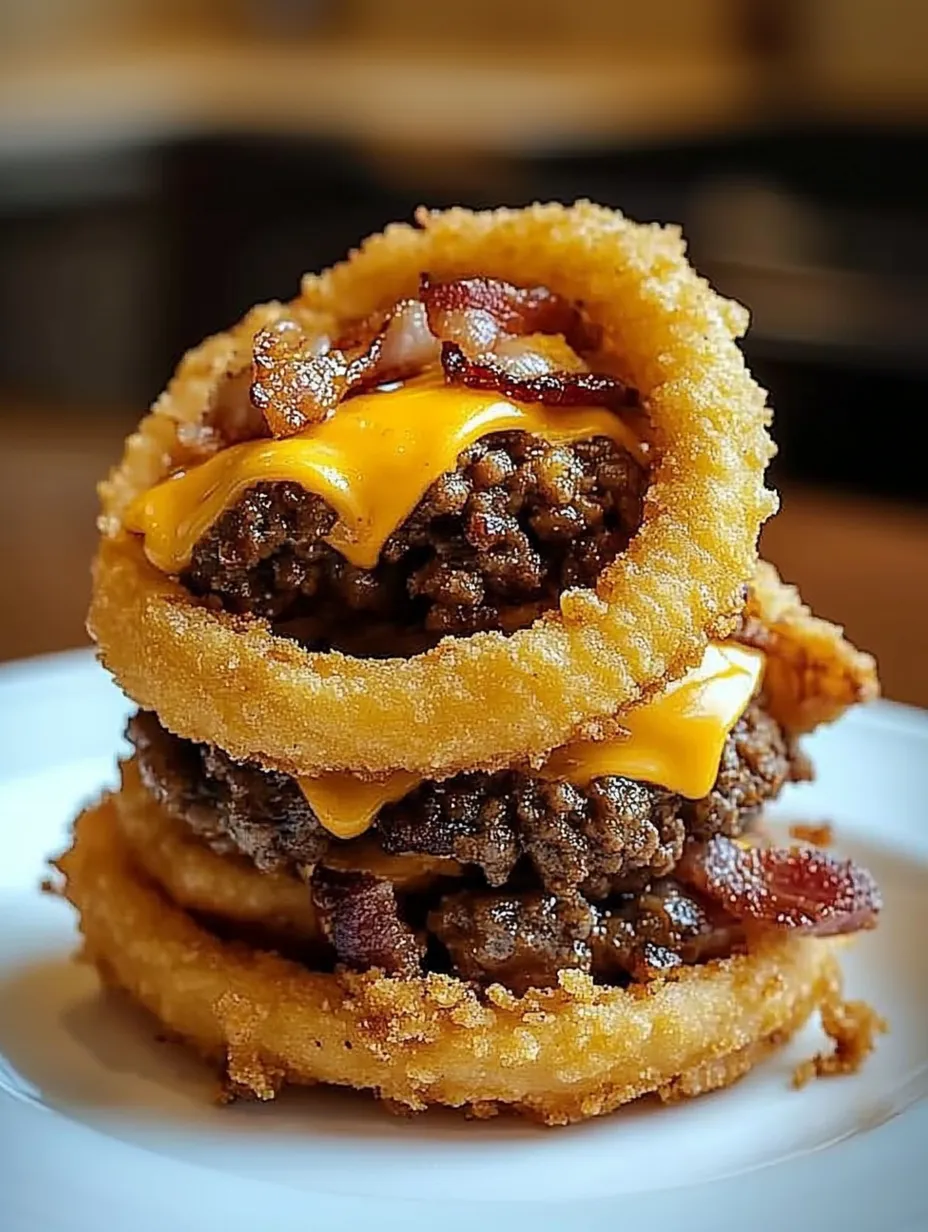
After discovering the concept of loaded onion rings during a late-night cooking show binge, I became obsessed with creating the perfect Loaded Bacon Cheeseburger Onion Rings in my own kitchen. After several messy (but delicious) failures, I've perfected a version that combines the satisfying crunch of a perfect onion ring with the indulgent flavors of a fully loaded bacon cheeseburger – minus the bun!
Last summer, I brought these to a neighborhood potluck, and three different people cornered me in the kitchen for the recipe before the night was over. My teenage son now requests them instead of actual burgers for his birthday dinner.
Essential Ingredients Guide
- Sweet onions like Vidalia or Walla Walla work best for this recipe – I learned through trial and error that their milder flavor and natural sweetness perfectly complement the savory filling without overpowering it
- Pre-cooking the ground beef is absolutely crucial – my first attempt used raw beef that didn't cook through properly, creating both a texture and food safety issue I won't repeat
- The combination of sharp cheddar and crispy bacon creates that classic cheeseburger flavor, though I've found that slightly undercooking the bacon before adding it allows it to finish cooking perfectly during frying
- Panko breadcrumbs provide a substantially crunchier coating than regular breadcrumbs – a discovery I made after running out of regular breadcrumbs during an early test batch
Creating Your Perfect Loaded Rings
Onion SelectionStart with selecting properly sized rings – I've found that medium-large onions with thick rings hold up best to stuffing. My first attempt with thin-sliced onions resulted in broken rings and filling that wouldn't stay put.
Filling StrategyMix your filling ingredients thoroughly and pack them firmly between nested rings – after several attempts where the filling fell out during frying, I discovered that really compressing the mixture and chilling the assembled rings helps everything stay together beautifully.
Breading TechniqueUse one hand for wet ingredients and one for dry during the breading process – this "dry hand, wet hand" method prevents the dreaded "breaded fingers" that plagued my early attempts and creates a more even coating on the rings.
Frying PerfectionMaintain your oil temperature at exactly 350°F using a candy or deep-fry thermometer – through much experimentation, I've learned that too hot oil burns the outside before the filling warms, while too cool oil results in greasy, soggy rings.
This recipe completely saved me during last year's Super Bowl party when my planned appetizers flopped and I needed something impressive with ingredients I already had on hand.
Serving Suggestions
Serve these loaded rings with a variety of dipping sauces – my personal favorites are ranch dressing mixed with Buffalo sauce, spicy ketchup, or a quick homemade aioli with garlic and herbs. During summer cookouts, I sometimes serve them alongside a tangy coleslaw that cuts through the richness perfectly.
Creative Variations
Sometimes I add diced pickles to the filling for that authentic burger experience. During tailgating season, I've been known to add a dash of liquid smoke and BBQ seasoning to the beef mixture. For spice lovers in my family, I'll incorporate diced jalapeños and pepper jack cheese instead of cheddar.
Storage Solutions
While these are absolutely best fresh from the fryer, I've found that leftovers can be refrigerated and revived in a 375°F air fryer for about 3-4 minutes. The microwave works in a pinch but sacrifices the crispy exterior that makes these so special.
Kitchen Wisdom
- If your oil starts getting too dark, strain it through a fine-mesh sieve lined with cheesecloth
- A deep, straight-sided pot is safer for frying than a shallow skillet
- Use a spider strainer or slotted spoon for retrieving the rings without puncturing them
What began as a culinary experiment has become one of my most requested recipes for gatherings large and small. There's something magical about the way these loaded rings transform familiar comfort foods into an exciting new experience that never fails to impress. Whether you're cooking for a crowd or just treating yourself to something special, these Loaded Bacon Cheeseburger Onion Rings deliver big flavor in every crunchy, cheesy bite.
Frequently Asked Questions
- → Can I prepare these onion rings ahead of time?
- You can prepare and stuff the onion rings up to a day ahead and keep them refrigerated. For best results, bread them just before frying. If you want to bread them ahead, store in the refrigerator for up to 4 hours, but be aware the coating may not be as crispy as when freshly breaded.
- → How do I keep the filling from falling out during frying?
- Pack the filling tightly between the onion rings, pressing firmly to ensure it adheres. Chilling the stuffed rings before breading helps the filling set. Also, make sure your onion rings are thick (at least ½-inch) and handle them gently during the breading and frying process.
- → What dipping sauces pair well with these?
- Popular options include ketchup, burger sauce (mayo, ketchup, pickle relish mixed), ranch dressing, BBQ sauce, honey mustard, or sriracha mayo. A simple blend of mayo and sriracha makes a quick and delicious spicy dip.
- → Can I make a vegetarian version?
- Yes! Substitute the ground beef with a plant-based meat alternative, vegetarian crumbles, or a hearty mixture of chopped mushrooms and lentils. Use vegetarian bacon or smoked paprika for the smoky flavor, and ensure your cheese is vegetarian (many cheeses contain animal rennet).
- → What's the best way to reheat leftovers?
- To restore crispiness, reheat in an oven or air fryer at 375°F for 3-5 minutes. Avoid microwaving as this will make them soggy. However, these are best enjoyed fresh, as reheating won't fully restore their original texture.
- → Why is my filling falling apart?
- If your filling is crumbly, it may not have enough binding ingredients. Make sure your beef is finely ground and mixed well with the cheese while it's still warm enough to slightly melt the cheese. Adding a tablespoon of mayo or egg to the mixture can also help it bind better.