 Pin it
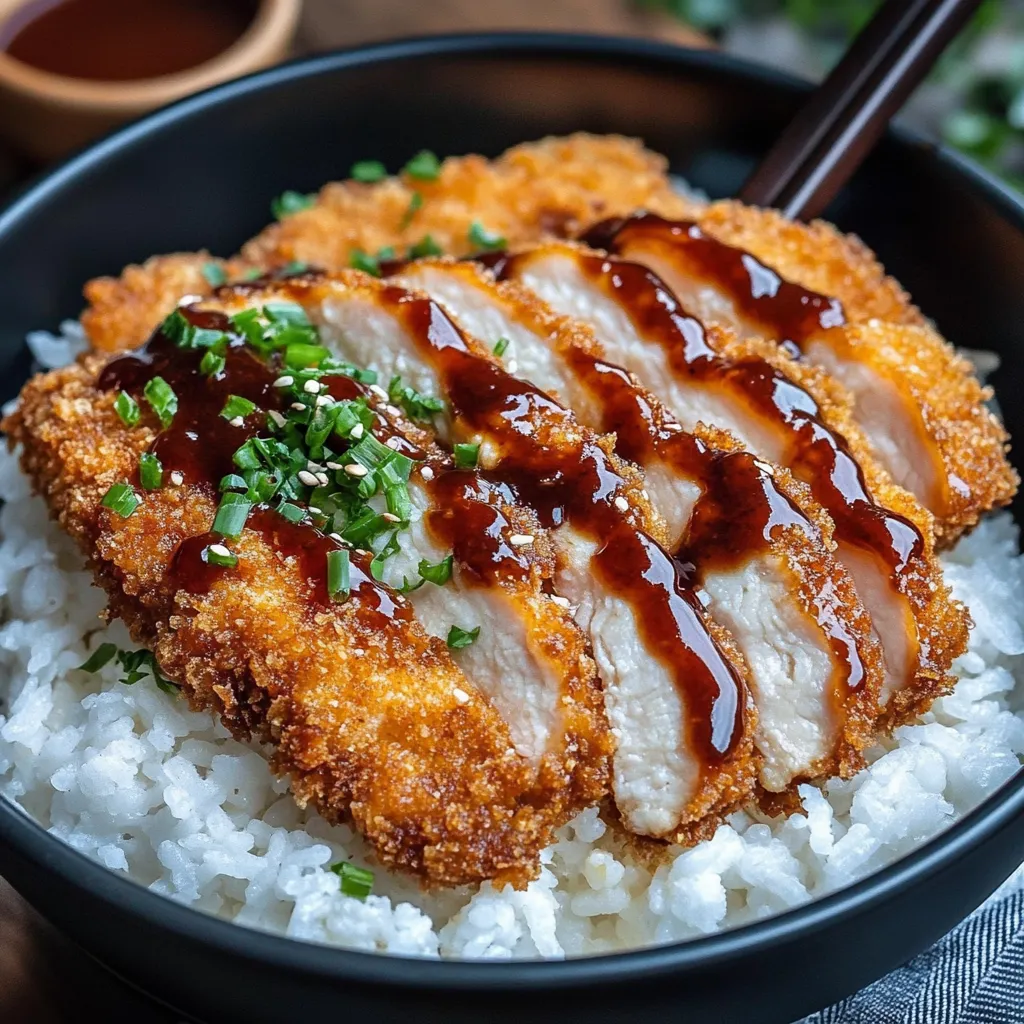
I discovered Japanese katsu bowls a few months ago when I was trying to recreate my favorite dish from this little ramen shop downtown. After a few attempts, I finally nailed that perfect combination of crispy, golden cutlet with fluffy rice and that amazing tangy sauce! It's become my go-to comfort meal that somehow manages to feel like a special treat even though it's surprisingly simple to make at home.
I made these katsu bowls for my roommate who lived in Japan for a year, and even she was impressed. She said it tasted just like what she used to get at her favorite lunch spot in Tokyo!
Perfect Ingredients
Cutlet ComponentsBoneless chicken breasts or pork loin work best - pound them evenly for perfect cooking. Real Japanese panko breadcrumbs are non-negotiable for that signature airy crunch. The three-step breading process (flour, egg, panko) ensures a coating that stays put. Season the meat itself, not just the coating, for flavor in every bite.
Rice and SauceShort-grain Japanese rice creates the perfect sticky base that holds up to the sauce. Homemade tonkatsu sauce beats store-bought with just a few simple ingredients. The balance of ketchup, Worcestershire, soy sauce and sugar creates that distinctive flavor. Fresh garnishes like green onions brighten up the whole dish.
I tried making this once with regular breadcrumbs when I ran out of panko, and it was definitely not the same. Panko has this light, airy quality that creates the perfect crispy shell without getting heavy or soggy. Trust me - it's worth making a special trip to the store if you need to!
 Pin it
Simple Preparation
Perfect Cutlet TechniqueStart by pounding your meat to an even thickness - about ½ inch is perfect. Season both sides with salt and pepper before setting up your breading station. I like to use shallow pie plates for this: one with flour, one with beaten eggs, and one with panko. The key is to use one hand for dry ingredients and one for wet to avoid creating a goopy mess on your fingers! Dredge the cutlet in flour first, shaking off any excess, then dip it fully in the egg, letting extra drip off. Finally, press it firmly into the panko, really making sure the breadcrumbs adhere all over. I even sprinkle extra panko on top and press it in for maximum crispiness.
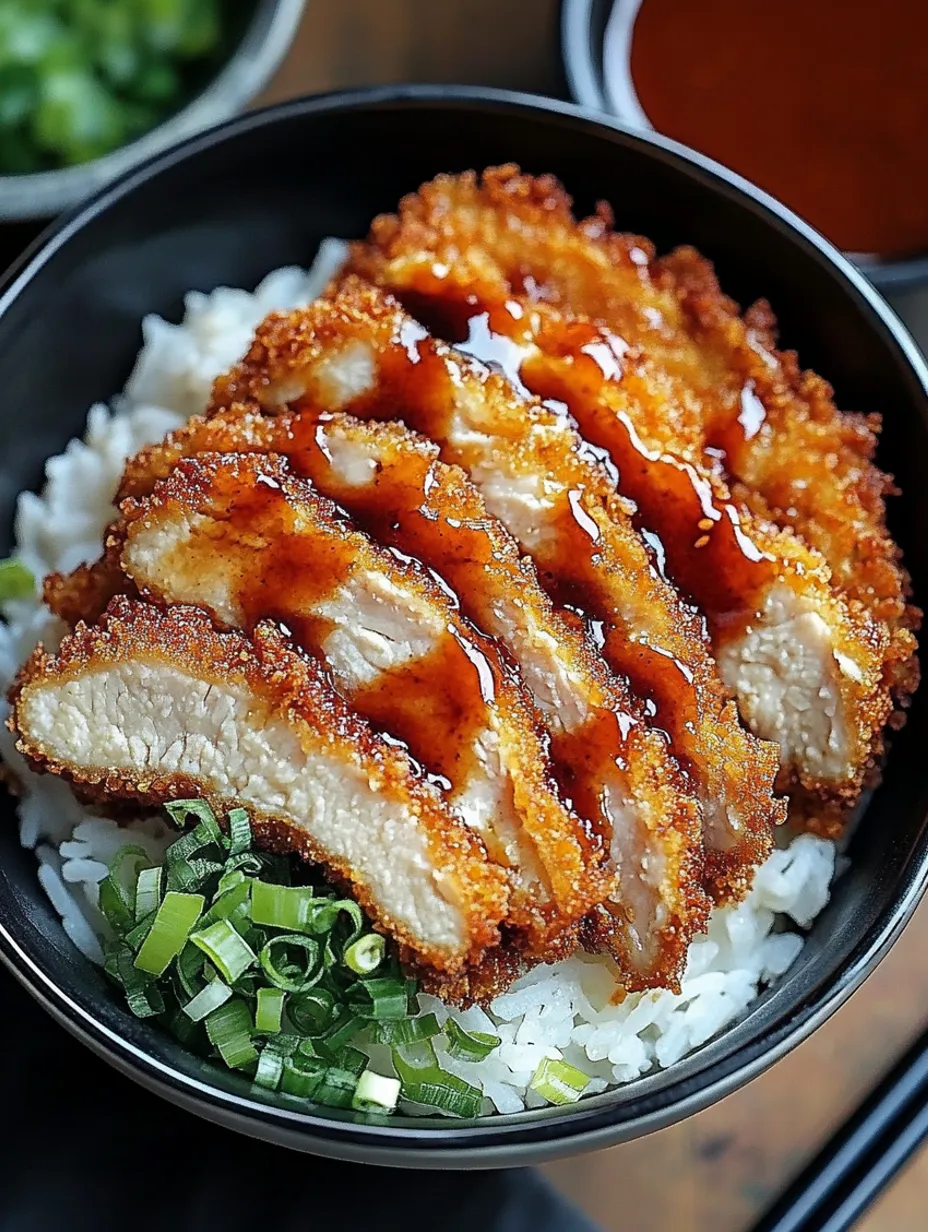
Frying FundamentalsFor the perfect golden crust, make sure your oil is hot enough before adding the cutlets. I test it by dropping in a few panko crumbs - they should immediately sizzle and float, but not burn. Don't overcrowd the pan; give each piece plenty of room to cook evenly. About 3-4 minutes per side usually does the trick, but I always check the internal temperature to be sure. After frying, let the cutlets rest on paper towels for a minute or two. This helps keep them crispy by absorbing any excess oil. Slice them into strips right before serving for that picture-perfect presentation.
I learned the hard way about oil temperature when I first tried making this. I was impatient and put the cutlets in before the oil was hot enough - they soaked up all the oil and ended up greasy instead of crispy. Now I always make sure to wait for that perfect sizzle!
My first attempt at this dish was good but not great because I was too gentle with the panko. Now I really press it firmly onto the meat, which creates that perfect crust that doesn't fall off when you cut into it.
Serving Suggestions
While these katsu bowls are delicious on their own, I love rounding out the meal with a few simple sides. A quick cucumber salad with rice vinegar and sesame seeds provides a refreshing contrast to the rich, fried cutlet. A small bowl of miso soup on the side makes it feel like a complete restaurant experience. For a more substantial meal, I sometimes add a soft-boiled egg with a jammy center on top - the rich yolk creates an amazing sauce when mixed with the tonkatsu sauce. Thinly sliced cabbage is another traditional addition that adds freshness and crunch. If you're serving this for dinner guests, consider setting up a little DIY katsu bowl bar. Provide the rice, sliced cutlets, sauce, and various toppings like sliced green onions, seaweed strips, pickled ginger, and sesame seeds so everyone can customize their own perfect bowl.
Storage Tips
As much as I love these katsu bowls fresh, they actually make fantastic leftovers with the right approach. Store the cutlets and rice separately in airtight containers in the refrigerator. The cutlets will stay good for about 3 days, while the rice is best within 1-2 days. To reheat, avoid the microwave if possible - it makes the crispy coating soggy. Instead, place the cutlets on a baking sheet in a 350°F oven for about 10 minutes. They'll crisp right back up! For the rice, a quick zap in the microwave with a sprinkle of water works perfectly. I've also found that these cutlets make amazing sandwiches the next day. Just add some shredded cabbage and tonkatsu sauce between two slices of soft bread for a Japanese-style katsu sandwich that's perfect for lunch.
 Pin it
Chef's Notes
Oil Temperature: Keep your oil between 325-350°F for the perfect golden crust without burning. Sauce Balance: The tonkatsu sauce should be a balance of sweet, tangy, and savory - adjust to your taste. Rice Technique: Rinse your rice several times until the water runs clear for the fluffiest texture.
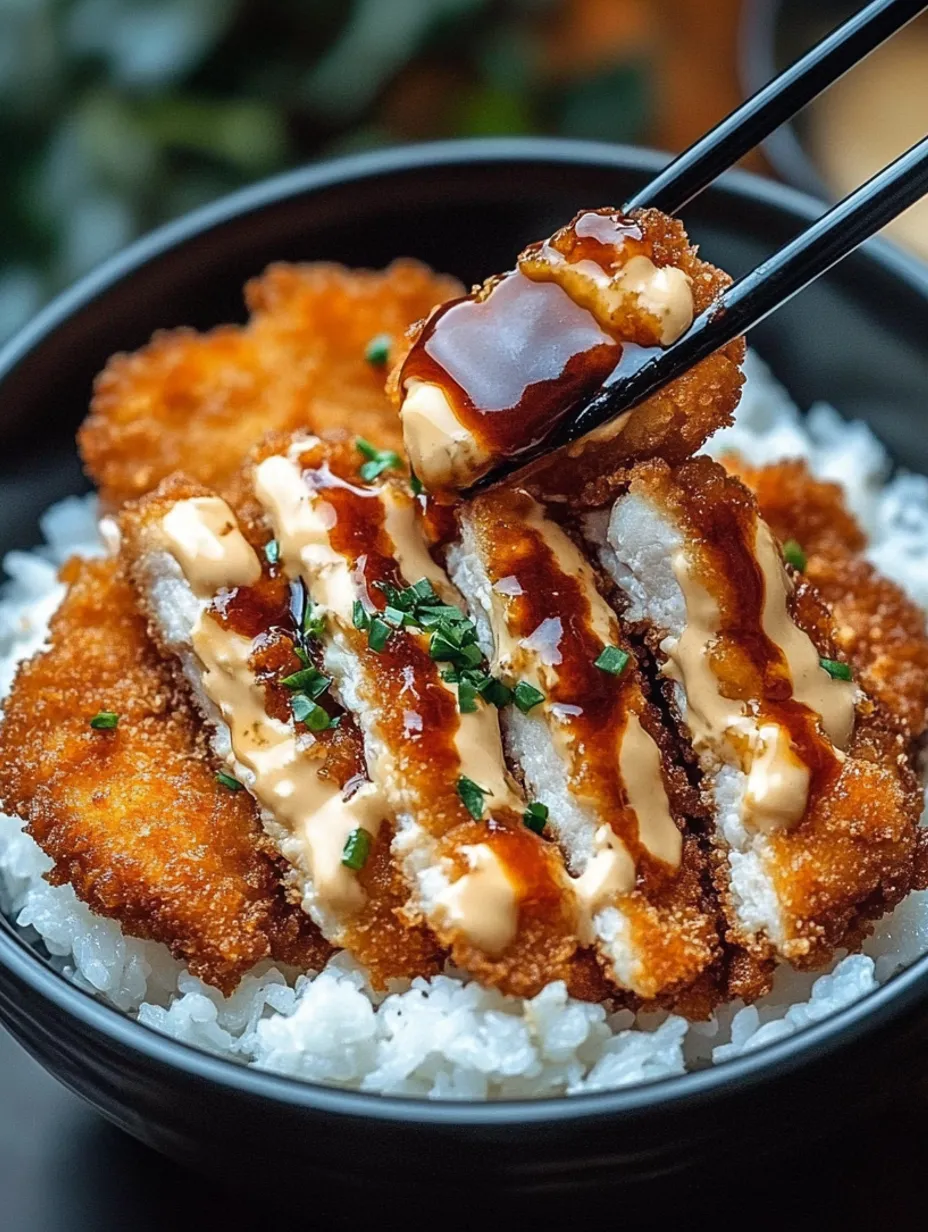
Japanese Katsu Bowls have become one of my favorite meals to make when I want something comforting but still a bit special. There's something so satisfying about cutting into that perfectly crispy cutlet, with the sweet-savory sauce soaking into the fluffy rice below. It's a meal that feels like you're treating yourself, even though it's not particularly difficult to make. Whether you're looking to try something new or just craving some serious comfort food, these katsu bowls definitely deliver!
Frequently Asked Questions
- → Can I bake the katsu instead of frying?
- Yes! Spray the breaded cutlets with cooking oil and bake at 400°F for 20-25 minutes, flipping halfway through.
- → What sides go well with katsu bowls?
- Serve with cucumber salad, miso soup, pickled vegetables, or steamed edamame for a complete meal.
- → Can I make this ahead of time?
- You can bread the cutlets up to a day ahead. For best crispiness, fry just before serving.
- → What's a good substitute for panko?
- Regular breadcrumbs work, but won't be as crispy. Crushed cornflakes or rice cereal make good alternatives.
- → How do I store leftovers?
- Refrigerate for up to 3 days. Reheat in a 350°F oven for 10 minutes to restore some crispness.
