 Pin it
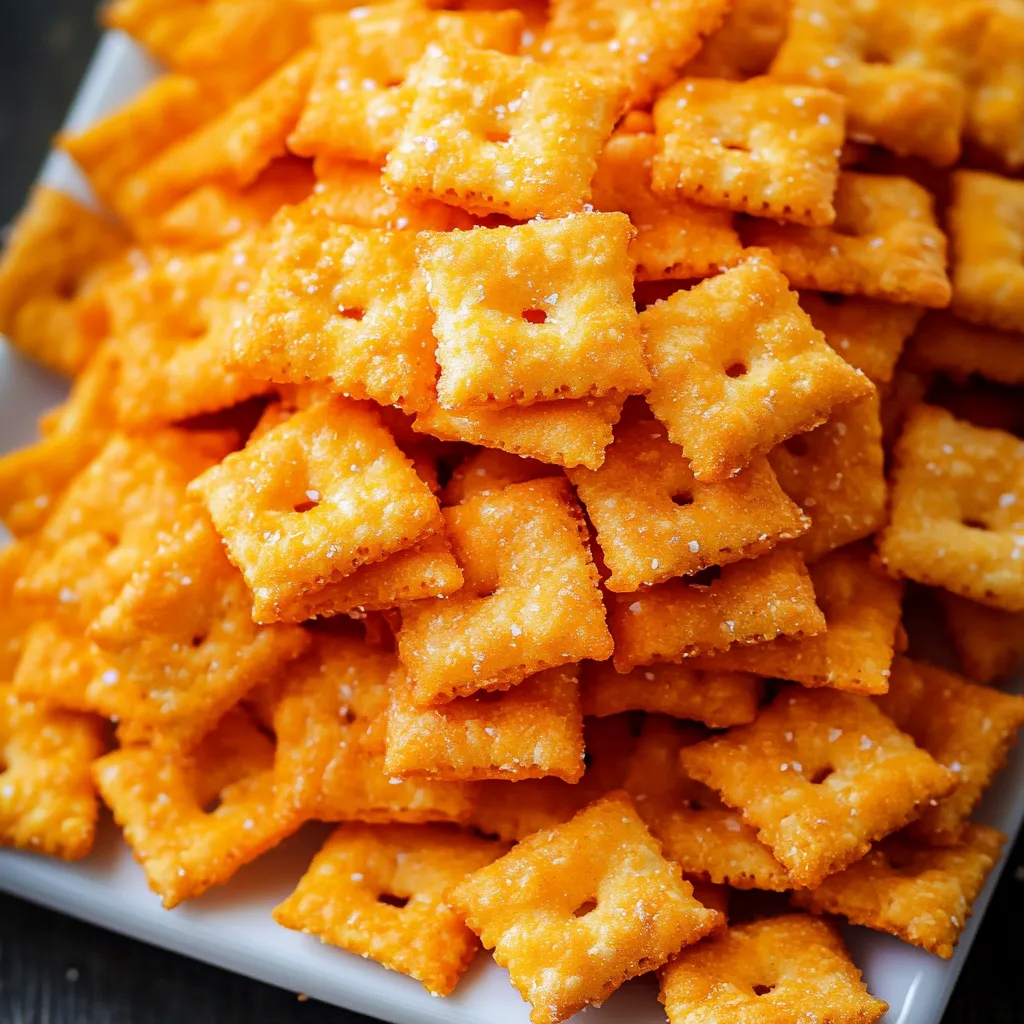
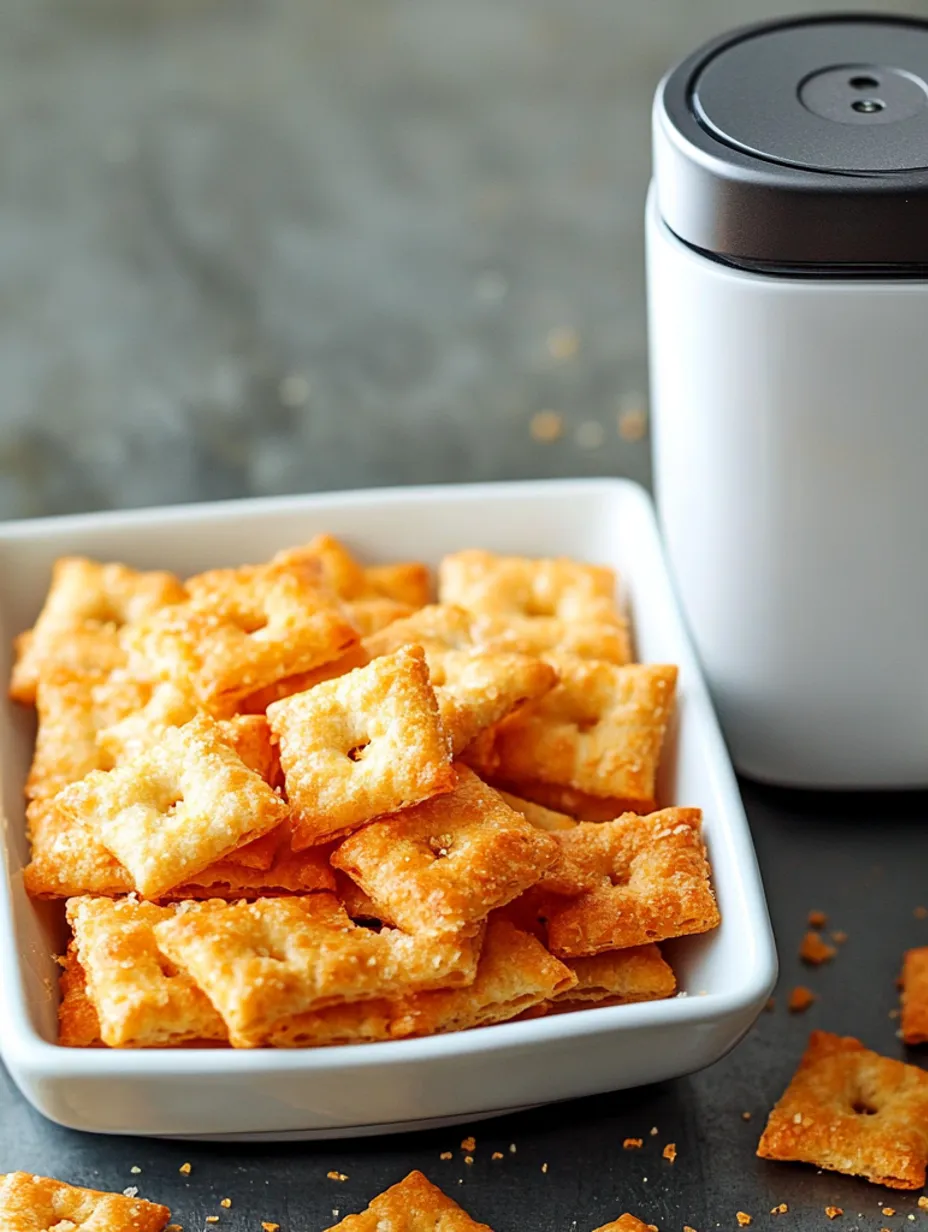
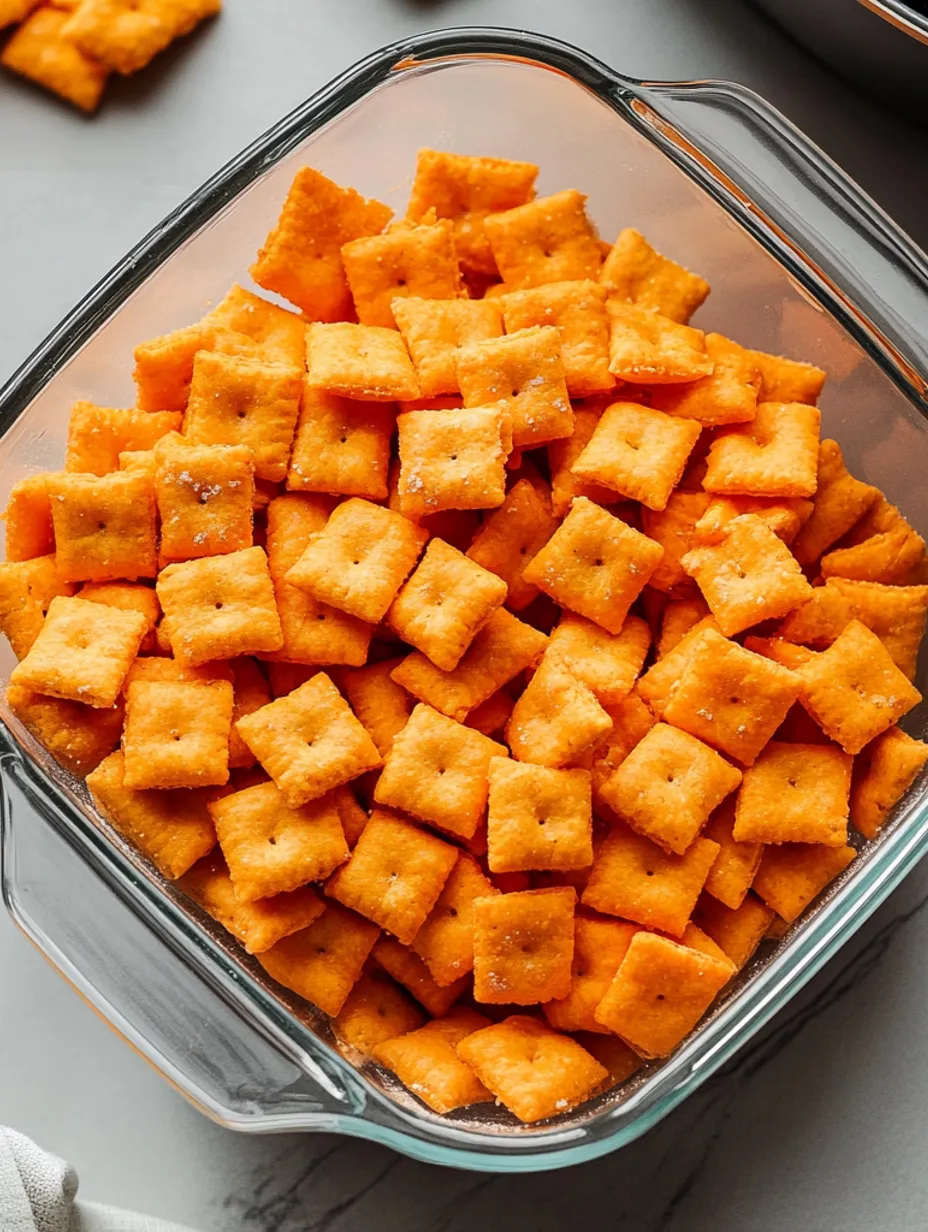
Perfectly crispy, deliciously cheesy homemade crackers that bring back childhood memories with every bite. These homemade Cheez-Its capture that irresistible savory crunch we all love, made right in your kitchen with simple, wholesome ingredients. The rich cheddar flavor shines through in these golden-brown squares, making them even better than the store-bought version.
I've made these countless times with my nieces and nephews, and watching their faces light up when they taste their own homemade crackers is priceless. The kitchen always fills with the most amazing cheesy aroma while they bake.
Essential Ingredients
- Sharp Cheddar Cheese: Choose a block of high-quality aged cheddar and grate it yourself. The sharper the cheese, the more robust your crackers will taste. Pre-shredded cheese won't give you that perfect texture.
- Cold Unsalted Butter: The chill helps create those flaky layers. Cut it into small cubes for easier mixing.
- All-Purpose Flour: Creates the perfect crispy structure. Make sure to measure by spooning into the cup and leveling off.
- Cold Whole Milk: The fat content helps with texture and flavor. Let it stay in the fridge until needed.
- Kosher Salt: The larger crystals distribute perfectly through the dough and give that signature salty finish.
 Pin it
Step-by-Step Instructions
- Start Fresh
- Preheat your oven to 325°F
- Line two baking sheets with parchment paper
- Ensure all ingredients are properly chilled
- Mix The Base
- Put cheese, flour, and salt in your food processor
- Pulse until the cheese breaks down into tiny pieces
- Add cold butter cubes and pulse until mixture looks like coarse sand
- Form The Dough
- Pour in cold milk while pulsing
- Continue until dough just starts coming together
- Should hold when pressed between fingers but not be sticky
- Shape and Cut
- Turn dough onto lightly floured surface
- Roll to about 1/16 inch thickness - thinner than you might think!
- Cut into 1-inch squares with fluted cutter
- Poke center hole in each square
- Bake to Perfection
- Transfer carefully to prepared baking sheets
- Sprinkle with extra salt
- Bake 17-20 minutes until deeply golden
- Cool completely on the pan
The Art of Cheese Crackers
Making these crackers has taught me the importance of temperature in baking. Cold ingredients create those perfectly flaky layers that make these crackers so special. My grandmother always said the secret was in how you handle the dough - gentle but confident.
The Perfect Snack Partner
These crackers have become my go-to for everything from lunch boxes to cheese boards. They're sturdy enough to hold up to hearty dips but delicate enough to enjoy on their own. Last week, I served them at a family gathering, and my cousin's kids couldn't believe they were homemade.
Storage Success
Proper storage is crucial for maintaining that satisfying crunch. I've found that keeping them in an airtight container with a small piece of paper towel helps absorb any excess moisture. They stay fresh for about a week, though they rarely last that long in my house!
Family Favorite
These have become such a staple that my sister now requests them for every holiday gathering. The kids love helping to cut out the squares and poke the holes - it's become our special cooking tradition.
Growing up, my mom would always have a box of cheese crackers in the pantry. Now, making these brings back those memories, but with an even better, fresher taste that store-bought versions can't match.
These homemade Cheez-Its have become more than just a snack in our household - they're a tradition, a teaching tool, and a treat that brings everyone to the kitchen. Whether you're an experienced baker or just starting out, this recipe proves that sometimes the simplest ingredients create the most memorable foods.
Perfect Pairings
These homemade crackers elevate any cheese board or appetizer spread. They pair beautifully with:
 Pin it
- Creamy dips like homemade hummus or spinach artichoke
- Soft cheeses, especially herb-coated goat cheese or brie
- Fresh fruit and honey for a sweet-savory contrast
When I serve these at parties, they're always the first to disappear. Last summer, I created a grazing board with these crackers as the centerpiece, and guests couldn't stop asking for the recipe.
Temperature Tips
The magic really happens in managing temperatures throughout the process:
- Keep ingredients cold until the last possible moment
- If the dough feels too soft while rolling, pop it in the fridge for 15 minutes
- Let the crackers cool completely on the baking sheet - this ensures maximum crispiness
Troubleshooting Guide
If crackers puff up too much: Your dough was likely too thick
Not crispy enough: They need a few more minutes in the oven
Uneven browning: Rotate your baking sheets halfway through baking
Crackers spreading: Dough was too warm when it went into the oven
Making Ahead
These crackers fit perfectly into busy schedules:
These Fresh Strawberry Cream Cheese Puffs? Oh my goodness. Golden, flaky pastry with sweet, creamy centers… they're basically pastry heaven. The tangy cream cheese and fresh strawberries are a match made in heaven, all wrapped up in puff pastry that just shatters when you bite into it. I came up with this years ago trying to use up some summer strawberries, and it's been a family favorite ever since.
I brought these to my neighbor’s garden party last weekend, and everyone kept asking if I went to pastry school! It's all about good ingredients and a little patience. Oh, and keeping everything cold. That's the real secret.
What You'll Need (And Why It's Important)
- Puff Pastry: Go for the all-butter kind. It makes a HUGE difference.
- Fresh Strawberries: Sniff 'em! They should smell like summer. That's how you know they'll be flavorful.
- Cream Cheese: Take it out of the fridge an hour before you start. Lumpy filling is no fun.
- Real Vanilla: Trust me on this one. It's worth it.
Let's Get Baking! (The Details)
- Get Started:
- Preheat your oven to 400°F. Hot oven = flaky pastry. Take the cream cheese out of the fridge now! Line your baking sheet, too.
- The Filling:
- Beat the cream cheese until it's super smooth. Add the sugar slowly to avoid lumps. Gently fold in the strawberries.
- Pastry Time:
- Lightly flour your counter. Roll the dough gently. Keep lifting and turning it so it doesn't stick.
- Assembly:
- Don't overfill the pastry! Press the edges firmly. Use a fork to make pretty borders and seal them up.
- Final Touches:
- Brush with egg wash. Sprinkle sugar from up high. Give them some space on the baking sheet.
My kids always fight over the corner pieces because they're extra crispy. Even my nephew, who doesn't usually like fruit, loves these. They're irresistible!
 Pin it
The first time I made these? Not pretty. But practice makes perfect! Now they're my go-to for everything. Pulling a tray of these from the oven is just magical – all puffed up and smelling amazing. It takes a little time, but it's so worth it.
Storing Your Pastry Goodies
These are best fresh, but if you need to, you can prep them the night before and keep them unbaked in the fridge. Bake them fresh in the morning. Once baked, they're good for about 4-5 hours, but they're best when they're still warm.
What Goes Well With These?
We love them with a strong cup of coffee. For special occasions, prosecco is amazing. They're also nice with Earl Grey tea.
Make It Your Own Way
You can totally switch things up! Try peaches instead of strawberries, or mix some mascarpone with the cream cheese. A little lemon zest is also delicious.
We even made a tower of these for my daughter's engagement party, with raspberries mixed in. People still talk about it!
Troubleshooting (Just in Case)
If the filling leaks, it's probably too wet. Pat those berries dry! Seal the edges well. And watch your oven temperature.
The Science Behind It All
Cold butter + hot oven = flaky layers. That's the magic. And room temperature cream cheese blends better for a smoother filling. It's simple, but it works.
Final Thoughts From the Chef (Me!)
Always keep extra puff pastry in the freezer. A pizza stone helps with even baking. And don't skip the egg wash! It makes them look so pretty.
I've made these hundreds of times, and I still love them. It's so satisfying to make something that looks fancy but isn't actually that hard. Keep everything cold, be gentle, and don't rush. A little patience goes a long way!
These puffs aren't just a recipe anymore – they're part of our family stories. They make every occasion a little more special. And that's what good food is all about, right?
