
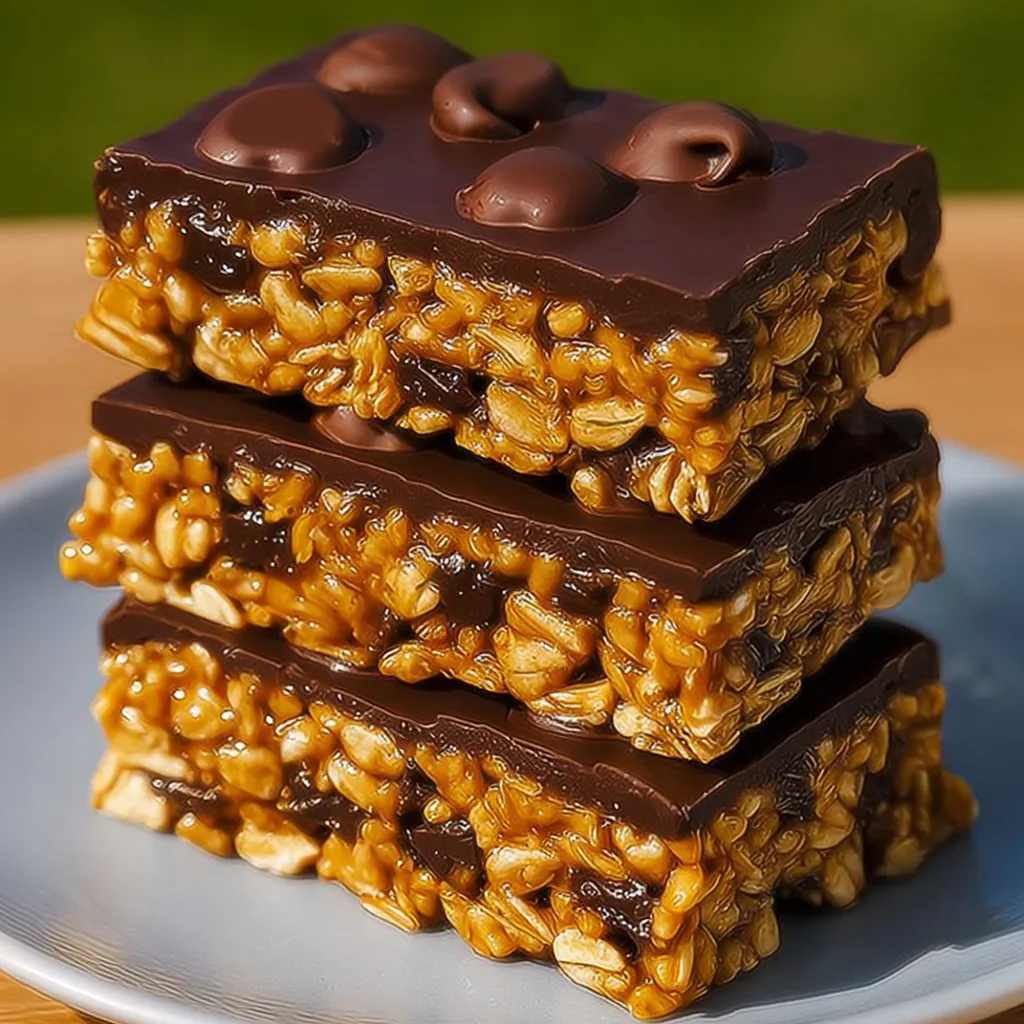
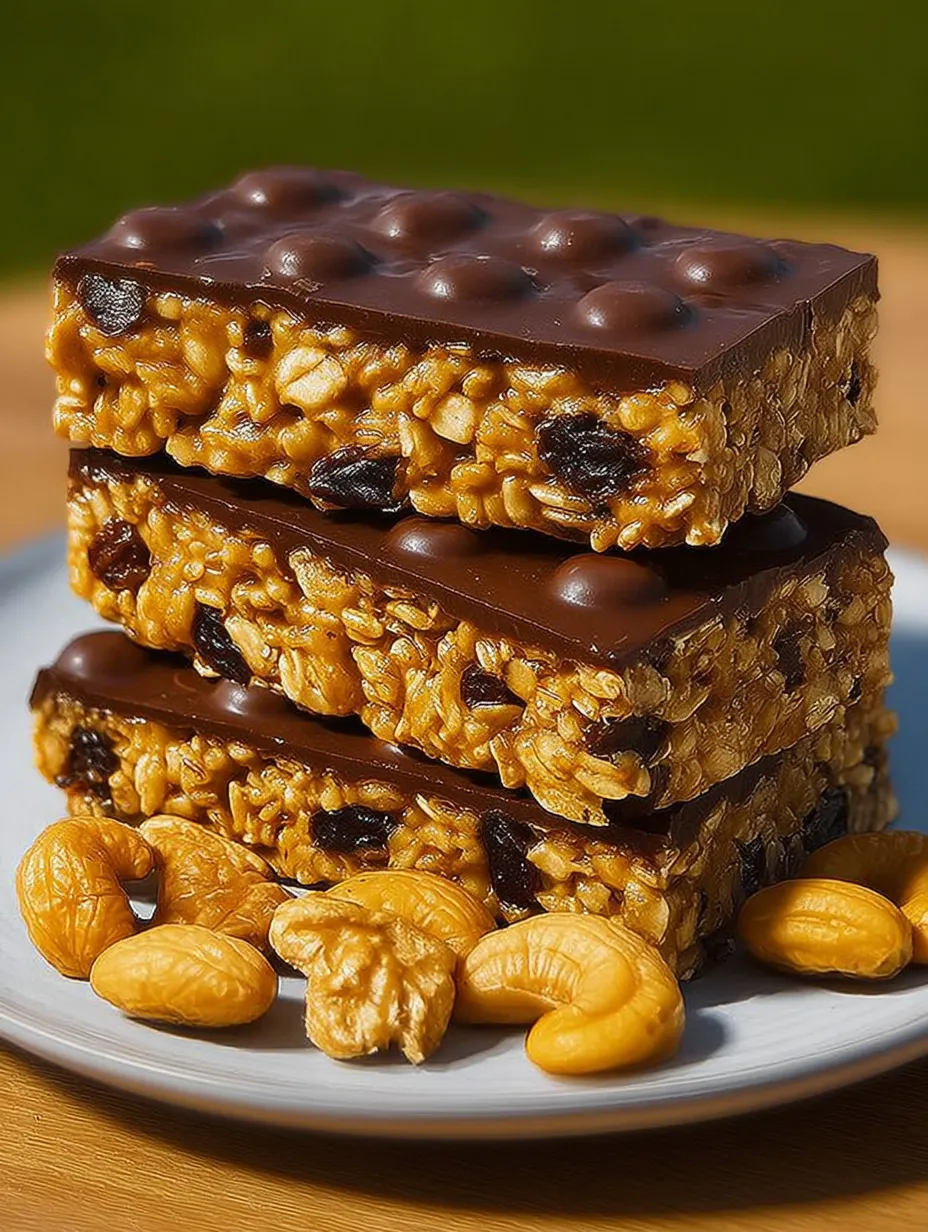
 Pin it
Healthy No Bake Banana Oat Bars With Chocolate Recipe is my go-to for fast breakfasts or afternoon pick-me-ups that hit the sweet spot without any guilt. These bars are naturally sweetened with bananas and just a handful of wholesome ingredients. They come together with almost no fuss and do not require baking if you skip toasting and go straight to chilling, making them perfect for those hectic weekdays or lazy weekends when you crave a treat but have no time.
I first threw these together with leftover pantry odds and ends and they turned out so delicious I now make double batches to keep in the fridge for my family. They disappear fast every single time.
Ingredients
- Rolled oats: bring hearty texture and keep you full longer choose old fashioned for best bite
- Puffed rice: lightens the bars and keeps them chewy opt for a fresh crunchy brand
- Raisins: add sweet chewy pops my kids love golden raisins for a hint of tang
- Dried apricots: for soft bursts of fruity flavor go for unsulfured if you prefer a more natural orange hue
- Walnuts: for crunch and brain-boosting healthy fats toast lightly for extra depth
- Ripe banana: binds everything together I use overripe for maximum sweetness
- Oat flour or almond flour: both work to hold bars together and add softness I love oat for nut-free option
- Honey or maple syrup: optional but boost overall sweetness choose local honey or real maple for best flavor
- Cinnamon: a dash brings warmth choose pure ground cinnamon
- Pinch of salt: to balance sweetness look for flaky sea salt
- Dark chocolate: rich topping that hardens to a perfect shell higher cocoa content gives a less sugary finish aim for 70 percent or higher
Step-by-Step Instructions
- Prep the Banana:
- Mash the banana thoroughly in a large bowl so it is smooth with no lumps this helps the bars hold together
- Mix the Dry Ingredients:
- Add oat flour rolled oats puffed rice raisins chopped apricots and walnuts to the mashed banana stir until all the pieces are coated and the mixture is evenly blended
- Adjust Sweetness and Spice:
- If you enjoy extra sweetness pour in the honey or maple syrup Sprinkle in the cinnamon and the pinch of salt Stir until everything is completely combined
- Shape the Bars:
- Line your baking tray with parchment paper to prevent sticking Spoon the mixture into the tray then firmly press it down into a compact even layer Pay special attention to the corners so they do not turn out crumbly
- Lightly Toast or No Bake Option:
- For extra crunch bake the tray at 360 degrees Fahrenheit for ten to twelve minutes until the oats and nuts just start to toast Skip this baking step if you want a fully no bake result the bars will still set in the fridge
- Add the Chocolate Topping:
- While the base cools melt the dark chocolate over simmering water or in the microwave in short bursts Stir to smooth Pour over the pressed mixture and quickly spread into an even layer
- Chill to Set:
- Refrigerate the tray for at least one hour so the chocolate hardens and the bars become easy to slice
- Slice and Serve:
- Lift the bars out with the parchment slice into tidy squares or bars and serve as snacks or breakfast treats

My favorite part about these bars is the contrast between the creamy ripe banana and crunchy walnuts. The first time I made them with my daughter we could not stop licking the bowl. They taste like dessert but nourish like breakfast.
Storage Tips
Once the bars are set cut into portions and keep them in an airtight container in the fridge for up to seven days. If you need them to last longer wrap each bar in parchment and freeze in a zippered bag for up to two months. Let them thaw at room temperature before eating or pack frozen ones for snacks on the go.
Ingredient Substitutions
You can swap raisins for dried cranberries or chopped dried figs for a different flavor. Cashews or almonds work well in place of walnuts. If you have a nut allergy use sunflower seeds or pumpkin seeds. Maple syrup brings different sweetness than honey so play around to find your preference. Chocolate lovers might even swirl a spoonful of nut butter under the chocolate before it sets.
Serving Suggestions
I love serving these bars with a dollop of Greek yogurt and a sprinkle of cinnamon for an easy breakfast. For a kids lunchbox treat I cut them into small squares. If you are offering them for dessert try a drizzle of melted nut butter on top or mix in a handful of mini chocolate chips for extra fun.
A Little History
Banana oat bars have roots in classic no bake snacks from the 1970s when home cooks looked for simple nutritious treats without relying on packaged snacks. Over the years families have adapted the recipe with whatever was on hand often tossing in seasonal dried fruits or chocolate and always passing down their favorite combination.
Frequently Asked Questions
- → Can I use different nuts in these bars?
Yes, feel free to swap walnuts for almonds, pecans, or your favorite nuts for added flavor and texture.
- → Is it possible to make these bars vegan?
Yes, replace honey with maple syrup and ensure your chocolate is dairy-free for a vegan version.
- → How can I make the bars less sweet?
Omit the honey or syrup, and consider reducing the amount of dried fruit to lower the sweetness.
- → Can I freeze banana oat chocolate bars?
Absolutely—slice the bars and freeze in an airtight container for up to two months. Thaw before eating.
- → Is it necessary to bake the base mixture?
A short bake helps toast the oats and nuts for better flavor, but you may skip it for a fully raw version.