
 Pin it
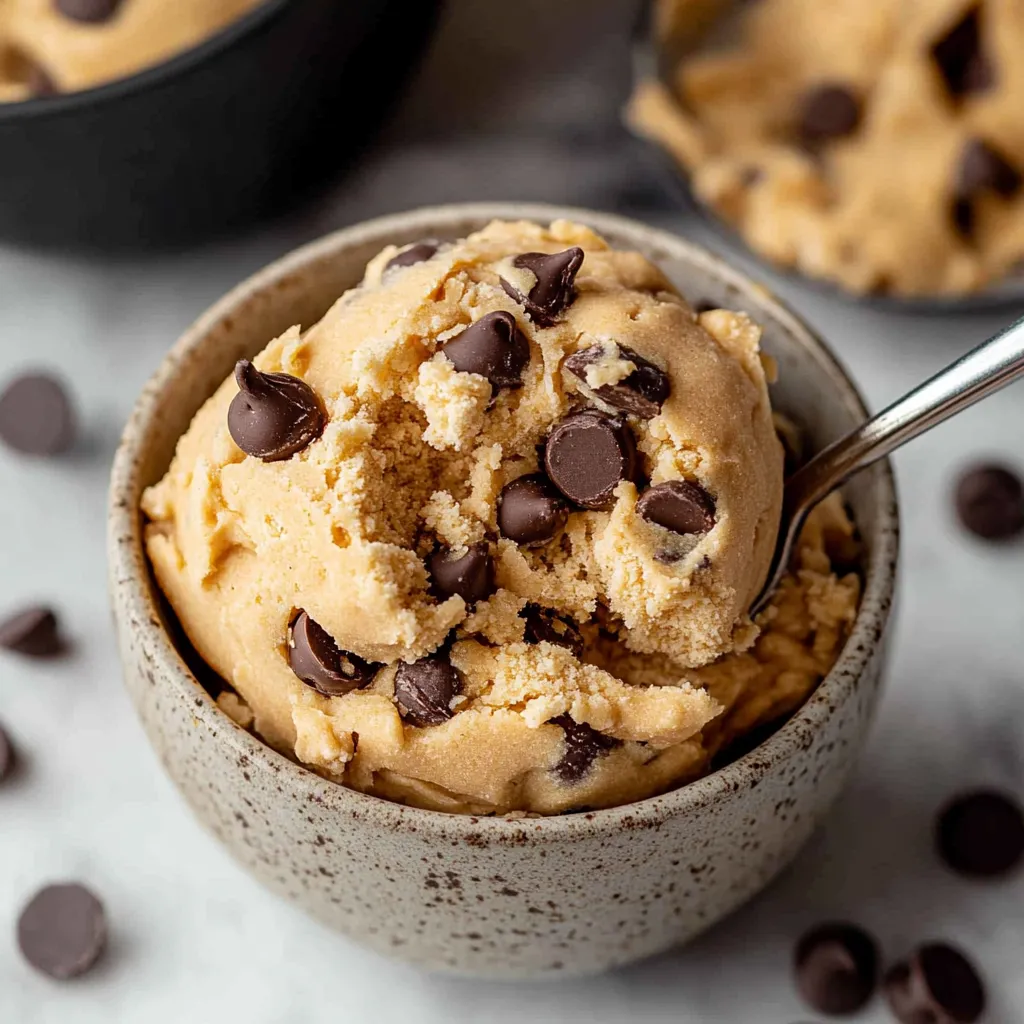
I recently found the absolute best edible cookie dough recipe that I've been making on repeat! This is totally safe to eat - no raw eggs or flour concerns - but tastes EXACTLY like the real cookie dough we all sneak when baking. You know that irresistible urge to lick the spoon when making chocolate chip cookies? This satisfies that craving completely, minus any worry about getting sick. And honestly, it's dangerously easy to make with just a few basic ingredients that you probably already have in your pantry.
I made this for a movie night with friends last month, and it was gone before we even hit the halfway point of the film! Even my husband, who claims he doesn't have a sweet tooth, kept sneaking spoonfuls when he thought nobody was looking. I've tried several edible cookie dough recipes over the years, but this one nails the authentic taste and texture better than any other I've found.
Must-Have Ingredients
Butter BasicsReal unsalted butter is non-negotiable - margarine makes it greasy and weird. Let it sit out for just 1-2 hours so it's soft but still cool to touch. If you rush and microwave the butter, the dough gets oily and separates. It should be just soft enough that your finger leaves a slight indent when pressed.
Sugar SituationBrown sugar gives that classic molasses undertone that makes cookie dough irresistible. Light brown works best but dark works in a pinch (just has a stronger flavor). Regular white sugar balances everything out for the perfect sweetness. The ratio matters - too much white sugar makes it taste like frosting instead of dough.
Flour FoundationRegular all-purpose flour works perfectly after heat-treating. The heat-treating step might seem fussy but it's crucial for food safety. Sifting the heat-treated flour prevents those annoying lumps in your dough. Don't skip letting it cool completely or your dough will get greasy.
I've tried making this with fancy European butter once, thinking it would be even better, but it actually made the dough too soft. Regular unsalted butter from the grocery store works perfectly. And don't be tempted to skip the heat-treating step for the flour - my cousin got sick from raw flour once, and it's definitely not worth risking!
Simple Preparation
Heat-Treating FlourHeat your oven to 350°F and spread your flour in an even layer on a parchment-lined baking sheet. Bake it for about 7 minutes, stirring halfway through to make sure it heats evenly. Use a kitchen thermometer if you have one - you're aiming for 160°F to kill any bacteria. Let it cool completely before using - I usually spread it on a fresh piece of parchment to cool faster. Once cooled, sift it to break up any clumps that formed during heating.
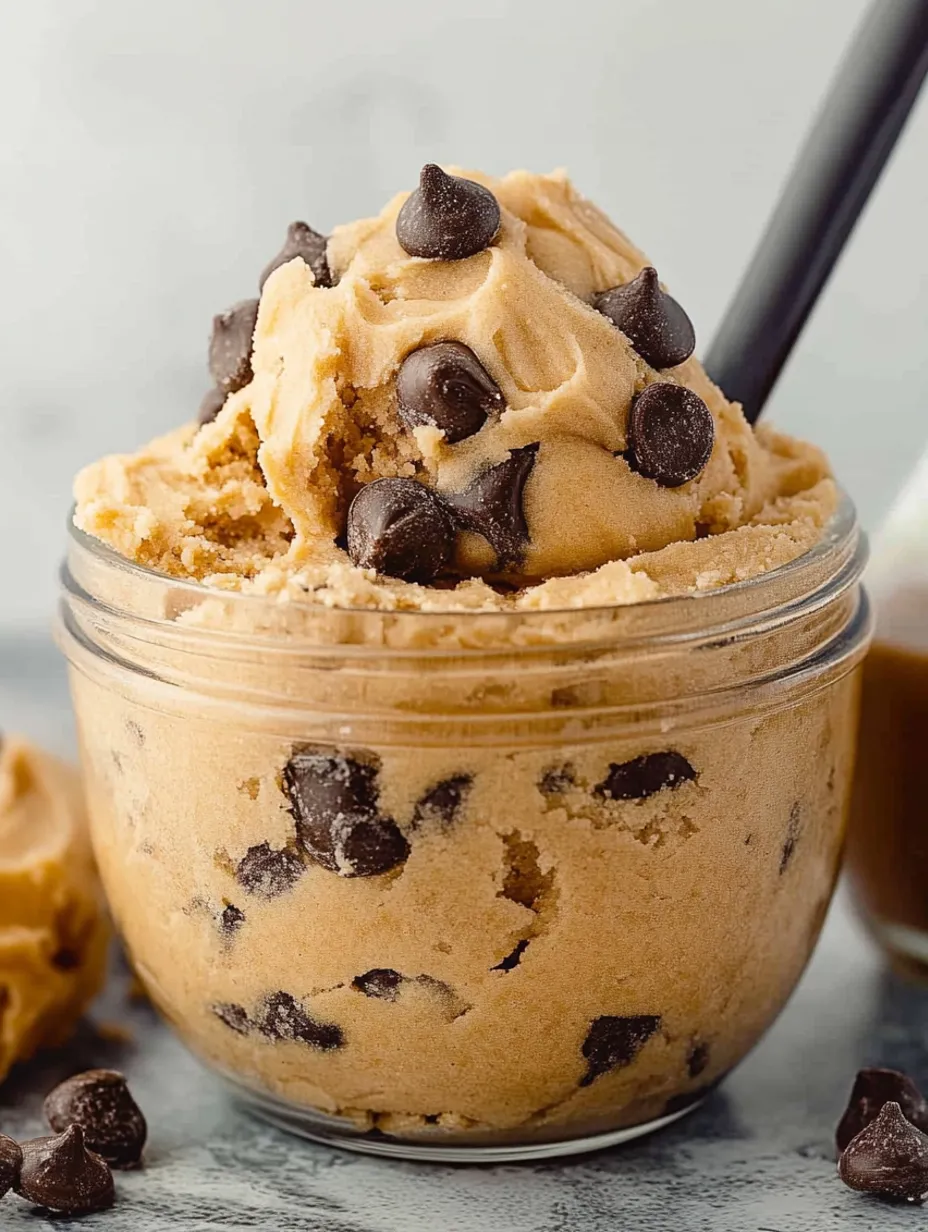
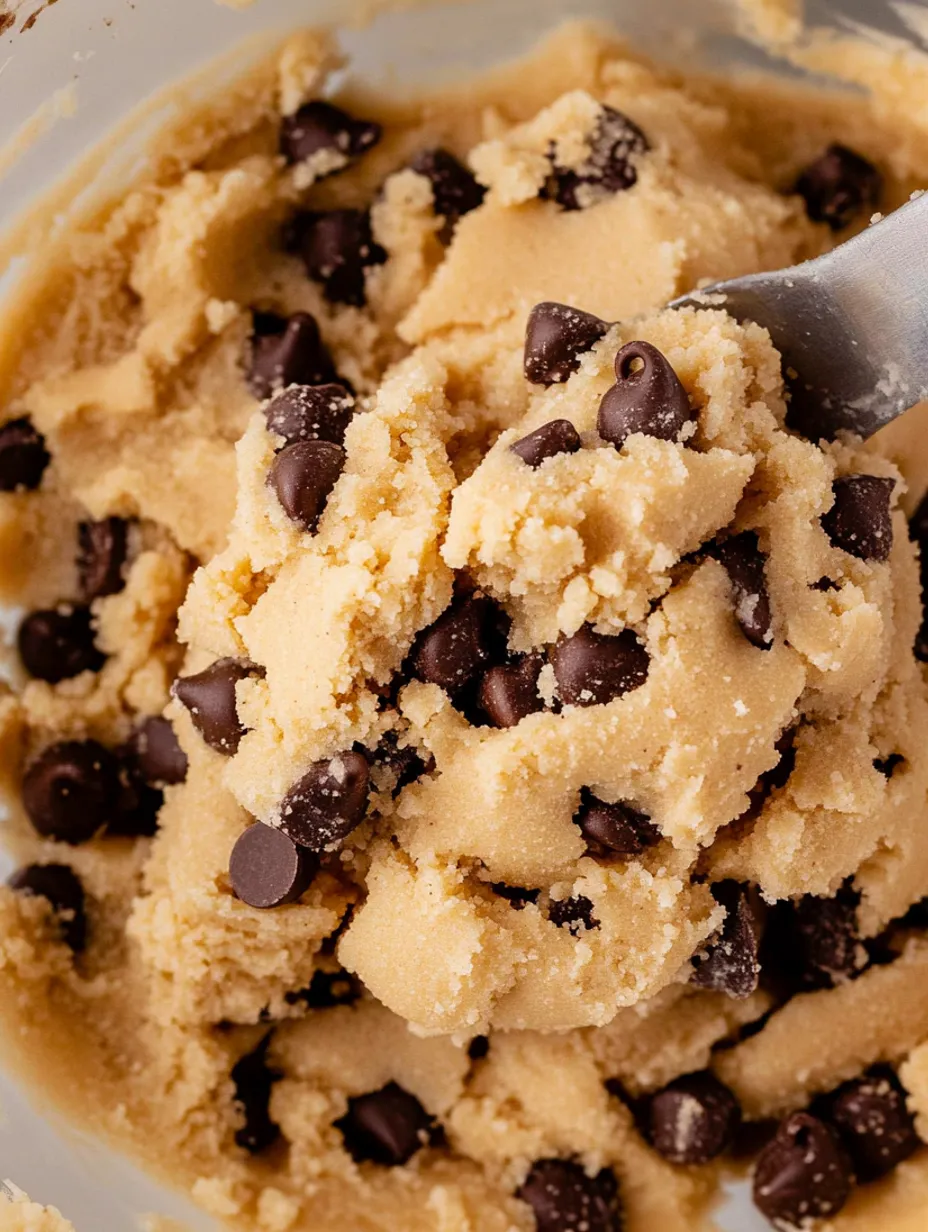
Mixing the DoughBeat your softened butter with both sugars for a full 2-3 minutes - don't shortcut this! It gets fluffy and changes color slightly, which is exactly what you want. Add your cooled flour and salt, mixing on low just until combined. It'll look a bit crumbly at this point, which is normal. Add milk a tablespoon at a time until it comes together into a dough that looks like real cookie dough. Fold in mini chocolate chips (they distribute better than regular sized ones) by hand with a spatula.
Serving OptionsGrab a spoon and eat it straight from the bowl (my preferred method), or get fancy and put it in a cute dish with graham crackers for dipping. Roll it into little balls and freeze them for cookie dough bites. Or my personal favorite for guests - press it into a shallow dish, top with more mini chips, and serve with pretzel sticks for a sweet-salty combo that's absolutely addictive.
I figured out through trial and error that letting the butter and sugar mix for the full time makes a huge difference. The first time I made this, I got impatient and only mixed for about a minute - the result was grainy and separated. Now I set a timer for 3 minutes and the texture comes out perfect every time.
The first time I made this recipe, I added all the milk at once because the dough looked dry, and I ended up with something too soft. Now I know to add just a tablespoon at a time and check the consistency before adding more. You can always add more milk, but you can't take it out once it's mixed in!
Creative Variations
One of the best things about this recipe is how easily it transforms into different flavors. For an indulgent twist, try browning the butter before using it (just remember to chill it back to a soft-solid state first). The nutty flavor is absolutely incredible with dark chocolate chunks and a sprinkle of sea salt on top. For birthday celebrations, I mix in some almond extract and rainbow sprinkles for a funfetti version that kids go crazy for. The almond extract gives it that distinctive birthday cake flavor that pairs perfectly with the sprinkles. When I'm feeling nostalgic for cookies and cream, I crush up some Oreos and fold them in. The contrast between the sweet dough and the chocolate cookie bits is amazing. Sometimes I'll even press mini Oreos on top for decoration if I'm serving it at a party.
Practical Storage
Fridge FactsIf you happen to have leftovers (which is rare in my house!), store them in an airtight container in the refrigerator. It stays good for about a week, though it does firm up quite a bit. Let it sit at room temperature for 15-20 minutes before serving again to soften to a scoopable consistency.
Freezer FriendlyThis dough freezes beautifully for up to three months. I often make a double batch and freeze half in a container with parchment paper between layers. When the late-night cookie dough craving strikes, I can grab just what I need. For a quick thaw, microwave a scoop for about 10-15 seconds - just enough to soften without melting.
Meal Prep MagicFor portion control (because let's be honest, it's hard to stop eating this stuff), I sometimes roll the dough into tablespoon-sized balls and refrigerate or freeze them. They make perfect little cookie dough truffles, and having them pre-portioned helps prevent me from eating half the batch in one sitting!
My mom taught me a clever trick - line a small container with plastic wrap before pressing in leftover dough, then wrap completely before storing. This prevents that dry, crusty layer that can form on the surface in the refrigerator and keeps it fresh longer.
Chef's Notes
Matters: Don't rush softening your butter in the microwave - the texture of your dough depends on properly softened butter. Milk Additions: Different brands of flour absorb moisture differently, so you might need slightly more or less milk than the recipe states. Texture Testing: The perfect consistency should hold its shape when scooped but still be soft enough to easily dip into.I've fallen down many cookie dough rabbit holes over the years, but this recipe has become my gold standard. There's something incredibly satisfying about indulging in that forbidden cookie dough pleasure without any anxiety about raw ingredients. Whether I'm making it for a casual night in or as part of a dessert spread for guests, it never fails to bring smiles (and requests for the recipe). If you've been searching for that perfect edible cookie dough that truly tastes like the real thing, your search ends here!
Frequently Asked Questions
- → Why do you need to heat treat the flour?
- Raw flour can contain harmful bacteria like E. coli. Heating it to 160°F kills these bacteria, making it safe to eat without baking.
- → Can I use this dough to make actual cookies?
- This recipe is designed for eating raw and won't bake properly into cookies since it lacks eggs and leavening agents.
- → What can I use instead of chocolate chips?
- Try M&Ms, chopped candy bars, sprinkles, white chocolate chips, or peanut butter chips for different flavor variations.
- → Why is my cookie dough too crumbly?
- Add more milk, one tablespoon at a time, until it reaches your desired consistency. Heat-treated flour can sometimes be drier.
- → What can I dip in edible cookie dough?
- Graham crackers, pretzels, animal crackers, apple slices, or strawberries all make great dippers for this sweet treat.