
 Pin it
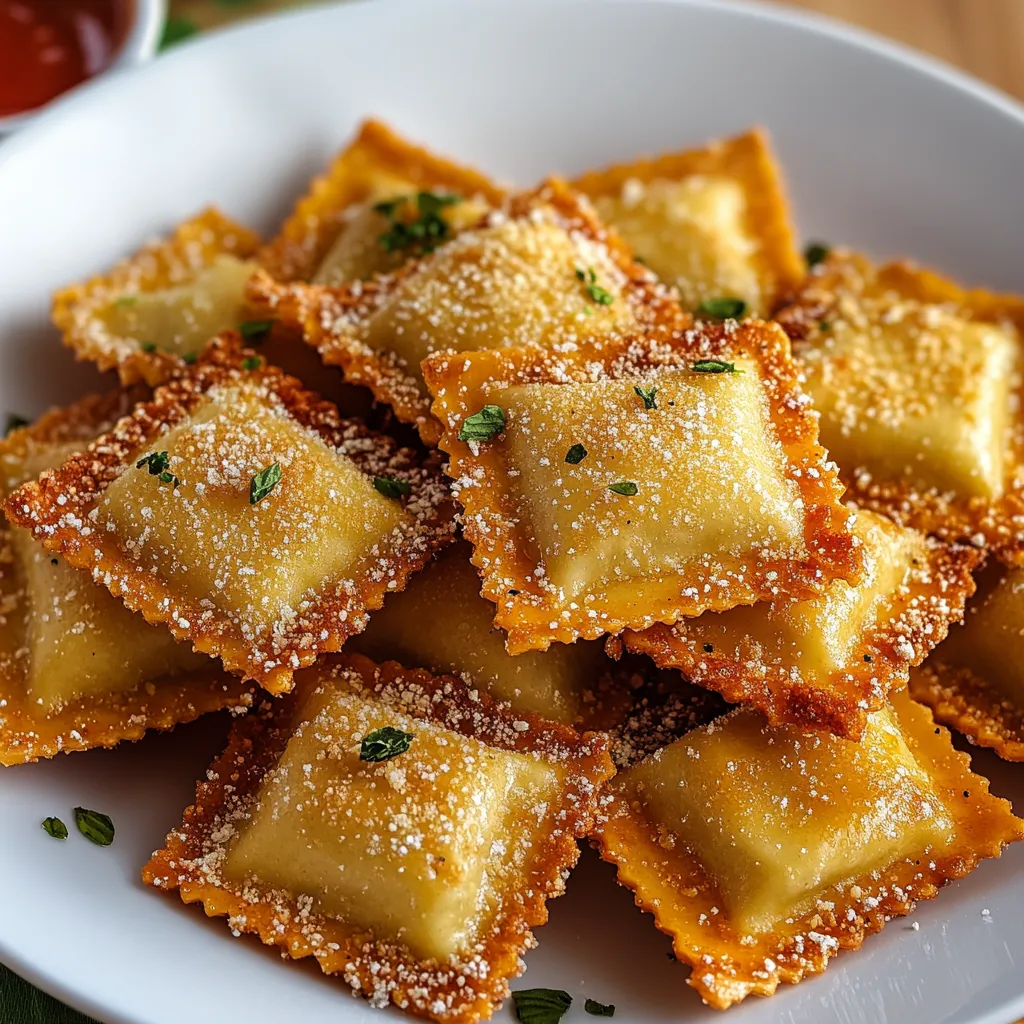
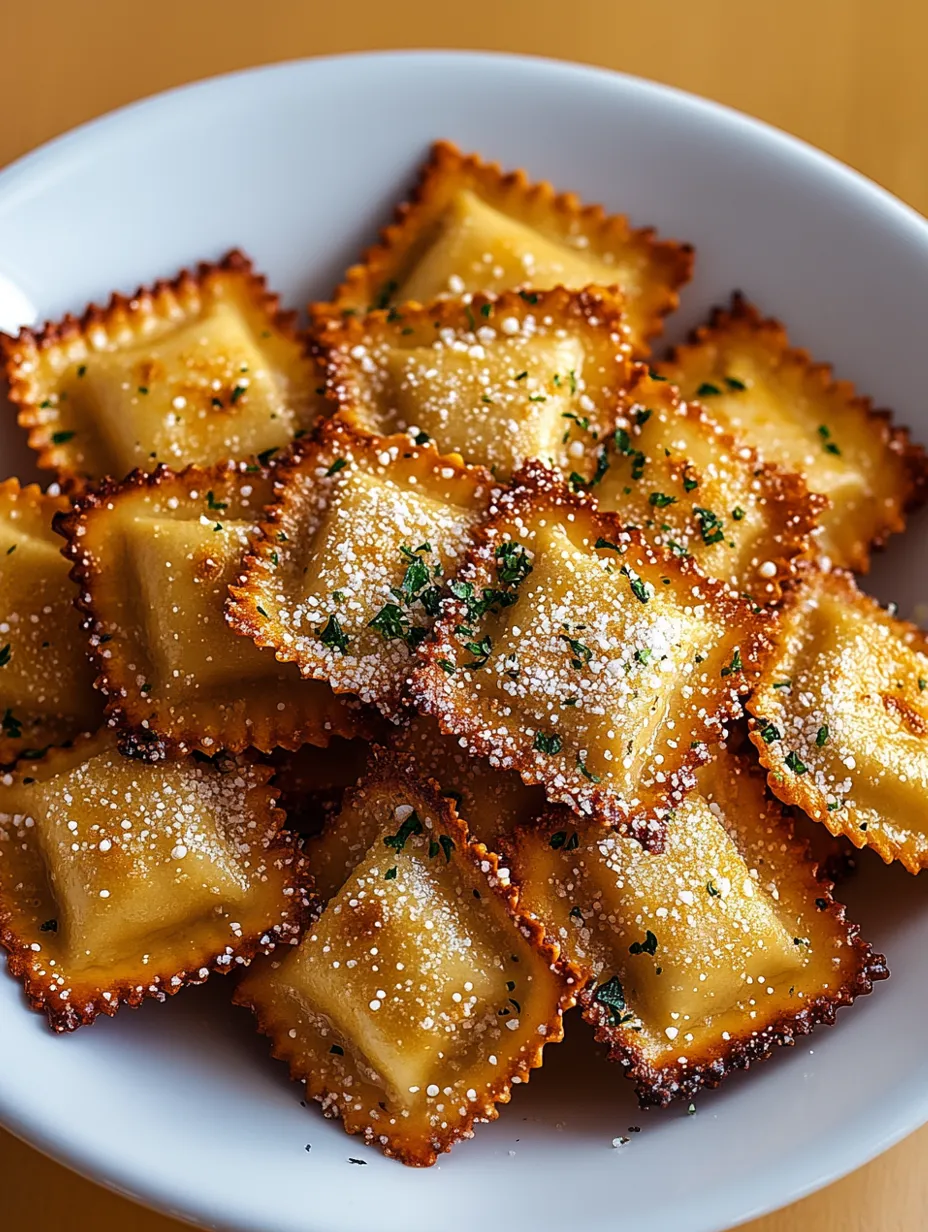
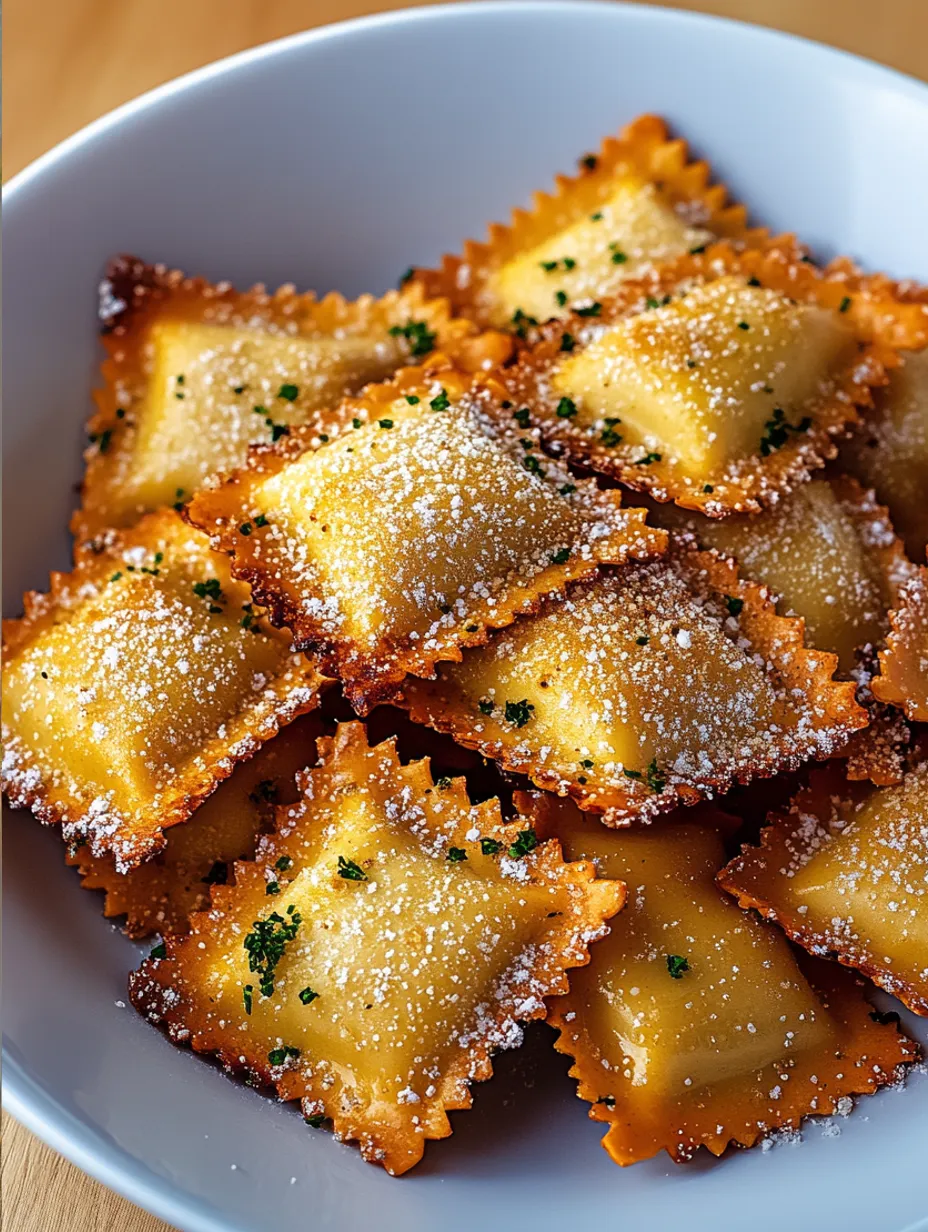
Crispy on the outside, warm and gooey on the inside - toasted ravioli is the perfect party appetizer that disappears faster than I can make it! I first tried these at a neighborhood Italian restaurant and immediately had to figure out how to recreate them at home. These golden, crunchy bites have since become my go-to for everything from game day gatherings to fancy dinner parties.
My friend Sarah asked me to bring an appetizer to her housewarming last month. When I showed up with these, they were gone within 15 minutes! Three different people cornered me for the recipe, and I almost felt guilty telling them how simple they are to make.
What You'll Need
- Frozen ravioli: The real shortcut hero! No need to thaw - the frozen state actually helps them hold up better during frying. I've had great results with both cheese and meat fillings.
- All-purpose flour: Creates the first layer of your breading station, helping everything else stick properly.
- Eggs: The crucial "glue" that holds your breadcrumb coating in place. Room temperature eggs coat more evenly.
- Breadcrumbs: I bounce between panko (for extra crispiness) and Italian-style (for more flavor), depending on my mood.
- Seasonings: Garlic powder and Italian seasoning are my must-haves, but I often throw in some red pepper flakes for kick.
- Frying oil: Vegetable or canola oil works perfectly. I've tried olive oil but found it smokes too easily at the higher temperatures.
The Magic Method
Breading Station SetupI set up my assembly line with three shallow dishes - first flour, then beaten eggs, and finally seasoned breadcrumbs. Having everything in order makes the process so much faster. I usually put down some parchment paper underneath to make cleanup easier.
Perfect Coating TechniqueTake your time with the breading process - it's worth it! I use one hand for the dry ingredients and one for the wet to avoid the dreaded "breaded fingers" that happens when you rush. Make sure to shake off excess flour before dipping in egg, and press the breadcrumbs gently to adhere.
Frying SecretsHeat your oil until it's shimmering but not smoking. I drop a few breadcrumbs in first - if they sizzle immediately, we're good to go. Don't overcrowd the pan! I fry in small batches so the temperature stays consistent, which is the key to that perfect golden crust.
Draining ProperlyHave a paper towel-lined plate ready before you start frying. Transfer each batch directly to the paper towels and arrange in a single layer so they don't steam each other and lose that wonderful crispiness.
I discovered my love for toasted ravioli during college when I was trying to impress a date with my "cooking skills" without actually knowing how to cook. These saved me - they looked fancy but were actually foolproof. We dated for two years after that, and he still asks me to make these whenever we catch up!
Serving Ideas
Marinara is the classic dipping sauce, but don't stop there! A garlic-parmesan aioli takes these to another level entirely. For parties, I arrange them around a trio of dipping sauces - marinara, pesto, and alfredo - for a colorful presentation. These pair amazingly with a simple Caesar salad for a complete meal, or alongside an antipasto platter for Italian-themed gatherings.
Make It Your Own
Experiment with different ravioli fillings - butternut squash ravioli with a sage-brown butter dipping sauce is my fall favorite. For a lighter version, try the baked method: spray with olive oil and bake at 400°F for about 20 minutes, flipping halfway. Add a sprinkle of fresh herbs (basil or parsley) right before serving for brightened flavor and a pop of color.
Practical Storage
These are best fresh from the fryer, but if you somehow have leftovers, store them in an airtight container in the fridge. Reheat in a 350°F oven for 10 minutes to crisp them back up - microwaving will just make them soggy. You can also freeze the breaded ravioli before frying, then cook directly from frozen when surprise guests show up!
Chef's Wisdom
- Season your breadcrumbs well - this is where most of your flavor comes from
- Don't pierce the ravioli when flipping or the filling might leak out
- A light dusting of grated parmesan while still hot from the fryer takes these to the next level
Over years of making these, I've learned that toasted ravioli brings people together like few other foods can. There's something about a crispy, dippable appetizer that gets everyone crowding around the table, reaching for just one more. I've had serious conversations, family announcements, and even a surprise engagement happen over plates of these golden bites. Sometimes the simplest foods create the most memorable moments!
Frequently Asked Questions
- → Can I use fresh ravioli?
- Yes, but frozen works better as it holds shape during frying.
- → Can I air fry these?
- Yes, air fry at 370°F for 8-10 minutes, flipping halfway through.
- → What dipping sauces work best?
- Marinara is traditional, but ranch, alfredo, or pesto also work well.
- → Can I make these ahead?
- Best served fresh, but can reheat in oven at 350°F for 5-10 minutes.
- → What type of ravioli is best?
- Both cheese or meat fillings work well. Choose smaller ravioli for easier handling.