
 Pin it
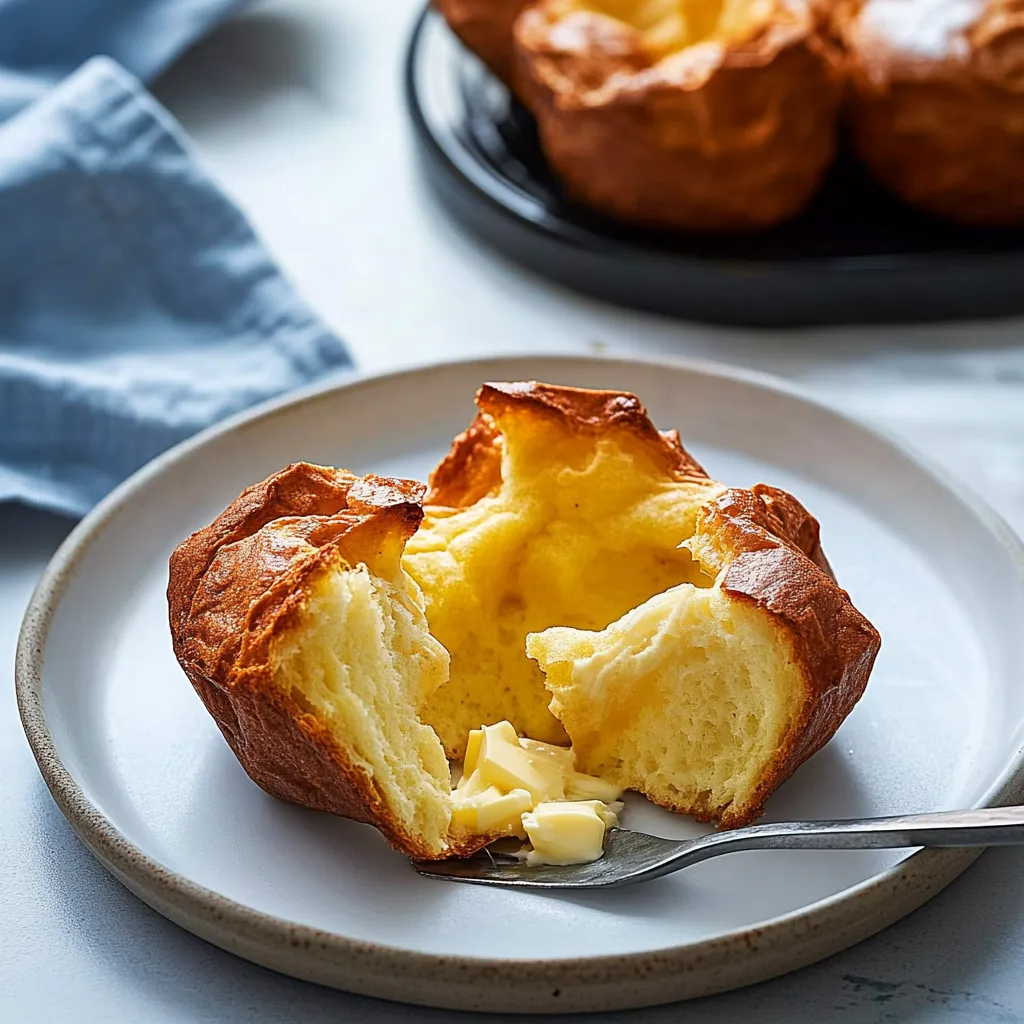
Like most good stories in my kitchen, this one starts with childhood memories. Growing up, popovers were our special occasion bread, appearing like magic on holiday tables. Years later, armed with my first popover pan and my mother's recipe notes, I discovered these ethereal rolls aren't just for special occasions - they're actually simple enough for any day you want to add a little magic to your meal.
One Sunday morning, I surprised my family with these, and now they're constantly checking the oven hoping to spot another batch rising. These aren't just rolls - they're edible hot air balloons!
Essential Ingredients Guide
- Farm-fresh eggs: Must be room temperature
- Whole milk: The fat content matters here
- All-purpose flour: Measured with care
- Real butter: No substitutes allowed
- Fine salt: Balances the flavors perfectly

Creating Popover Perfection
- Perfect Prep:
- Blend ingredients until frothy and smooth
- Pan Warming:
- Heat your pan for that essential rise
- Batter Rest:
- Let magic happen while oven preheats
- Temperature Dance:
- Start hot, then reduce with precision
- Steam Release:
- Pierce tops for perfect texture
The first time I made these, I couldn't resist opening the oven to check - big mistake! They deflated faster than a balloon at a porcupine party. Now I know patience is the secret ingredient.
Beyond the Basic Batter
Those gorgeous hollow centers didn't come easily to me at first. After countless "popunders" instead of popovers, I learned that success lies in the details. That warm milk and room temperature eggs? They're the key players in creating that perfect balloon-like rise we're all chasing.
Kitchen Chronicles
I still remember my first successful batch. Standing in front of the oven window, watching them rise higher and higher, I felt like a proud parent. Now I know every little detail counts - from how you measure the flour to the way you pour the batter.
Make It Your Own
While classic popovers are heavenly, I love playing with variations:
- Add fresh herbs for savory dinners
- Sprinkle with cinnamon-sugar for breakfast
- Fold in aged cheese for extra richness
- Brush with garlic butter right after baking
Storage Solutions
Let's be honest - these rarely survive long enough to need storing! But if you must:
- Cool completely before storing
- Reheat at 350°F for perfect crispness
- Pierce bottoms before storing to prevent sogginess
- Freeze for up to two months if needed
Frequently Asked Questions
- Q: Why did mine collapse?
- A: Usually from opening the oven door too soon.
- Q: Can I use low-fat milk?
- A: Whole milk creates the best texture and rise.
- Q: My popovers stuck to the pan!
- A: Be generous with that pan coating.
- Q: How full should I fill the cups?
- A: About 3/4 full for perfect rise.
After years of making these, I've learned that popovers are more than just rolls - they're little miracles of science happening in your oven. The way they transform from simple batter to golden, puffy perfection still amazes me every time.
Remember, your first batch might not be perfect, and that's okay. Each time you make them, you'll learn something new. The best part? Even the "failures" taste delicious slathered with butter and jam.
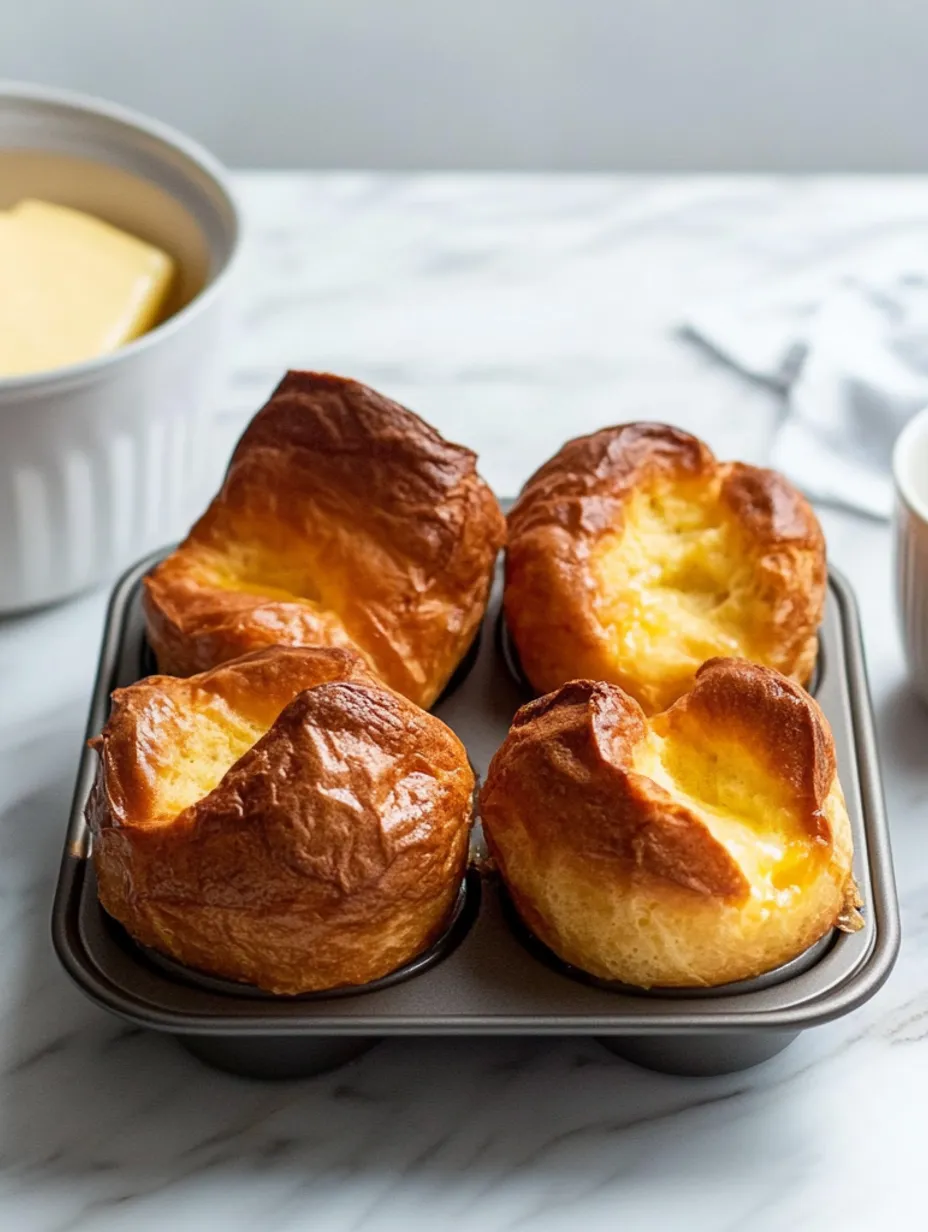
P.S. - Save yourself some heartache and invest in a proper popover pan. Trust me, it's worth every penny when you pull out that first batch of perfectly risen, golden-brown beauties!