
 Pin it
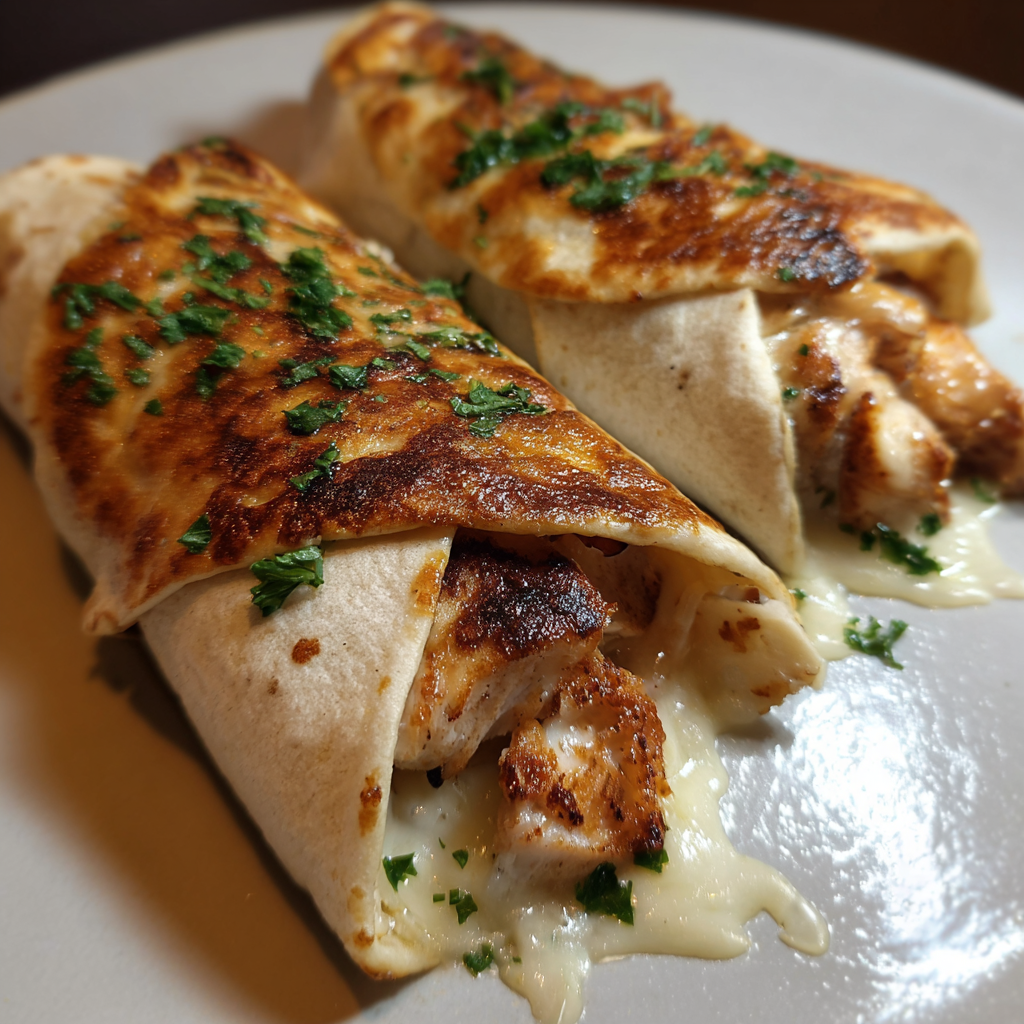
This cheesy garlic chicken wrap is the ultimate answer to the "what's for dinner" question on a busy weeknight. It comes together in minutes but tastes like you spent ages on it, delivering that perfect combination of a crispy, buttery tortilla and a gooey, savory chicken and cheese filling.
I first threw these together on a chaotic Tuesday when I realized I had leftover chicken and hungry kids. Now, it's the most requested meal in our house, especially for a quick lunch or a fun game day snack.
Ingredients
- Two cups shredded cooked chicken: This is the perfect use for a store bought rotisserie chicken or any leftover grilled chicken you have on hand
- One cup shredded mozzarella cheese: The key to that epic cheese pull Choose a low moisture, whole milk mozzarella for the best melt
- One half cup shredded sharp cheddar cheese: This adds a tangy depth of flavor that complements the mozzarella perfectly
- One quarter cup grated Parmesan cheese: It brings a salty, nutty flavor to the filling Don't use the powdered kind; a block of real Parmigiano Reggiano makes all the difference
- Four large flour tortillas: Burrito size tortillas work best as they give you plenty of room to fold without tearing
- Three tablespoons unsalted butter: This is the base for our garlic butter crust, so using a good quality butter adds a lot of flavor
- Two cloves fresh garlic: It provides that savory, aromatic kick For a stronger flavor, use a microplane to mince it finely
- One teaspoon dried parsley: It adds a pop of color and a mild, herby note to the butter
Step-by-Step Instructions
- Mix the Cheesy Filling:
- In a large mixing bowl, combine your two cups of shredded chicken, one cup of mozzarella, one half cup of cheddar, and one quarter cup of Parmesan. Use a fork or your hands to toss everything together until the chicken and the three cheeses are evenly distributed. You want a bit of every cheese in each bite.
- Assemble the Wraps:
- Place one of the large flour tortillas on a clean, flat surface. Spoon about half a cup of the chicken and cheese mixture into the center of the tortilla, shaping it into a rough log. Be careful not to overfill it, or it will be difficult to roll. Tightly fold in the left and right sides of the tortilla over the filling, then, starting from the bottom, roll it up snugly into a compact burrito shape. Repeat this process for the remaining three tortillas.
- Create the Garlic Butter:
- In a small saucepan, melt the three tablespoons of unsalted butter over medium low heat. Once the butter is fully melted and starts to foam slightly, add the two minced garlic cloves and one teaspoon of dried parsley. Swirl the pan and cook for about 60 to 90 seconds, just until the garlic becomes incredibly fragrant. You don't want the garlic to brown, just to infuse the butter. Remove from the heat and season with a pinch of salt and pepper.
- Pan Fry to Golden Perfection:
- Heat a large nonstick skillet or griddle over medium heat. While the skillet is heating up, use a pastry brush to generously coat the entire outside of each wrap with the prepared garlic butter. Place the wraps seam side down in the hot skillet. Let them cook for two to three minutes per side, pressing down gently with a spatula to help them get an even, golden brown crust. The cheese inside should be completely melted and gooey.
- Rest and Serve:
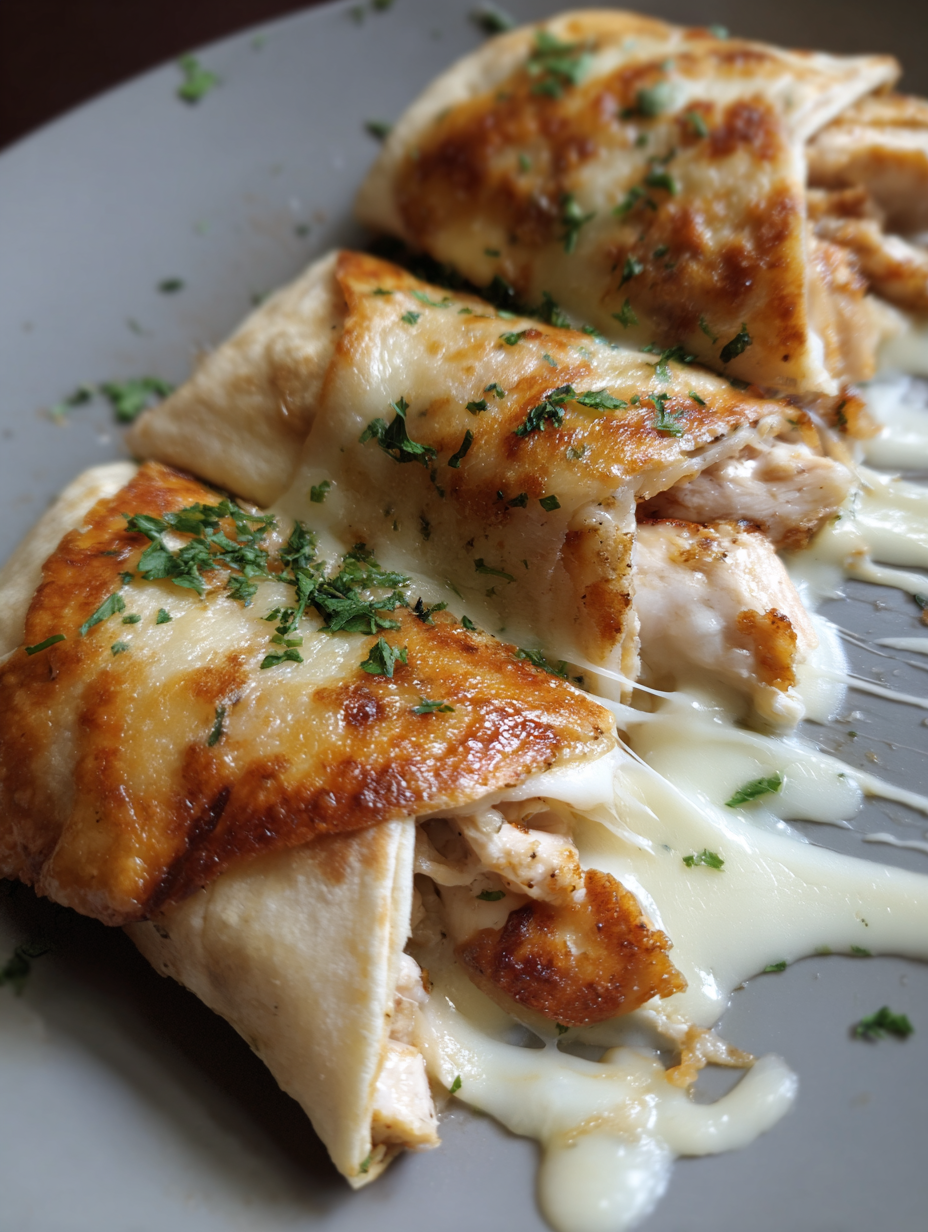
- Once both sides are crispy and golden, transfer the wraps to a cutting board and let them rest for a minute. This helps the filling set a little so it doesn't all spill out. Slice them in half on a diagonal to show off the cheesy interior and serve them immediately while they're hot and crispy.
My favorite ingredient here is, without a doubt, the garlic butter. It transforms a simple wrap into something restaurant worthy. I remember the first time my son tried one; his eyes went wide, and he said it was the "best grilled cheese ever," which I consider a huge win for a wrap that's packed with protein.
Storage and Reheating
These wraps are best enjoyed fresh, but you can store leftovers in an airtight container in the refrigerator for up to three days. To reheat and bring back that amazing crispiness, I highly recommend avoiding the microwave. Instead, place them in an air fryer at 375°F for about five minutes or toast them in a dry skillet over medium heat until warmed through and crispy again.
Delicious Ingredient Swaps
Don't feel locked into the ingredients list. You can easily substitute the chicken with shredded turkey, pulled pork, or even black beans for a vegetarian option. For the cheese, feel free to use what you have. Provolone, Swiss, or pepper jack would all be fantastic. A little cream cheese mixed into the filling can also add an extra layer of creamy goodness.
Perfect Pairings and Dips
While these cheesy garlic chicken wraps are a complete meal on their own, they are even better with a great dipping sauce. A classic marinara sauce is a wonderful choice, as is a creamy ranch or a zesty chipotle aioli. For a simple side, a fresh green salad with a light vinaigrette or a bowl of tomato soup makes for a comforting and complete dinner.
Frequently Asked Questions
- → What kind of chicken is best for these wraps?
Rotisserie chicken or grilled chicken breast works great! Shredded and cooked is the key.
- → Can I make the filling ahead of time?
Absolutely! You can prepare the chicken and cheese filling up to 3 days in advance and store it in the refrigerator.
- → Is there an air fryer option for cooking the wraps?
Yes! Cook in an air fryer at 375°F for 6-8 minutes, flipping halfway, for extra crispiness.
- → What vegetables can I add to the filling?
Sautéed spinach, bell peppers, or mushrooms are all delicious additions to the chicken and cheese filling.
- → How can I add some spice to these wraps?
Add a pinch of red pepper flakes to the filling or mix hot sauce into the garlic butter.
- → Can I use different cheeses in this dish?
Yes, you can swap mozzarella for provolone, Swiss cheese, or pepper jack for a spicy version.