
 Pin it
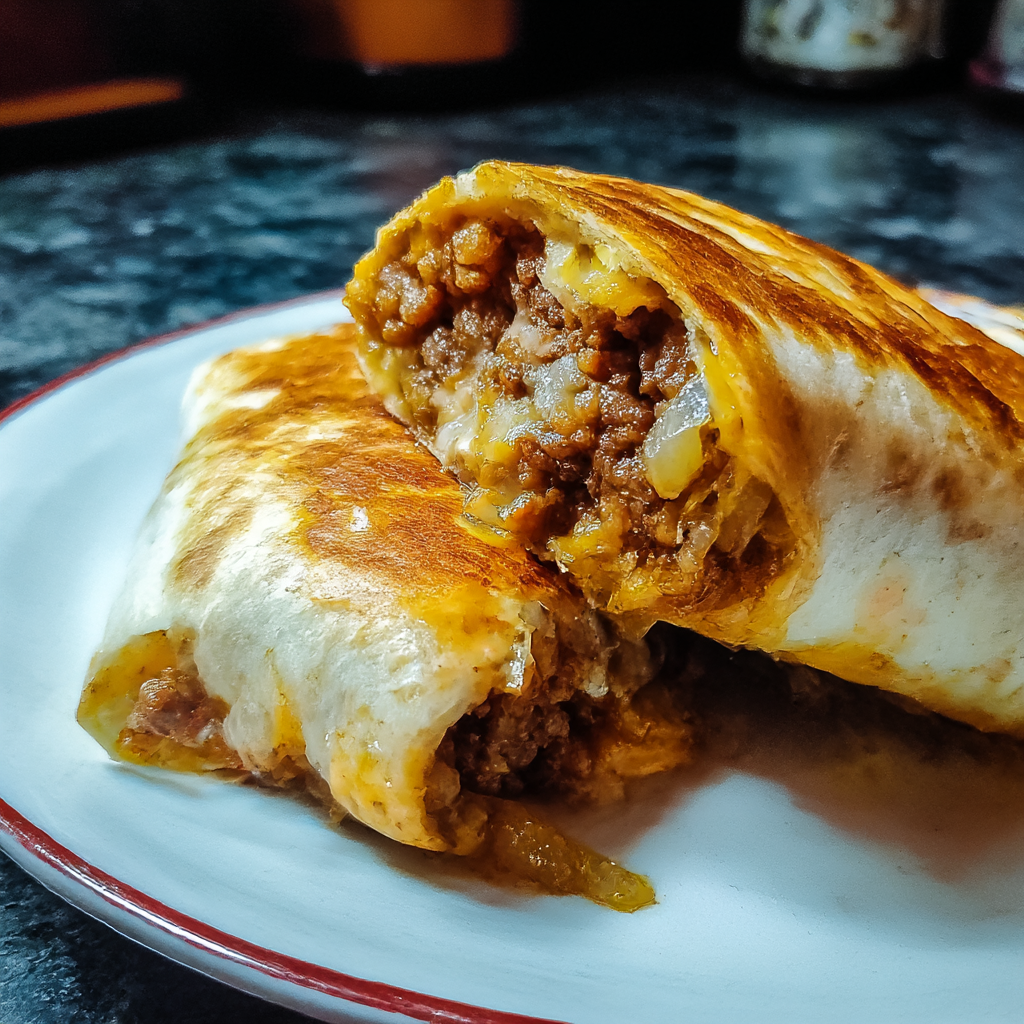
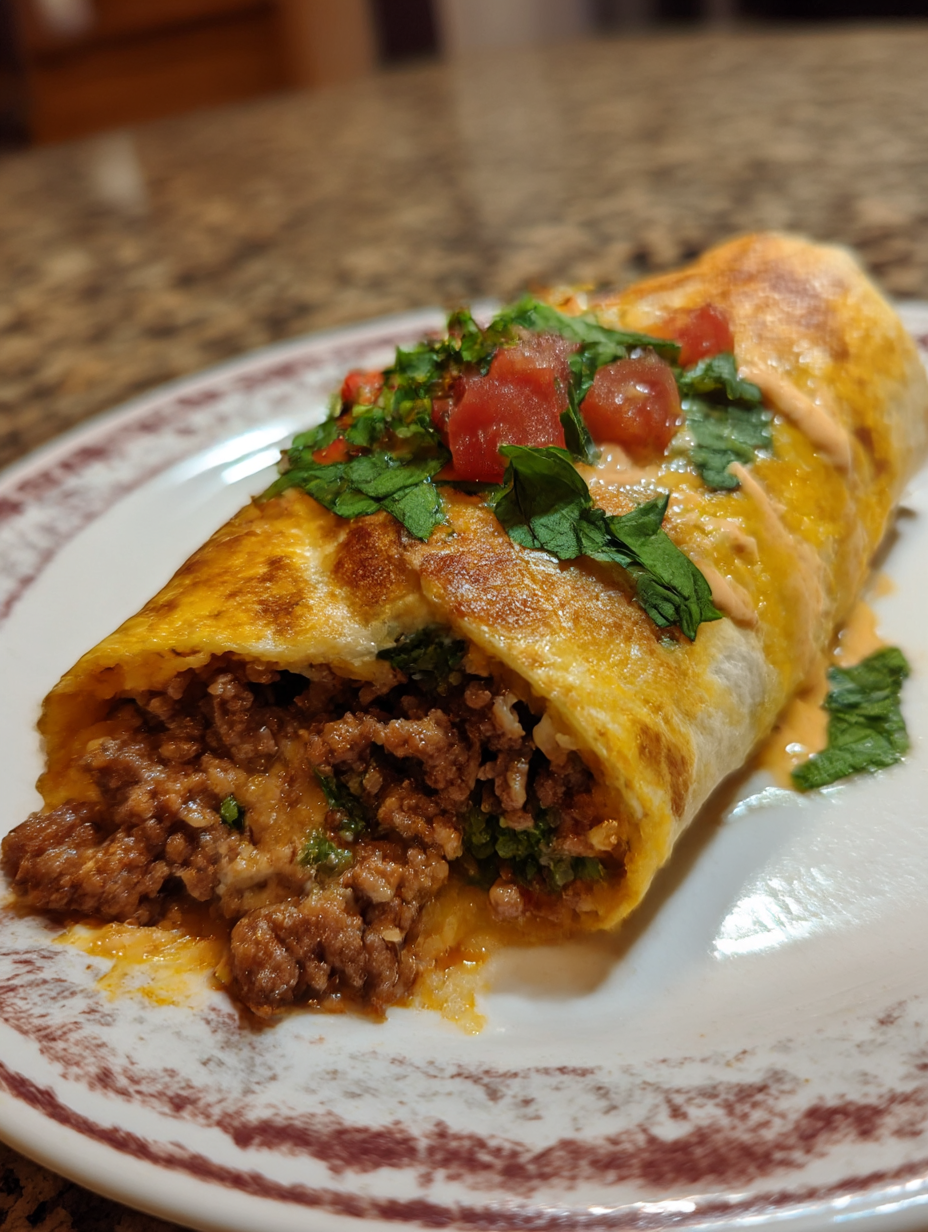
This Cheesy Beef Burrito is the kind of indulgent Tex-Mex feast I crave when I want a blend of creamy cheese and savory meat with a crispy, satisfying finish. With bold layers of flavor and texture, it is the perfect meal for entertaining friends or treating yourself to some serious comfort food.
The first time I made this burrito for family game night it disappeared before I could even serve myself a second helping. These days it is my go-to for anytime we need a comforting pick-me-up meal.
Ingredients
- Ground beef: Brings savory richness and forms the main filling. Look for 80 percent lean for best flavor and juiciness.
- Olive oil: Helps sauté the onion and prevents sticking. Extra-virgin adds a touch of fruitiness.
- Onion: Adds sweetness and depth once softened. Choose yellow onions for a mild base.
- Salt and black pepper: Essential for seasoning every layer.
- Smoked paprika: Gives a subtle smoky warmth that defines Tex-Mex. Opt for a rich Spanish variety if you can find it.
- Dried oregano: Offers herby balance. Make sure your stash is fresh for the brightest flavor.
- Tomato sauce: Adds moisture and ties the fillings together. A simple tomato puree with salt is perfect.
- Large flour tortillas: Create the important structure for rolling these hefty burritos. Warm slightly for best pliability.
- Spicy mayo: Brings creamy heat to each bite. Use your favorite brand or mix sriracha into mayonnaise.
- Fried rice: Adds an extra layer of texture and soaks up flavors. Day-old leftover rice works best for preventing sogginess.
- Nacho cheese sauce: Delivers creamy, tangy richness. Choose a brand with real cheese for extra flavor.
- Sour cream: Cools the heat and adds a rich tangy finish. Full fat gives the smoothest body.
- Tortilla chips: Add a much-needed crunch right in the middle of each bite. Thick, sturdy chips prevent sogginess.
- Shredded Mexican cheese blend: Is for that classic golden crust. Look for a mix with Monterey Jack for best melting.
Step-by-Step Instructions
- Sauté the Aromatics:
- Cook the diced onion in olive oil over medium heat until it starts to become translucent and soft which takes about five minutes. Stir frequently so the onion turns sweet without browning.
- Brown the Beef:
- Add the ground beef to the pan with the softened onion. As it cooks break up any big clumps with a spoon or spatula so every piece browns evenly. Sprinkle in salt black pepper smoked paprika and dried oregano. Stir well and let the flavors bloom for about a minute.
- Simmer the Sauce:
- Pour the tomato sauce into the beef mixture. Reduce the heat to medium low and let it bubble gently until thickened and reduced which takes roughly five minutes. Stir often to prevent sticking. The consistency should be rich and just a bit saucy.
- Layer the Fillings:
- Lay a warm tortilla flat on a board. Spread a generous stripe of spicy mayo right down the center. Get a big spoonful of fried rice and mound it on top of the mayo. Drizzle in a good amount of nacho cheese sauce. Dollop on a spoonful of sour cream and sprinkle over some tortilla chips for crunch. Finish with a heaping scoop of the seasoned beef mixture.
- Wrap the Burrito:
- Fold the sides of the tortilla tightly over the filling then roll up from the bottom pressing gently to seal in all the layers without ripping the tortilla.
- Grill the Cheese Crust:
- Place a handful of the shredded cheese blend into a nonstick skillet over medium heat. As the cheese begins to melt and bubble set the rolled burrito seam side down right on top. Let it grill for about two minutes per side until it forms a deeply golden and crisp exterior. Use a thin spatula to flip gently so the crust stays intact.
- Slice and Serve:
- Remove the burrito from the skillet and let it rest briefly to avoid losing fillings when you cut. Slice in half for a dramatic cross section or serve whole with more spicy mayo for dipping.
My favorite part is always the crispy cheese skirt that forms on the outside of the burrito. I remember the first time I flipped a burrito and saw that molten golden crust—it felt like I had unlocked a whole new level of comfort food at home. The look on my family’s faces when biting into that crunchy layer is something I never get tired of.
Storage Tips
Wrap leftover burritos tightly in foil or plastic wrap so the edges do not dry out. Store them in the refrigerator for up to three days. Reheat on a skillet over low heat to revive the crispy cheese exterior.
Ingredient Substitutions
You can swap ground beef for ground turkey or a plant-based meat to fit your preferences. Use Greek yogurt in place of sour cream or swap in cooked quinoa for the rice base. If you prefer a mild flavor use plain mayo instead of spicy or omit the smoked paprika.
Serving Suggestions
Serve these burritos sliced in half for a dramatic presentation alongside a bright avocado salad or extra tortilla chips. They are perfect for a casual group gathering or a movie night dinner.
Tex-Mex Roots
The cheesy grilled burrito takes inspiration from both Mexican street food and American Tex-Mex traditions. The combination of crispy cheese with oozing sauce and spiced beef is a celebration of flavor synergy typical in Texas border cuisine. This dish has become a staple for celebrations in my house especially when everyone needs a comforting pick-me-up.
Frequently Asked Questions
- → How do I prevent tortillas from tearing?
Warm tortillas before assembling to make them pliable and easy to roll without cracking.
- → What cheese works best for the crust?
A shredded Mexican cheese blend melts well and creates a golden, crispy exterior for extra flavor.
- → Can I make this dish vegetarian?
Absolutely—try swapping beef for black beans or sautéed vegetables for a delicious meatless option.
- → How spicy is the filling?
The spicy mayo adds heat, but you can adjust the amount of hot sauce to control the spice level.
- → What sides go well with this dish?
Serve with fresh pico de gallo, guacamole, or a zesty salad to complement the rich flavors.
- → How do I keep the burrito crispy?
Grill seam-side down in a non-stick skillet and watch closely to avoid burning the cheese crust.