
 Pin it
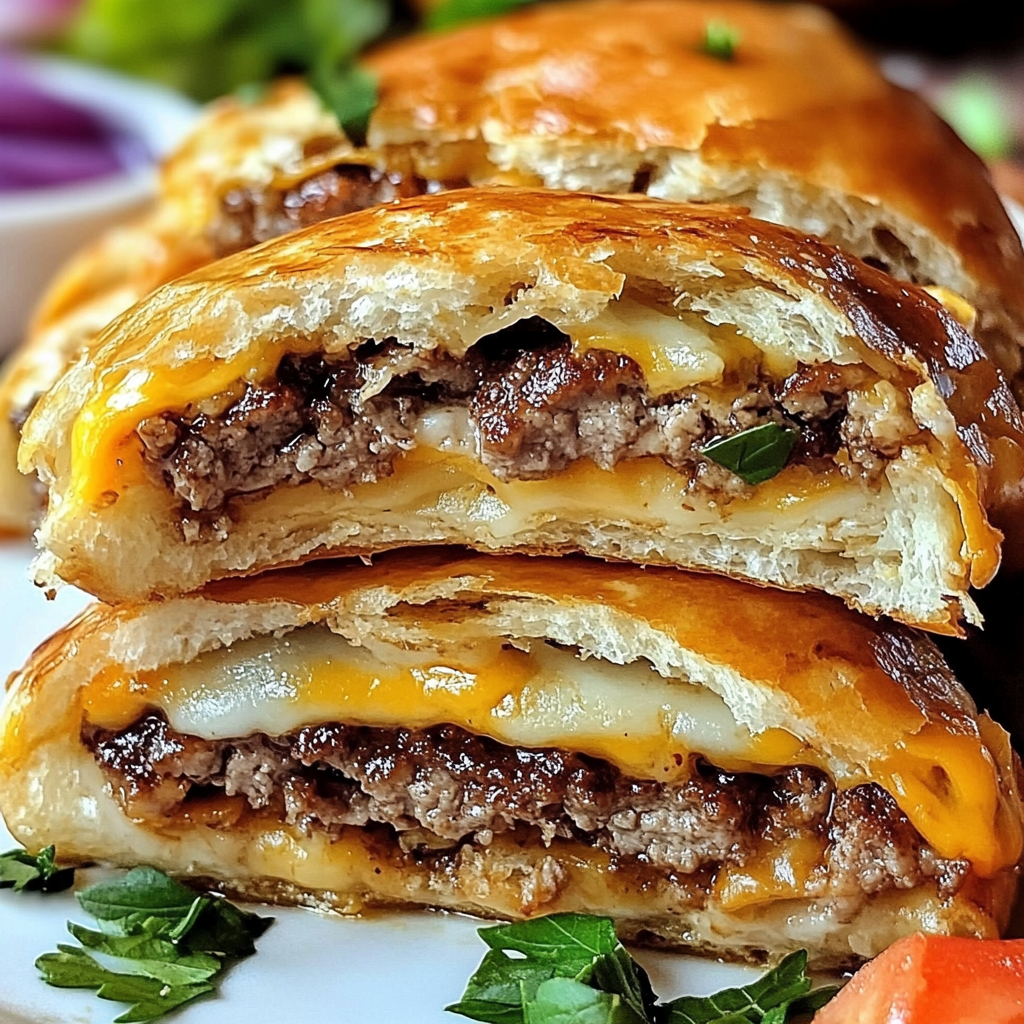
This family-friendly cheeseburger bombs recipe transforms classic burger flavors into portable, poppable bites that everyone loves. The flaky biscuit exterior gives way to a savory, cheesy filling that captures everything wonderful about cheeseburgers in a fun new format.
I first made these cheeseburger bombs when hosting a last-minute football gathering. They disappeared faster than any other dish, and now my teenagers request them for movie nights and even pack the leftovers for lunch the next day.
Ingredients
- Ground beef ensures a juicy, flavorful filling that forms the hearty base
- Diced onions add sweetness and texture when they caramelize with the beef
- Garlic powder and onion powder provide classic burger flavor without the hassle of fresh garlic
- Diced pickles bring that quintessential burger tang that balances the richness
- Cheddar cheese creates the gooey, melty interior that makes these bombs irresistible
- Refrigerated biscuit dough makes this recipe accessible and quick with minimal effort
- Melted butter brushed on top helps achieve that golden-brown, crispy exterior
- Sesame seeds give the authentic hamburger bun appearance and subtle nutty flavor
Step-by-Step Instructions
- Prepare Your Workspace
- Preheat your oven to 375°F and line a baking sheet with parchment paper. Having everything ready before you start assembling makes the process much smoother.
- Cook The Filling
- Brown the ground beef and onions in a skillet over medium heat until the meat is no longer pink and the onions become translucent. Add the salt, pepper, garlic powder, and onion powder during this process to ensure the seasonings fully incorporate into the meat mixture. The browning process takes about 8-10 minutes, and you should drain any excess grease to prevent soggy bombs.
- Build The Flavor
- Once the meat is browned, stir in the diced pickles if using. Remove from heat and allow the mixture to cool slightly before adding the shredded cheese. The cooling period is crucial as it prevents the cheese from melting completely before baking, giving you those delicious pockets of melty goodness later.
- Form The Bombs
- Take each biscuit and flatten it into a 4-inch circle using your fingers or a rolling pin. Work from the center outward, trying to maintain even thickness throughout. Place about 2 tablespoons of the meat mixture in the center of each flattened biscuit.
- Seal The Packages
- Carefully fold the edges of the dough up and over the filling, gathering them at the top. Pinch firmly to create a tight seal, preventing any filling from escaping during baking. Place each bomb seam-side down on your prepared baking sheet.
- Add The Finishing Touch
- Brush each sealed bomb generously with melted butter, which helps achieve that beautiful golden crust. Sprinkle with sesame seeds to mimic a traditional burger bun and add visual appeal.
- Bake To Perfection
- Place your bombs in the preheated oven and bake for 15-18 minutes. Watch for a deep golden brown color on the exterior, which indicates they are fully cooked. The internal temperature should reach at least 160°F to ensure the meat is safely cooked.
- Rest Before Serving
- Allow the cheeseburger bombs to cool for about 5 minutes before serving. This resting period helps the filling set slightly and prevents burned mouths from the molten cheese interior.
My family's absolute favorite version includes dill pickles in the filling. My son initially refused to try them with the pickles included, but after one bite, he declared them "the best things ever made" and now specifically requests the pickle version whenever these are on the menu.
Make-Ahead Tips
These cheeseburger bombs can be fully assembled up to 24 hours in advance and kept refrigerated. Simply place the prepared bombs on a baking sheet, cover with plastic wrap, and refrigerate. When ready to bake, remove from the refrigerator while the oven preheats, brush with butter and add sesame seeds just before baking. You might need to add 2-3 minutes to the baking time if cooking from cold.
Creative Variations
Consider customizing your cheeseburger bombs to mirror favorite burger styles. For a bacon cheeseburger version, add 1/4 cup of crumbled cooked bacon to the filling. Mushroom Swiss lovers can substitute Swiss cheese and add 1/4 cup of sautéed mushrooms to the beef mixture. For spicy bombs, mix in 1 tablespoon of sriracha or 1/4 teaspoon of cayenne pepper to the meat as it cooks.
Serving Suggestions
These cheeseburger bombs shine when served with dipping options. Set out small bowls of ketchup, mustard, burger sauce, or ranch dressing. Complete the meal with crispy oven fries, a simple side salad, or vegetable sticks. For a fun presentation, place the bombs on a platter with pickle spears, cherry tomatoes, and lettuce cups to evoke all the classic burger elements.
Storage and Reheating
Leftover bombs will keep in an airtight container in the refrigerator for up to 3 days. To reheat, place in a 350°F oven for about 10 minutes or until heated through. While microwave reheating works in a pinch, it may make the biscuit exterior slightly soggy. For best results, a few minutes in an air fryer at 350°F restores the crispy exterior perfectly.
Frequently Asked Questions
- → What type of biscuit dough works best?
Refrigerated canned biscuit dough is ideal, as it’s easy to flatten and forms a nice golden crust when baked. Look for a standard biscuit variety that isn't sweet.
- → Can I make these in advance?
Yes, you can assemble Cheeseburger Bombs ahead and refrigerate for up to 24 hours before baking. Brush with butter and add sesame seeds just before putting them in the oven.
- → Can I freeze Cheeseburger Bombs?
Absolutely! Freeze the baked Cheeseburger Bombs in an airtight container for up to 3 months. Reheat in the oven at 350°F until warmed through.
- → Can I use a different cheese?
Yes, cheddar works great, but you can try mozzarella, pepper jack, or even a mix of cheeses for a different flavor profile.
- → What can I serve with Cheeseburger Bombs?
These are great with ketchup, mustard, burger sauce, or even ranch dressing on the side. A light salad or fries also makes a great pairing.