
 Pin it
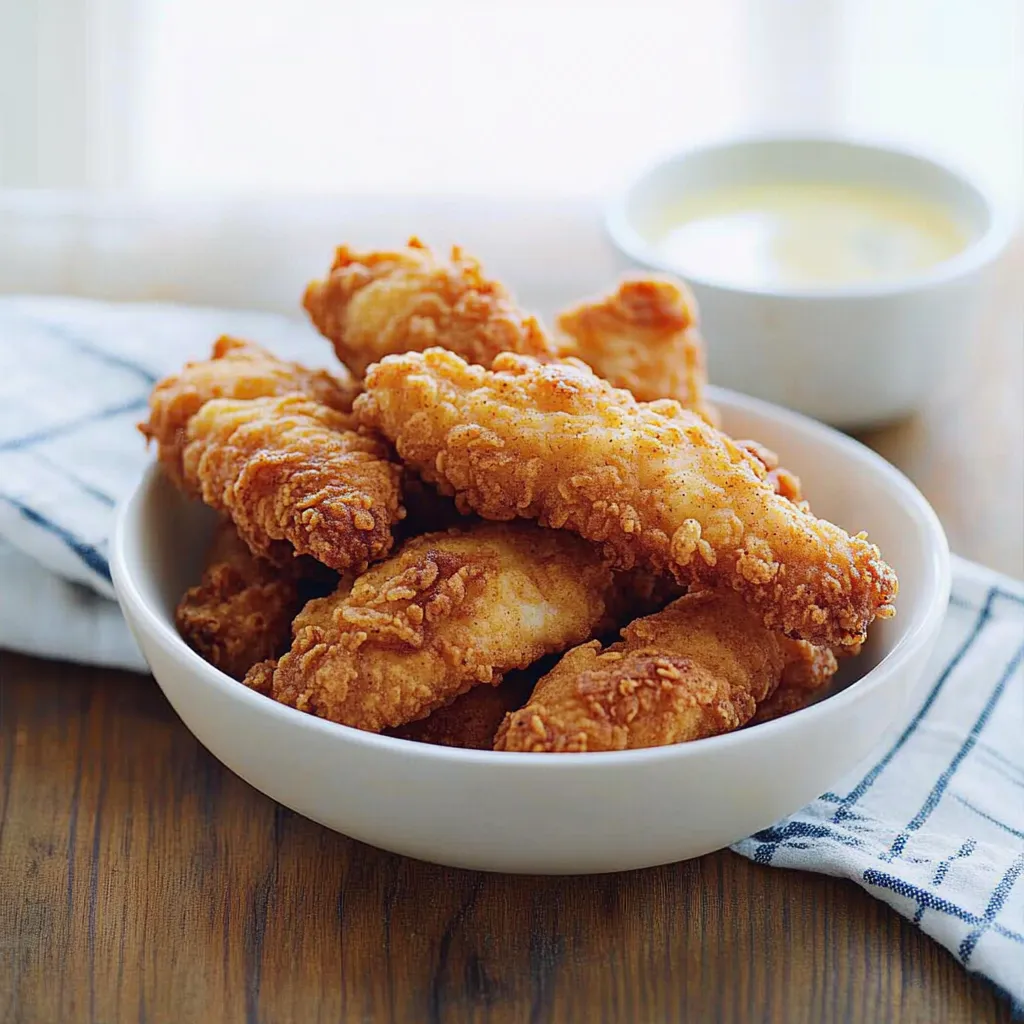
The story of these chicken tenders began in my old farmhouse kitchen, where the sounds and smells of Sunday cooking would drift through every room. Through endless recipe testing and happy kitchen accidents, I stumbled upon this version that has since become our family's most cherished comfort food. Standing over the stove one autumn evening, watching oil shimmer in my grandmother's cast iron pan, I finally nailed the perfect combination - a buttermilk soak that makes the meat melt in your mouth, paired with a coating so crispy it stays crunchy long after it leaves the oil.
Must-Have Ingredients
Pick chicken tenders that feel firm and springy - not those mushy ones that sometimes show up at the grocery store.
Real, full-fat buttermilk is non-negotiable here - I learned this the hard way after trying that milk-and-vinegar substitute at my first dinner party.
Go for unbleached flour - it gives a sturdier crust that stands up to dipping sauces.
Fresh garlic powder makes a difference - that ancient jar from three years ago won't cut it.
Speaking of ingredients, my journey with this recipe took an unexpected turn when I met Martha at our local farmers market. Her fresh-churned buttermilk transformed these tenders into something I didn't even know they could be. Now I plan my cooking schedule around her market days.
Kitchen Mastery Steps
- The Perfect Marinade Bath:
- Pour that buttermilk into a deep glass bowl - I use my mom's old Pyrex that's probably older than I am.
- Sprinkle in your seasonings and give everything a good whisk until it looks like a smooth, speckled pond.
- Drop in those tenders one by one, making sure each piece gets its own buttermilk blanket.
- Tuck them away in the fridge overnight - this is where the magic happens, no shortcuts.
- The Crispy Coating Creation:
- Dump your flour into a shallow dish - those pasta bowls from my wedding registry finally found their purpose.
- Drizzle just enough buttermilk to create little clumps in the flour - these become the extra crunchy bits.
- Work in batches, letting excess marinade drip off before dropping each tender into the flour.
- Press that coating on like you mean it - these tenders need a good firm hug in the breading.
- The Frying Journey:
- Get that oil shimmering hot in a heavy pot - my grandmother's Dutch oven has never let me down.
- Ease those tenders in gently - hot oil can sense fear and will bubble up if you drop them.
- Listen for that perfect sizzle - not too angry, not too quiet, just a steady conversation.
- Let them get golden brown before flipping - patience is everything here.
Serving These Beauties
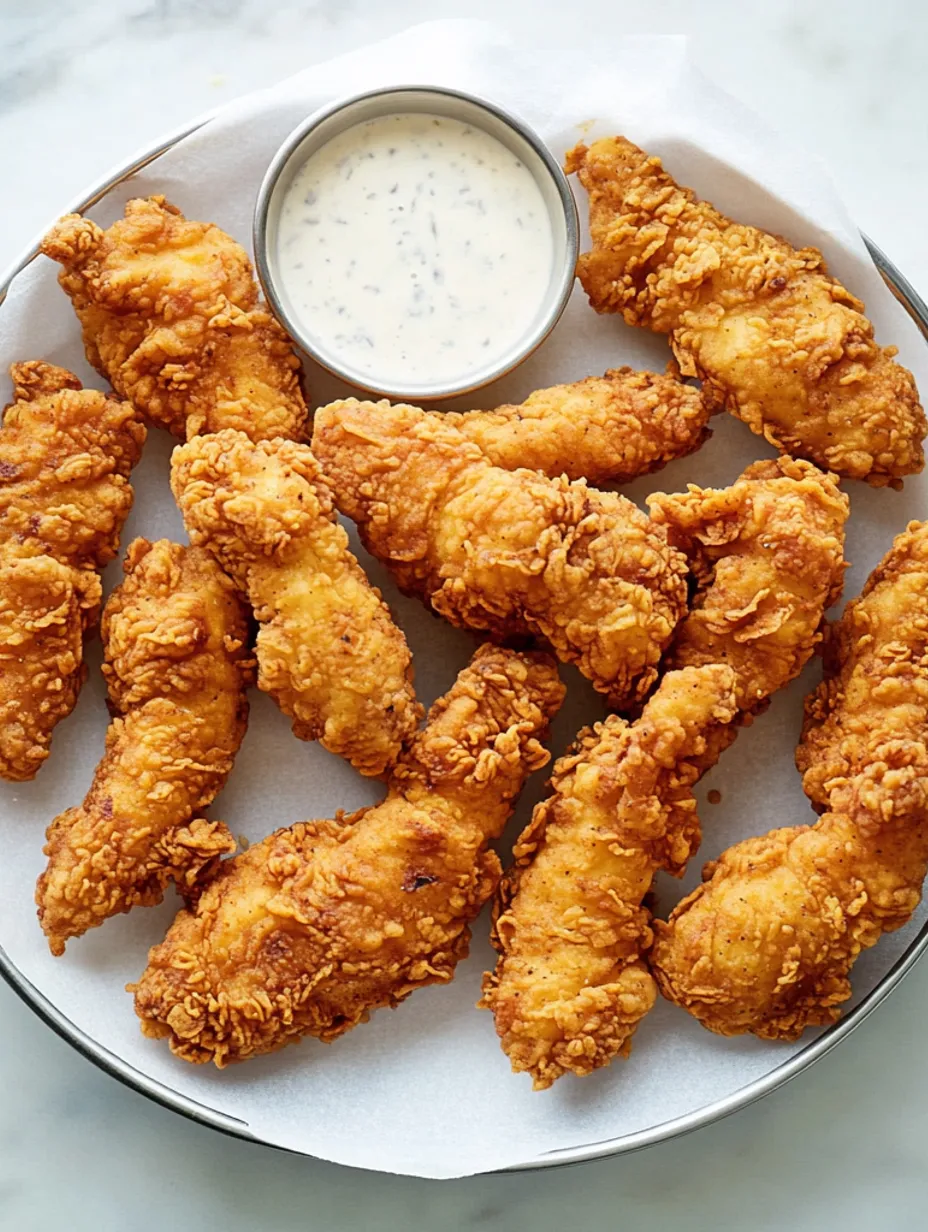
Every time I set a platter of these tenders on our old oak dining table, memories flood back of Sunday family dinners. They're incredibly versatile - dress them up with a drizzle of hot honey and fresh herbs for dinner parties, or keep them casual with ranch dressing for movie nights. During summer, I serve them alongside my sister's famous potato salad and grilled corn. On chilly evenings, nothing beats these tenders with creamy mashed potatoes and roasted brussels sprouts that get all crispy and caramelized in the oven.
Making It Your Own
Over the years, this recipe has evolved more times than I can count. My Italian neighbor Rosa convinced me to try adding grated Parmesan and dried basil to the flour mixture - absolute game-changer. During my spicy food phase (which nearly killed my husband's taste buds), I discovered that adding a splash of hot sauce to the marinade creates this amazing subtle heat that builds with each bite. When my daughter went through her "everything ranch" phase, we started adding ranch seasoning to the breading - now it's a regular variation in our rotation.
Keeping The Crunch Alive
Let's talk leftovers - though honestly, they're rare in my house. If you manage to save some, let them cool completely on that wire rack. Store them in the fridge with parchment paper between layers, otherwise they'll stick together like old friends at a reunion. Skip the microwave unless you enjoy soggy breading. Instead, pop them in a 350-degree oven for about 10 minutes - they'll crisp right back up like they just came out of the oil.
Beyond The Basics
When my kids started taking these in their lunch boxes, I learned some tricks. Pack them while they're still slightly warm, and they'll keep that perfect texture until lunchtime. For bigger batches, I freeze them on a baking sheet first, then transfer to a freezer bag - this prevents them from forming one giant tender cluster. They'll keep for three months, though they've never lasted that long in our house.
Kitchen Wisdom Corner
Get your oil temperature just right - when a pinch of flour dances in the oil, you're good to go.
Season your flour mixture more than you think you need to - the flavors mellow during frying.
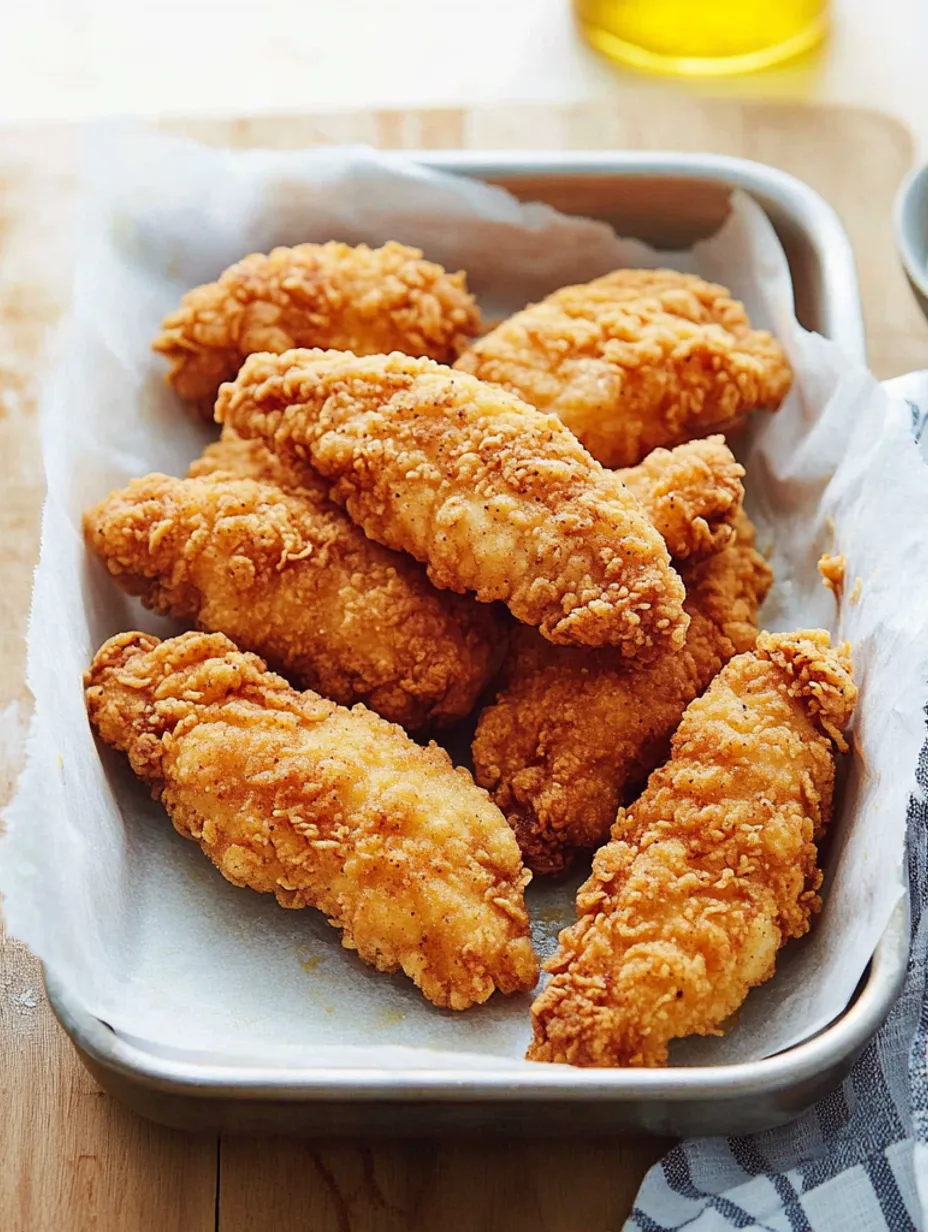
Let those tenders rest on a wire rack instead of paper towels - it keeps the bottom from getting soggy.
I've made these tenders for countless birthday parties, potlucks, and quiet family dinners. Each batch tells its own story - from the time I dropped my wooden spoon in the oil (kitchen chaos ensued) to watching my youngest learn to coat the chicken without creating a flour snowstorm in my kitchen. There's something magical about a recipe that brings people together, creates memories, and still manages to surprise you with its deliciousness even after making it hundreds of times. Now, excuse me while I go marinate another batch - tomorrow's dinner isn't going to cook itself!
Frequently Asked Questions
- → How long should I marinate?
- At least 4 hours, up to 24 hours for best flavor.
- → Can I freeze these?
- Yes, freeze up to 3 months and reheat in 350°F oven for 25 minutes.
- → How do I know when they're done?
- Cook until golden brown on both sides, even if they look lighter in the oil.
- → Why add buttermilk to breading?
- Creates perfect clumpy texture for extra crispy coating.
- → What oil is best for frying?
- Vegetable oil heated to about 350°F works best.