
 Pin it
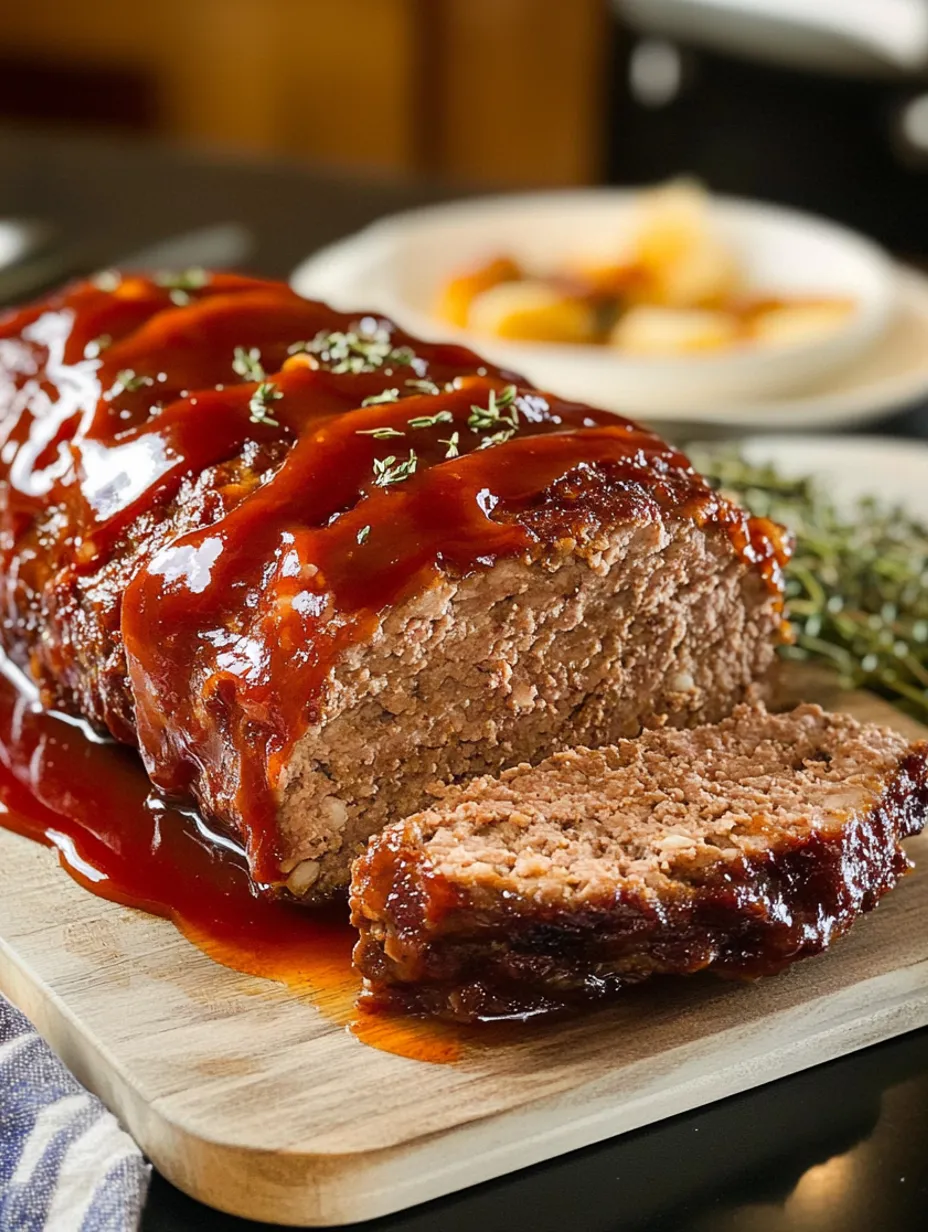
That first bite of warm, perfectly seasoned meatloaf takes me right back to my grandmother's farmhouse kitchen. After countless Sunday dinners and years of tweaking, I've perfected this family recipe that combines both my mother's aromatic seasoning blend and my grandmother's unique glazing technique. What makes this version special is the extra attention to moisture retention and flavor layering throughout the cooking process.
Just last month, I served this at my daughter's graduation party. The secret that had everyone talking wasn't just the ingredients - it was the careful attention to temperature control and resting time. Even my mother-in-law, who claims to dislike meatloaf, asked for seconds.
Essential Ingredients (with detailed notes):
- Ground Beef (80/20 lean) - Room temperature meat mixes more evenly and creates better texture
- Fresh Yellow Onion - Hand-grated to release more natural sweetness and ensure even distribution
- Breadcrumbs - Use a mix of 2/3 dried Italian-style and 1/3 fresh for optimal moisture absorption
- Large Eggs - Always use room temperature eggs for better binding
- Whole Milk - The fat content is crucial for tenderness; warm slightly before mixing
- Worcestershire Sauce - Adds depth and enhances the meat's natural flavors
- Fresh Garlic - Minced just before using to preserve aromatic oils
- Fresh Herbs - Particularly parsley and thyme, finely chopped
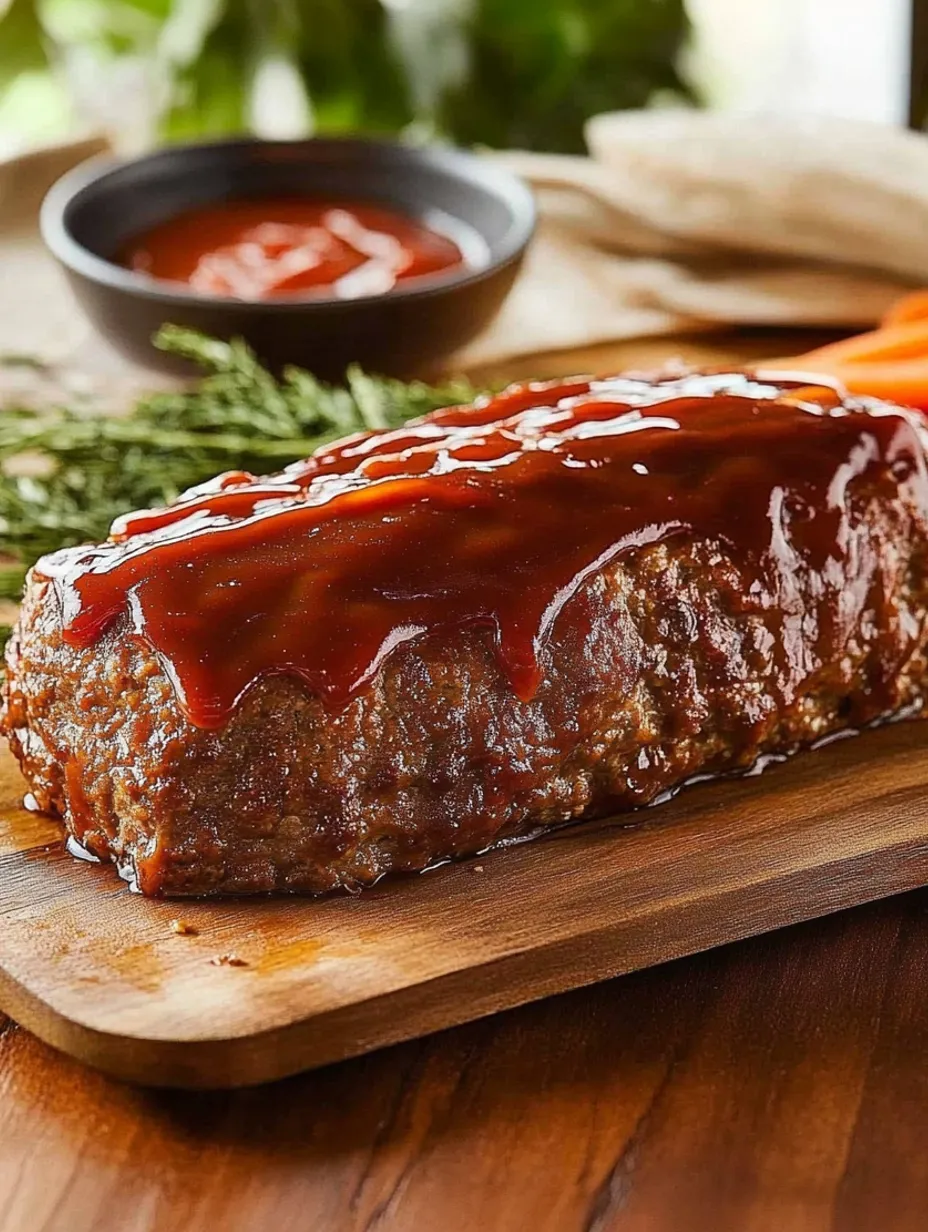
- Homemade Glaze - The magic ratio: 1 cup ketchup, 1/4 cup brown sugar, 2 tablespoons red wine vinegar
Detailed Step-by-Step Instructions:
1. Preparation (30 minutes before cooking)
- - Remove meat and eggs from refrigerator to reach room temperature
- - Preheat oven to exactly 375°F (use an oven thermometer for accuracy)
- - Grate onion using the fine side of a box grater to capture juices
- - Mince garlic and chop herbs immediately before mixing
- - Line a 9x5 inch loaf pan with parchment, leaving 2-inch overhang
- - Warm milk to room temperature
2. Mixing the Meatloaf (Critical Step)
- - Break ground beef into marble-sized pieces in a large bowl
- - Whisk eggs with warm milk and Worcestershire sauce
- - Combine breadcrumbs with grated onion and let stand 5 minutes
- - Add seasoned breadcrumb mixture to meat
- - Pour in egg mixture
- - Using clean hands, gently fold and squeeze mixture 25-30 times
- - Stop mixing when ingredients are just combined but meat still looks slightly stringy
3. Shaping and Glazing (Technique Matters)
- - Transfer mixture to pan in three equal portions
- - Press each layer gently to remove air pockets
- - Shape top into a gentle dome for even cooking
- - Create slight divots on surface to hold glaze
- - Mix glaze ingredients in a warm bowl for better spreading
- - Apply first layer of glaze with a silicone brush
- - Reserve 1/3 of glaze for halfway through cooking
4. Baking Process (Temperature Control is Key)
- - Place rack in middle position of oven
- - Bake uncovered for first 30 minutes
- - Apply remaining glaze at 30-minute mark
- - Continue baking 25-30 minutes until internal temperature reaches 160°F
- - Test multiple spots with meat thermometer
- - Look for glaze to caramelize but not burn
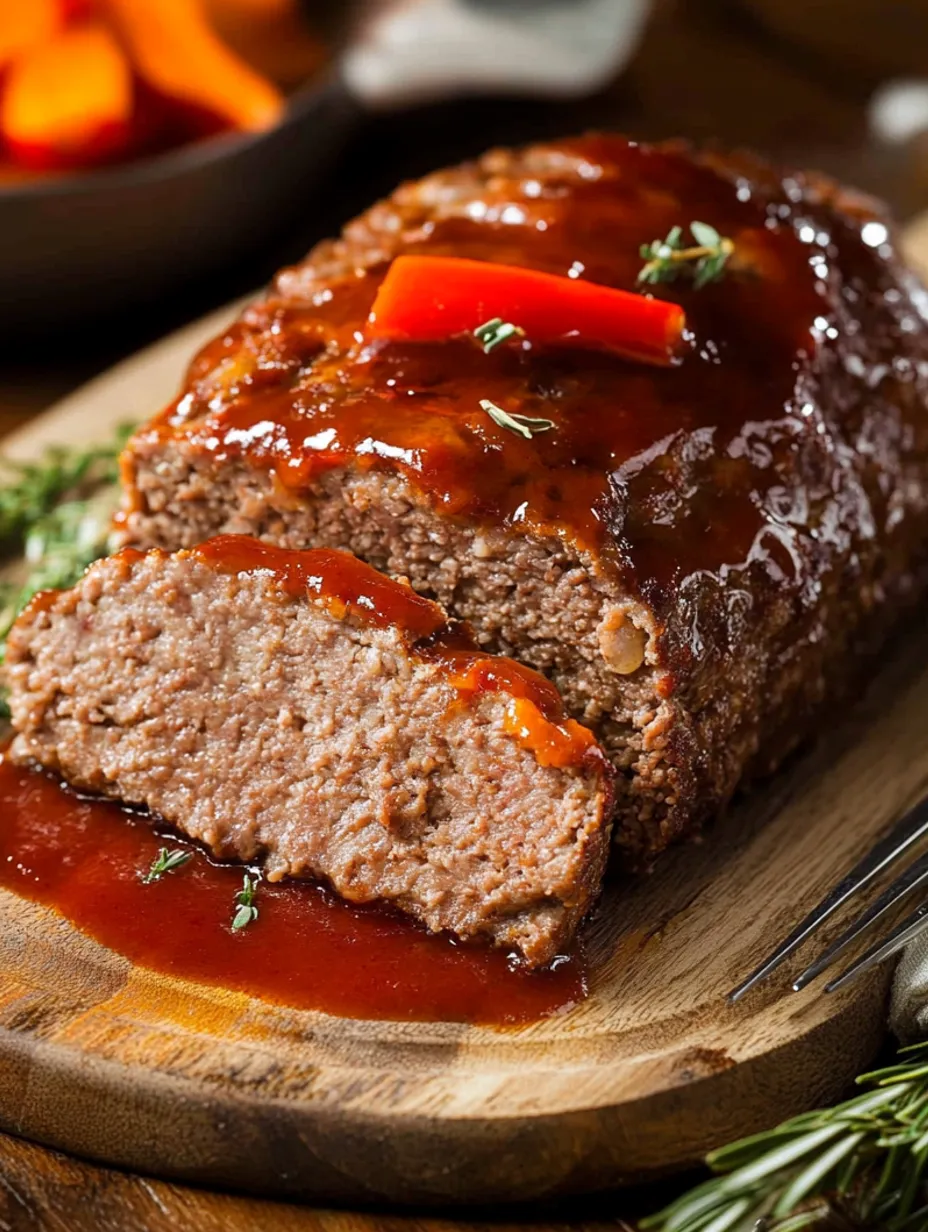
- - Let rest exactly 10 minutes before slicing
You Must Know:
* Different ovens vary - know your hot spots
* Using a meat thermometer is non-negotiable for perfect doneness
* The pan material affects cooking time - glass pans need 5 minutes less
* Color isn't always an indicator of doneness
My family discovered that grass-fed beef creates an exceptionally rich flavor, though it requires reducing the cooking time by about 5 minutes to maintain moisture.
Temperature Guide:
* 155°F - Slightly pink center (my personal preference)
* 160°F - USDA recommended
* 165°F - Well done (may be slightly drier)
Advanced Tips for Perfect Results:
* Sauté onions and garlic before adding for deeper flavor
* Create a foil tent if top browns too quickly
* Place a pan of water on bottom rack for extra moisture
* Use refrigerated meatloaf mix for cleaner slicing
* Score the top in a crosshatch pattern before glazing
Storage and Reheating Secrets:
* Cool completely before refrigerating
* Slice before freezing for easier reheating
* Wrap individual slices in parchment then foil
* Reheat with a splash of beef broth for moisture
* Store glaze separately for fresh application
Professional Chef's Tips:
* Toast breadcrumbs before mixing for nutty flavor
* Add umami with a splash of fish sauce
* Incorporate finely diced mushrooms for moisture
* Layer flavors with three different herbs
* Use panko for lighter texture
Final Thoughts:
After making this recipe hundreds of times, I've learned that patience is the secret ingredient. Don't rush the mixing, take time with temperature control, and always, always let it rest. Every family has their perfect meatloaf recipe, but this one has proven itself time and again as a reliable, delicious version that even converts the skeptics. The key is treating each step with care and attention - from choosing the right meat blend to that final rest before slicing.
Frequently Asked Questions
- → How do I know when my meatloaf is done?
- The meatloaf is done when it reaches an internal temperature of 160°F or when the meat is no longer pink in the center.
- → Can I make meatloaf ahead of time?
- Yes, you can prepare the meatloaf mixture up to 24 hours in advance and store it covered in the refrigerator before baking.
- → Why did my meatloaf fall apart?
- Meatloaf can fall apart if there aren't enough binding ingredients. Make sure to use eggs and breadcrumbs as directed in the recipe.
- → Can I freeze leftover meatloaf?
- Yes, wrap cooled meatloaf tightly in foil and freeze for up to 3 months. Thaw overnight in the fridge before reheating.
- → What can I serve with meatloaf?
- Meatloaf pairs well with mashed potatoes, roasted vegetables, green beans, or a simple side salad.