
 Pin it
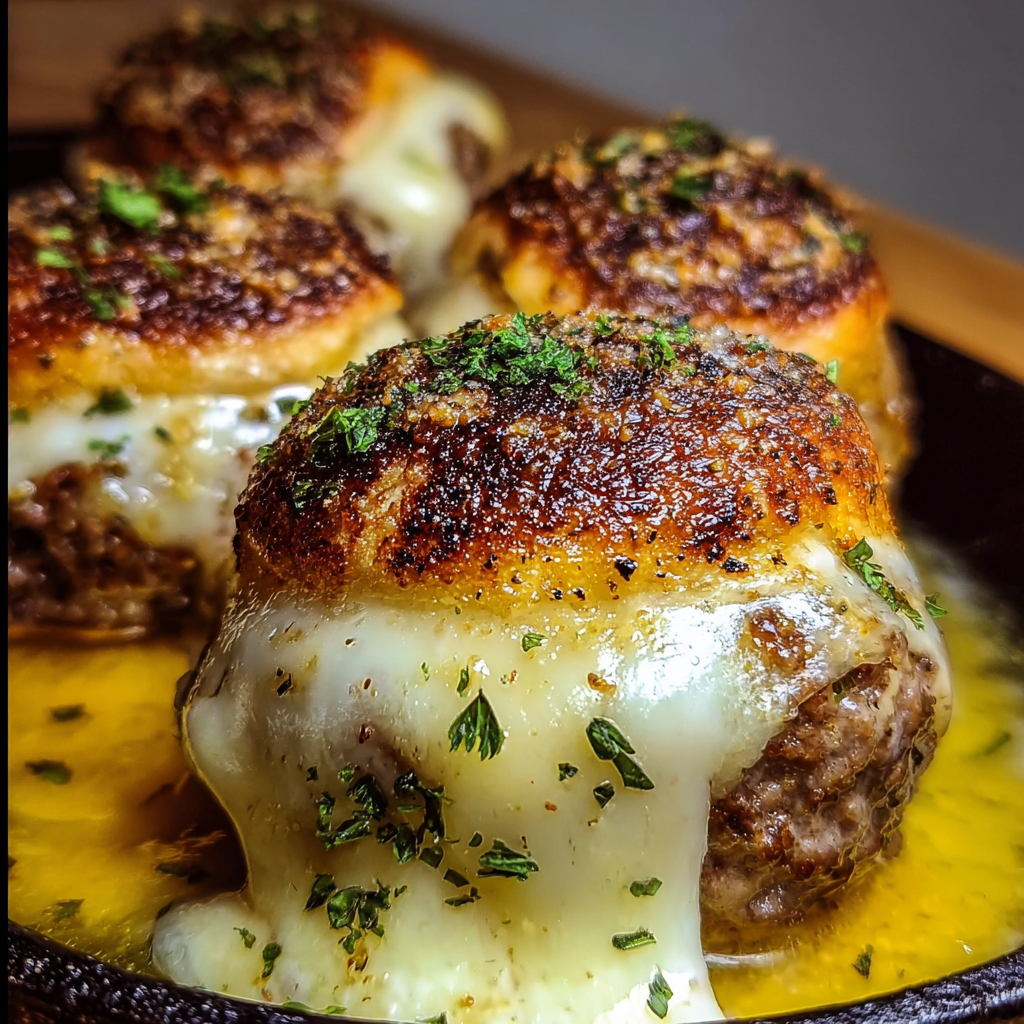
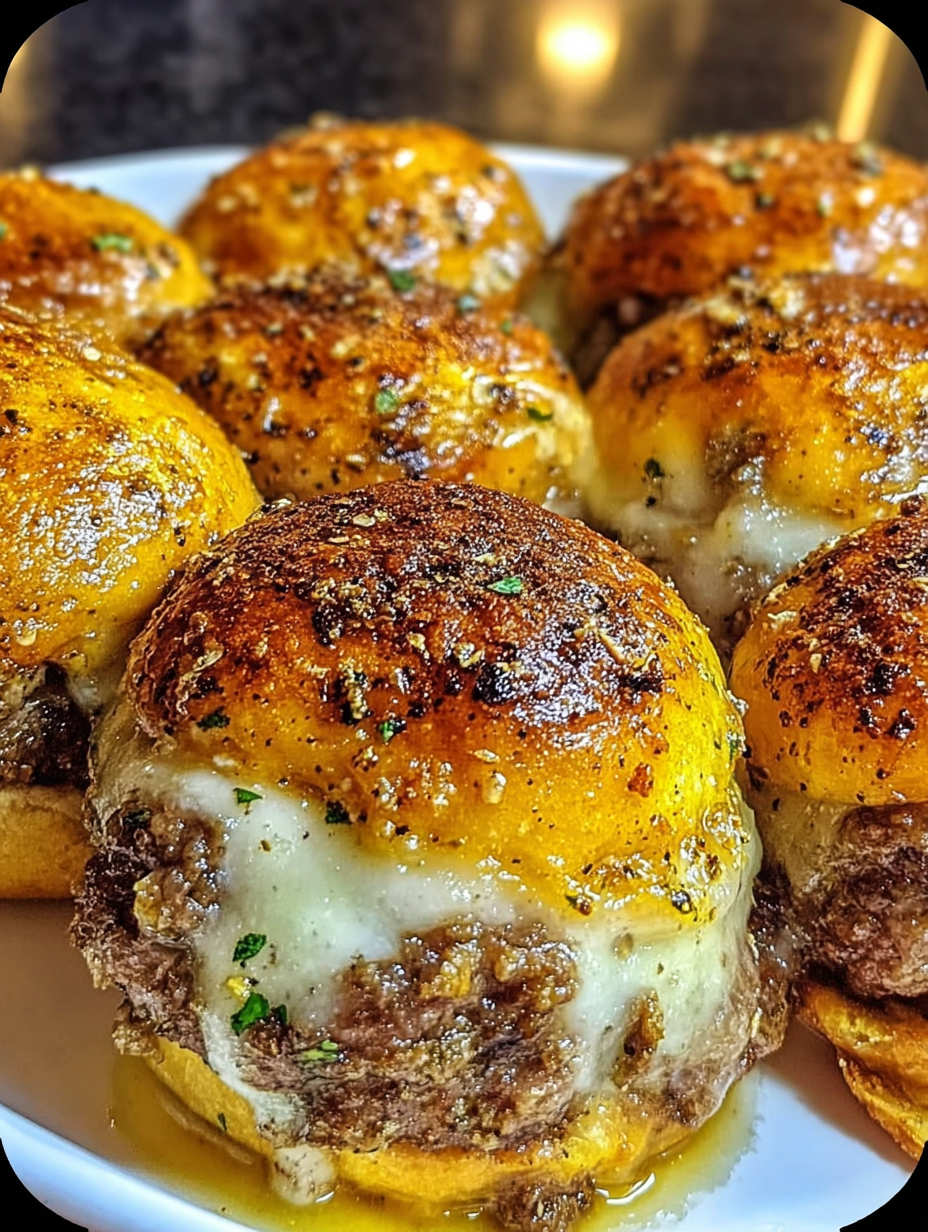
These Garlic Parmesan Cheeseburger Bombs are the ultimate comfort food, merging the savory heart of a cheeseburger with the irresistible, buttery goodness of a garlic knot. They're a guaranteed hit for any gathering, from game day parties to fun family dinners, and they always disappear in record time.
I first made these for a friend’s potluck, and they were the first dish to vanish from the table. Now they're my go to recipe when I need something that feels special but comes together with minimal fuss.
Ingredients
- Ground beef: an 80/20 blend provides the perfect amount of fat for a juicy, flavorful filling
- Shredded cheddar cheese: for that classic cheeseburger tang and meltiness. I recommend shredding your own from a block for the best texture
- Refrigerated biscuit dough: this is the secret weapon for a foolproof, fluffy, and tender exterior without the hassle of making dough from scratch
- Unsalted butter: serves as the rich base for the garlic parmesan topping
- Fresh garlic: its pungent, aromatic flavor is essential for the topping. Please use fresh cloves, not the pre minced jarred kind
- Grated Parmesan cheese: adds a salty, nutty crust that takes these bombs over the top
- Fresh parsley: brings a touch of color and freshness to cut through the richness
Step by Step Instructions
- Sauté the Aromatics and Beef:
- Heat a tablespoon of olive oil in a large skillet over medium heat. Add the finely chopped onion and cook for 3 to 4 minutes, stirring occasionally, until it has softened and become translucent. This initial step builds a deep flavor base. Add the ground beef to the skillet, using a wooden spoon or spatula to break it into small crumbles. Continue cooking until the beef is thoroughly browned, then carefully tilt the pan to drain off any excess grease.
- Season the Filling:
- Return the skillet to the heat and sprinkle in the salt, pepper, and garlic powder. Pour in the Worcestershire sauce for an extra savory kick. Stir everything together and let it simmer for another 2 to 3 minutes, allowing the flavors to meld completely. Remove the skillet from the heat and let the filling cool for a few minutes before stirring in the shredded cheddar cheese. This prevents the cheese from becoming greasy.
- Assemble the Bombs:
- Preheat your oven to 400°F or 200°C and line a baking sheet with parchment paper. Open your can of refrigerated biscuit dough and separate the individual biscuits. Gently flatten each one with your fingers or a rolling pin into a circle about 4 inches in diameter. Spoon about two tablespoons of the cooled beef and cheese mixture into the center of each dough circle.
- Seal and Shape:
- This is the most important step to keep the filling inside. Carefully gather the edges of the dough up and over the filling, pinching them together tightly at the top to create a secure seal. Once sealed, gently roll the dough between the palms of your hands to form a smooth, round ball. Place each bomb seam side down on the prepared baking sheet, leaving a little space between each one.
- Prepare the Topping:
- In a small, microwave safe bowl, melt the unsalted butter. Stir in the minced fresh garlic and the chopped fresh parsley until well combined. Using a pastry brush, generously coat the top and sides of each bomb with the garlic butter mixture. Don't be shy here, as this is what creates that incredible crust. Sprinkle the grated Parmesan cheese evenly over the top of each buttered bomb.
- Bake to Perfection:
- Place the baking sheet in your preheated oven and bake for 15 to 18 minutes. You’re looking for a deep, golden brown color on the outside and for the filling to be hot and bubbly. As soon as they come out of the oven, you can give them one last brush with any remaining garlic butter for an extra layer of flavor and shine.
My favorite ingredient here is, without a doubt, the fresh garlic in the butter topping. It transforms a simple biscuit dough into something that tastes like a gourmet garlic knot. I remember the first time my son tried one; his eyes lit up, and he immediately declared them the best "burger meatballs" he'd ever had. That's a family food memory I'll always cherish.
Storage and Reheating
To store any leftovers, let the bombs cool completely and then place them in an airtight container in the refrigerator for up to three days. The best way to reheat them is in an oven or an air fryer at 350°F (175°C) for about 5 to 7 minutes. This will make the outside crispy again and ensure the cheesy center is perfectly melted, something a microwave just can't do.
Ingredient Substitutions
Don’t be afraid to experiment with the filling. You can easily swap the ground beef for ground turkey or even shredded chicken. For the cheese, try pepper jack for a little kick, or a blend of mozzarella and provolone for a pizza bomb variation. If you don't have biscuit dough, refrigerated pizza dough works just as well; you'll just need to cut it into squares before filling.
Serving Suggestions
These cheeseburger bombs are amazing on their own, but they are even better with a dipping sauce. A classic burger sauce made from ketchup, mayonnaise, and a little pickle relish is a perfect pairing. They also go wonderfully with a side of warm marinara sauce or a cool, creamy ranch dressing. For a more complete meal, serve them alongside a simple green salad or some crispy french fries.
Frequently Asked Questions
- → What type of cheese works best in these?
Cheddar adds a tangy flavor, mozzarella offers a stretchy texture, and American cheese creates a creamy filling. Be sure to drain any excess liquid from watery cheeses.
- → How do I ensure the bombs are sealed properly?
Pinch the edges of the dough tightly to seal completely. If needed, use a dab of water to help the dough adhere.
- → Can I customize the filling with other ingredients?
Absolutely! Bacon bits, cooked sausage, caramelized onions, or sautéed mushrooms are great additions. Stirring in cream cheese will create a richer filling.
- → Can I make these bombs ahead of time?
Yes! Assemble the unbaked bombs and refrigerate them for up to 24 hours before baking.
- → How should I reheat leftover bombs?
Reheat them in the oven or air fryer until hot and crispy. They're also delicious cold!
- → Are there any variations of this?
Sure. Try a Jalapeño Popper version (add jalapeños and cream cheese), BBQ Bacon version (use BBQ sauce and bacon), or Pizza version (add pepperoni and marinara).