 Pin it
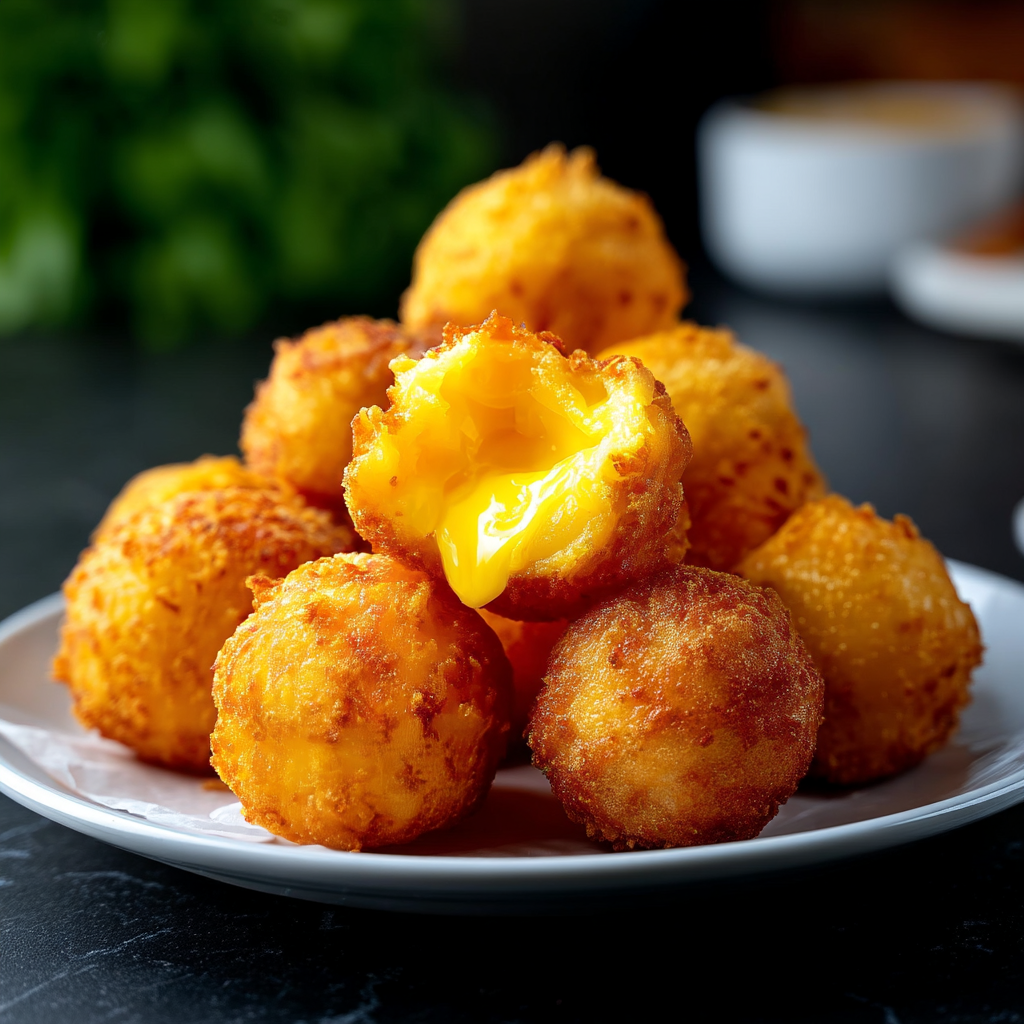
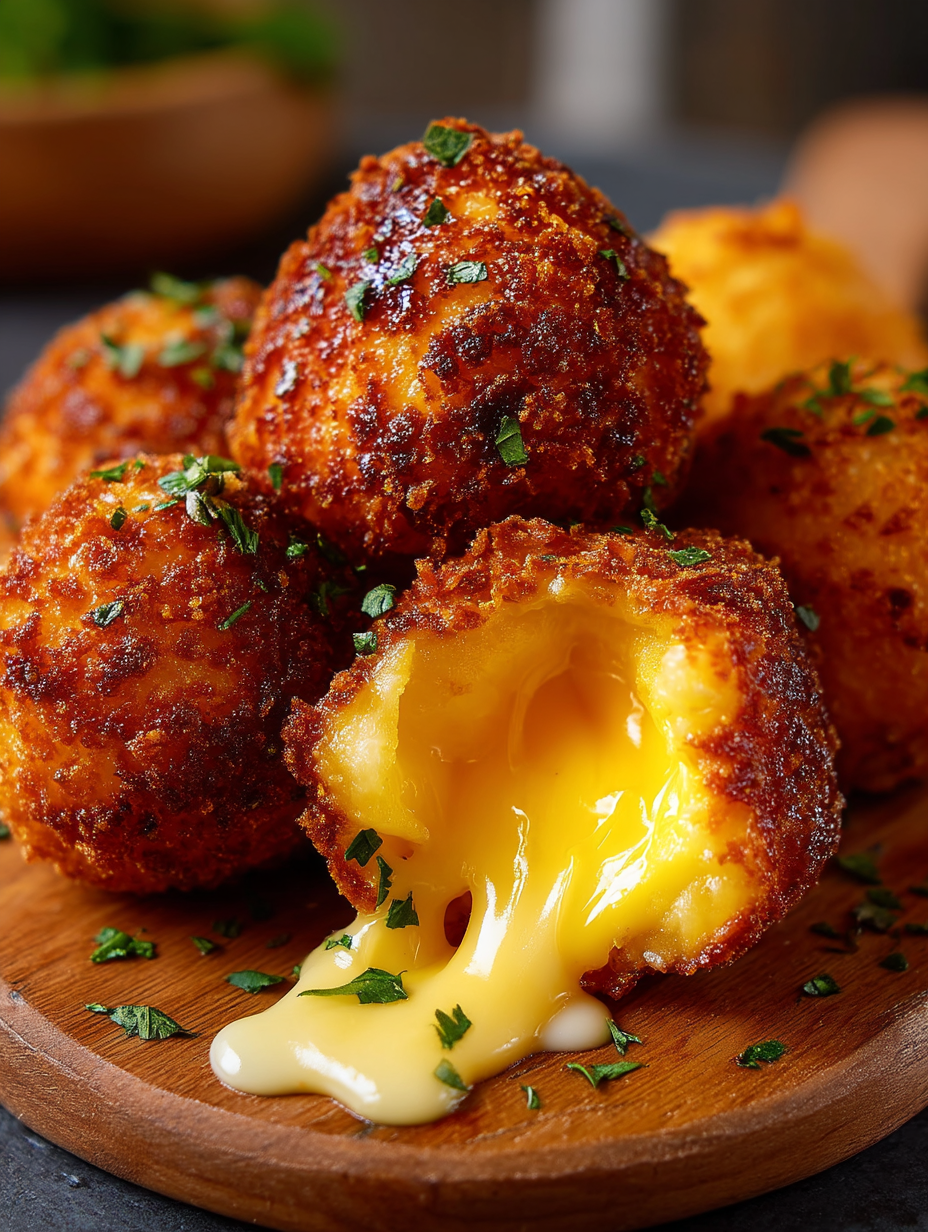
Crispy Fried Cheese Balls have become my go-to when I crave something ultra cheesy but do not have the patience for complicated snacks. With only three simple ingredients, these little bites are golden and crisp on the outside and ooze with melty cheese at the center. They make the ultimate party snack or indulgent treat when you want pure cheese bliss in hardly any time at all.
I first whipped these up for a family game night and ever since they have been everyone’s top request for any get together or movie night at home
Ingredients
- Large egg whites: At room temperature give the cheese balls their signature fluff and help hold everything together. Use fresh eggs for easy whipping and maximum volume
- Medium cheddar cheese: Grated from a block provides the best melt and bold cheesy flavor. Avoid pre shredded cheese because it often contains anti caking agents that keep it from melting smoothly
- Vegetable oil: For frying gives an even golden crunch on the exterior. Choose a neutral high smoke point oil like canola or sunflower to avoid any off flavors
Step-by-Step Instructions
- Whip the Egg Whites:
- In a large bowl or the bowl of a stand mixer whisk egg whites on medium high speed until stiff glossy peaks form This step is crucial for the light and airy interior so do not stop whipping until the egg whites hold their shape on a lifted whisk
- Fold in the Cheese:
- Add the grated cheddar gently to the whipped egg whites Fold slowly with a spatula just until the cheese is evenly mixed in Take care not to deflate the egg whites so you keep the mixture light
- Shape and Chill the Mounds:
- Scoop the cheesy mixture into approximately even amounts and place onto a parchment lined baking sheet Let the mounds chill in the refrigerator for at least thirty minutes This allows them to firm up and makes shaping easy
- Heat the Oil:
- Fill a deep heavy bottomed pot or Dutch oven with at least four inches of oil Heat the oil over medium heat and monitor with a thermometer until it reaches three hundred fifty degrees Fahrenheit Having the right oil temperature makes all the difference for a crispy finish
- Roll and Shape the Balls:
- Once chilled gently roll each mound between your palms to form even balls Try not to press too hard so the mixture stays airy and delicate
- Deep Fry in Batches:
- Lower several cheese balls gently into the hot oil but do not overcrowd the pan Fry each batch for about one to one and a half minutes turning as needed so they become golden and crisp all over
- Drain and Serve:
- Use a slotted spoon to move the cheese balls to a plate lined with paper towels letting any extra oil drain away Serve while still hot so you get the best gooey cheese pull
 Pin it
Medium cheddar is my favorite because it melts into perfect gooeyness with tang but you can use anything you love My kids always ask to help roll the balls and taste test the first batch straight from the pot so this recipe is tied to lots of laughter in my kitchen
Storage Tips
Fried cheese balls are best eaten hot out of the oil but you can store leftovers in an airtight container in the fridge for up to three days To reheat pop them into an oven or air fryer so they crisp up again and the cheese melts back to oozy perfection Avoid microwaving since it can make the outside chewy and tough
Ingredient Substitutions
If you want to switch up the cheese try Monterey Jack for extra melt Pepper Jack gives a gentle kick of heat Gouda is sweet and creamy Make sure to always grate from a block for best results If you need to make them dairy free try your favorite plant based cheddar but look for one that melts smoothly and does not turn grainy
Serving Suggestions
Fried cheese balls shine all on their own but they are even better dunked in a dipping sauce Marinara or spicy aioli are classics For something different try ranch with lots of chopped herbs or a homemade honey mustard They also make a fun crunchy topper for soups chili or a big salad
Cultural Nuggets
Variations of fried cheese treats pop up worldwide Brazilian cheese breads and Italian arancini both celebrate that irresistible cheese pull These cheese balls skip bread or starch so you get even more pure cheese flavor in every bite
Frequently Asked Questions
- → What type of cheese works best?
Medium cheddar melts smoothly for a gooey interior, but try Monterey Jack or Gouda for different flavors.
- → How do I keep the cheese balls airy and light?
Gently fold cheese into whipped egg whites to avoid deflating, and don’t tightly compress when shaping.
- → What's the best oil temperature for frying?
Maintain oil between 350–375°F (175–190°C) for crisp results without greasiness or burning.
- → How should I serve crispy cheese balls?
Serve them hot with marinara, ranch, spicy aioli, or as a topping for soups and chili.
- → Can I make them ahead of time?
Yes! Store leftovers in the fridge and reheat in an air fryer or oven for best texture.
- → Why grate cheese fresh instead of using pre-shredded?
Freshly grated cheese melts more smoothly; pre-shredded cheese often contains anti-caking agents affecting melt.
