
 Pin it
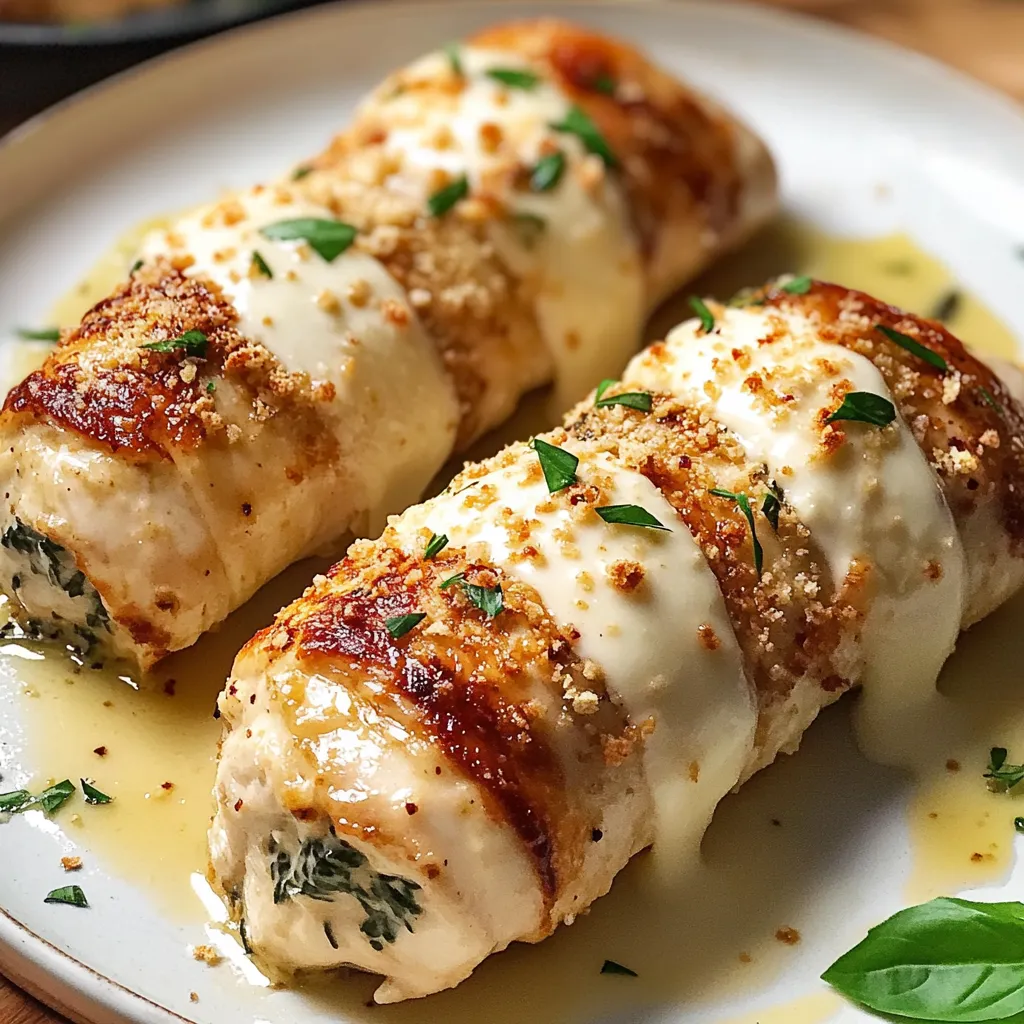
This chicken rollatini transforms ordinary chicken breasts into an impressive Italian-inspired meal that looks like you spent hours in the kitchen. The combination of cheeses and spinach creates a creamy, flavorful filling that keeps the chicken moist as it cooks to golden perfection.
I first made these rollatini for a dinner party where I wanted to impress without spending the entire evening in the kitchen. The guests were so amazed they thought I had ordered from an Italian restaurant, and now it's my go to recipe whenever I want to elevate a chicken dinner.
Ingredients
- Boneless skinless chicken breasts provides the perfect canvas for rolling around delicious fillings. Look for uniformly sized pieces
- Mozzarella cheese creates that perfect stretchy melt when you cut into the rollatini
- Ricotta cheese adds creaminess and moisture to the filling
- Parmesan cheese brings a salty nutty flavor that elevates the entire dish
- Fresh spinach provides nutrition and beautiful color contrast. Make sure to fully drain after sautéing
- Italian seasoned breadcrumbs create a crispy golden exterior. Choose panko for extra crunch
- Large eggs help the breadcrumbs adhere perfectly to the chicken rolls
- Olive oil helps achieve that beautiful golden crust when cooking
- Garlic powder infuses the filling with aromatic flavor without overpowering
- Dried basil complements the Italian flavors throughout the dish
Step-by-Step Instructions
- Prepare the Chicken
- Placing chicken breasts between plastic wrap is essential for mess free pounding. Use the flat side of your meat mallet and work from the center outward, using gentle even pressure to reach that perfect quarter inch thickness without tearing the meat. Take your time with this step as uniform thickness ensures even cooking.
- Create the Filling
- Combine all filling ingredients in a medium bowl, mixing thoroughly but gently. The texture should be creamy but hold together well. The garlic powder and herbs should be evenly distributed throughout the mixture. Taste and adjust seasonings now before filling the chicken.
- Assemble the Rollatini
- Lay each flattened chicken breast on a clean work surface. Spread about 2 3 tablespoons of filling on each piece, leaving a half inch border around the edges. Starting from the narrower end, roll the chicken tightly around the filling, tucking in the sides as you go. Secure each roll with 2 3 toothpicks placed at different angles to keep the filling inside.
- Coat the Rolls
- Set up a breading station with beaten eggs in one shallow dish and breadcrumbs in another. Dip each secured roll first in egg, allowing excess to drip off, then roll in breadcrumbs, pressing gently to adhere. For extra crispiness, you can double coat by repeating the egg and breadcrumb steps.
- Cook to Perfection
- For baking, arrange rolls seam side down in a lightly oiled baking dish, allowing a bit of space between each roll. Bake until the internal temperature reaches 165°F and the exterior is golden brown. For pan frying, use medium heat and turn the rolls frequently to ensure even browning on all sides. With air frying, a light spray of oil helps achieve perfect crispiness.
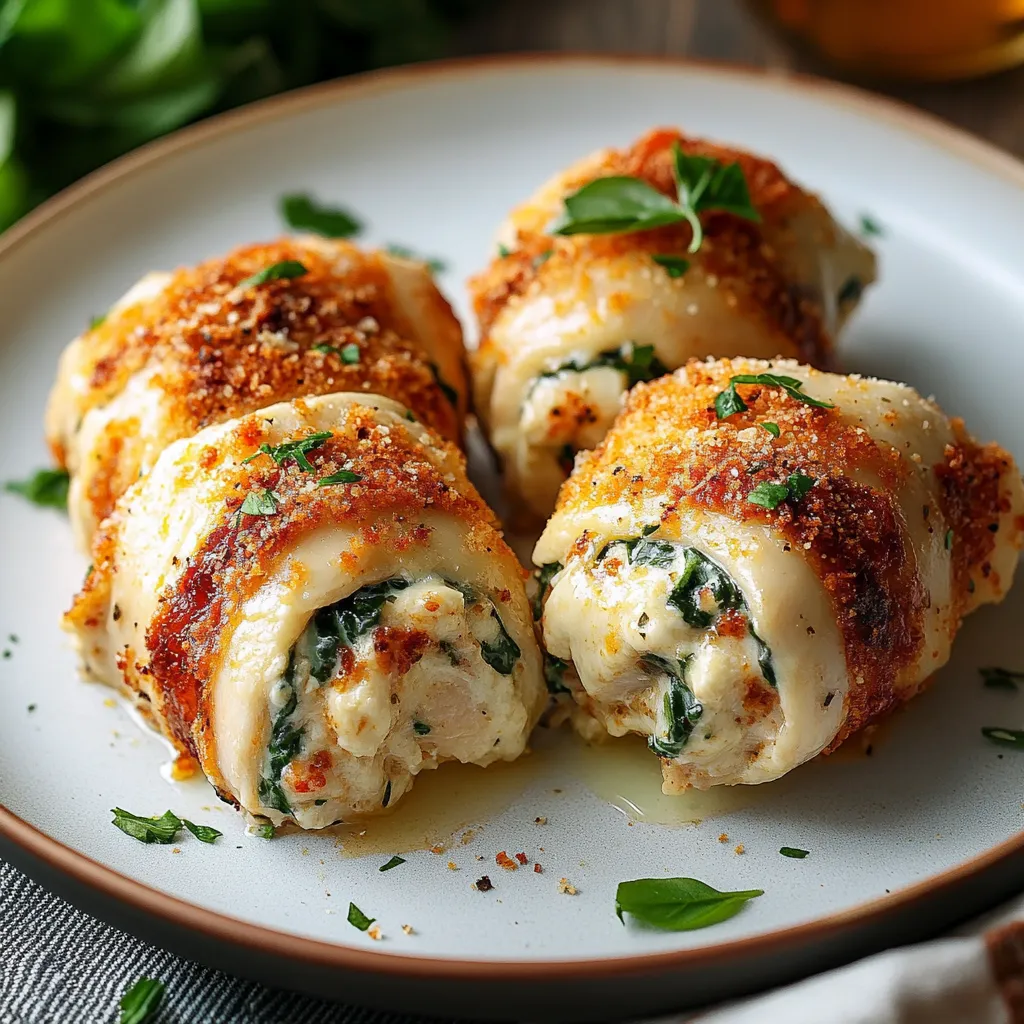
The spinach in this recipe completely transforms the dish. I discovered this by accident when I needed to use up some wilting spinach in my refrigerator. The earthy flavor balances the richness of the cheeses perfectly, and now my family notices immediately if I try to make it without the greens.
Make Ahead Options
Chicken rollatini is perfect for meal prep. You can prepare the rolls completely, up to the breading stage, then refrigerate for up to 24 hours before cooking. Simply place the prepared rolls on a parchment lined tray, cover with plastic wrap, and refrigerate. When ready to cook, remove from the refrigerator about 30 minutes before baking to take the chill off. This makes them perfect for entertaining since all the messy prep work happens well before your guests arrive.
Delicious Variations
This recipe welcomes creative adaptations based on what you have available. Try prosciutto slices layered under the cheese mixture for a salty twist, or substitute the spinach with sautéed mushrooms for an earthy flavor profile. For a Mediterranean version, incorporate sun dried tomatoes, feta cheese, and olives into the filling. You can also experiment with different herbs like fresh thyme or rosemary in place of the basil. Each variation creates an entirely new dish while maintaining the impressive presentation.
Serving Suggestions
Chicken rollatini pairs beautifully with light sides that complement without overwhelming. Consider serving alongside roasted asparagus or a bright arugula salad dressed with lemon vinaigrette. For a heartier meal, offer garlic mashed potatoes or a simple risotto. A drizzle of warm marinara sauce over the rollatini just before serving adds color and a pleasant acidity that balances the rich filling. For a complete Italian inspired dinner, start with an antipasto platter and finish with a light lemon sorbet.
Frequently Asked Questions
- → Can I use a different cheese in the filling?
Yes, you can substitute mozzarella with provolone or a blend of your favorite cheeses for added flavor variety.
- → How do I ensure the rolls stay intact while cooking?
Use toothpicks to secure the rolls tightly, ensuring the filling doesn't spill out during cooking.
- → Can I make this dish ahead of time?
Absolutely! Prepare the rolls, coat them, and refrigerate them until you're ready to cook. This works best within 24 hours.
- → What can I serve with Chicken Rollatini?
Pair it with a fresh garden salad, roasted vegetables, or a serving of pasta with marinara for a complete meal.
- → Can I make the dish gluten-free?
Yes, opt for gluten-free breadcrumbs and ensure your other ingredients are certified gluten-free.
- → What’s the best way to reheat leftovers?
Reheat in an oven at 350°F (175°C) for about 10-15 minutes to maintain crispiness, or use an air fryer for quicker results.