 Pin it
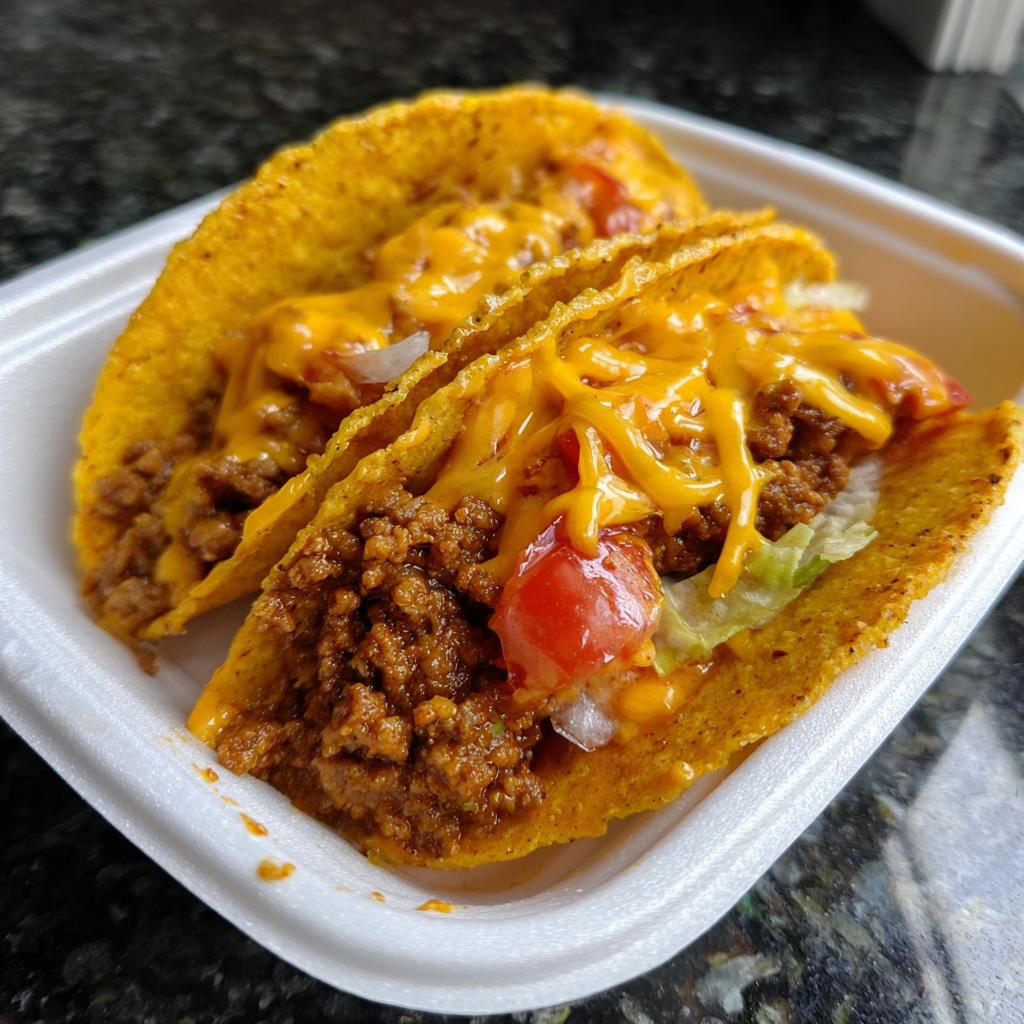
These Cheesy Rotel Tacos are the answer when you need a meal that feels like a party but comes together on a weeknight. It's a glorious, messy, and absolutely delicious combination of seasoned beef and a spicy, velvety cheese sauce that will have everyone reaching for seconds.
I first threw this together for a game night with friends, and it was an instant hit. Now, it's our go to for any casual get together because it’s a guaranteed crowd pleaser.
Ingredients
- One pound ground beef: an 80/20 blend works perfectly here for flavor
- One tablespoon olive oil: just a little to get the onions going
- One medium onion: a yellow onion provides a sweet, aromatic base
- One packet taco seasoning: a one ounce packet is convenient but you can also use your own blend
- Four tablespoons butter: this is the base of our rich cheese sauce
- One quarter cup all purpose flour: the thickener for our sauce, creating that velvety texture
- Two cups milk: whole milk will give you the creamiest result
- Two ten ounce cans Rotel diced tomatoes & green chilies: the star of the show for that signature spicy, tangy kick. Grab original or hot for more spice
- Two cups shredded cheddar cheese: pre shredded is fine but shredding your own from a block melts better
- One quarter cup sour cream: adds a slight tang and extra creaminess to the cheese sauce
- Hot sauce to taste: use your favorite brand to adjust the heat to your liking
- Twelve nacho cheese taco shells: the nacho cheese flavor adds an extra layer of deliciousness
Step by Step Instructions
- Sauté the Aromatics:
- Heat the olive oil in a large pot or Dutch oven over medium heat. You’ll know it’s ready when it shimmers slightly. Add your diced onions and cook them for about five to seven minutes, stirring every so often. You want them to soften and become translucent, not browned, as this process releases their sweetness and builds the first layer of flavor.
- Brown the Beef:
- Add the ground beef directly into the pot with the softened onions. Sprinkle the entire packet of taco seasoning over the meat. Use a wooden spoon or spatula to break the beef apart into smaller crumbles. Continue cooking for ten to twelve minutes, until the meat is fully browned and no pink is left. Once it's cooked, carefully transfer the beef and onion mixture to a separate bowl. Don't wipe out the pot; those browned bits and drippings are pure flavor for our sauce.
- Make the Cheesy Rotel Sauce:
- Melt the butter in the same pot over medium low heat, letting it mix with the leftover beef drippings. Once it’s fully melted, sprinkle in the flour. You must whisk constantly for two full minutes. This creates a roux, which will thicken our sauce. It should look like a thick paste and smell slightly nutty. Now, slowly pour in the milk, maybe a half cup at a time, whisking vigorously after each addition to ensure there are no lumps. Continue whisking as the sauce heats up until it begins to thicken, which should take about three minutes. Pour in both cans of Rotel, juices and all. Stir in the shredded cheddar cheese, a handful at a time, until it’s completely melted and the sauce is smooth. Finally, stir in the sour cream and a few dashes of hot sauce until everything is cohesive.
- Combine and Simmer:
- Return the cooked beef and onion mixture back into the pot with that beautiful cheese sauce. Stir everything together until the beef is completely coated. Let it simmer uncovered on low heat for about ten minutes. This allows the flavors to meld together and the sauce to thicken up to the perfect consistency. Be sure to stir it occasionally to prevent it from sticking to the bottom.
- Prepare and Serve:
- While the filling simmers, lay your taco shells on a baking tray. A quick five minute bake at 350°F makes them extra crisp and warm. Once the filling is ready, spoon generous scoops into each shell. Serve them immediately while they're hot and crispy.

My favorite ingredient here is definitely the Rotel. It's such a simple pantry staple, but it completely transforms a basic cheese sauce into something zesty and exciting. This dish always reminds me of our family game nights; it's just the right amount of messy fun and so satisfying to eat while yelling at the TV.
Storage and Reheating
One of the best parts about this recipe is how well it keeps. You can make the cheesy beef filling up to four days in advance and store it in an airtight container in the refrigerator. When you're ready to eat, just gently reheat it in a saucepan over low heat, stirring occasionally until it's warmed through. You might need to add a splash of milk if it has thickened up too much.
Ingredient Substitutions
Don't be afraid to make this recipe your own. If you don't have ground beef, ground turkey or even ground chicken work wonderfully as a leaner option. For the cheese, feel free to swap the cheddar for Monterey Jack or a spicy Pepper Jack to add an extra kick. If you need a gluten free version, you can substitute the all purpose flour with a gluten free all purpose blend or rice flour and serve the filling with gluten free taco shells.
Serving Suggestions
While these tacos are incredible on their own, setting up a topping bar makes the meal even more fun. I like to set out bowls of shredded lettuce, diced avocado or guacamole, fresh cilantro, and sliced jalapeños. A side of Spanish rice or a simple black bean and corn salad rounds out the meal perfectly. The cheesy beef is also amazing served over nachos or as a filling for burritos.
Frequently Asked Questions
- Can I make the cheesy beef filling ahead of time?
Absolutely! The cheesy beef filling can be made up to 4 days in advance. Store it in the refrigerator and reheat gently before serving.
- Is the cheesy beef filling freezer-friendly?
Yes! Cool the filling completely, then transfer it to a freezer bag, flatten, and freeze for up to 3 months. Thaw it overnight in the refrigerator before reheating.
- How can I spice up these tacos?
Adjust the amount of hot sauce and Rotel tomatoes (use the original or spicy version) to your preference. You can also add a pinch of cayenne pepper.
- What are some good cheese variations to try?
Try Monterey Jack or Pepper Jack cheese for a different flavor profile. A Mexican cheese blend would also work well.
- How can I make these tacos gluten-free?
Use rice flour for the roux instead of all-purpose flour. Make sure to use gluten-free taco shells to complete the dish.
- Can I substitute the ground beef with another protein?
Yes, you can substitute the ground beef with ground turkey or chicken. You might need to adjust the cooking time slightly depending on the protein you choose.