
 Pin it
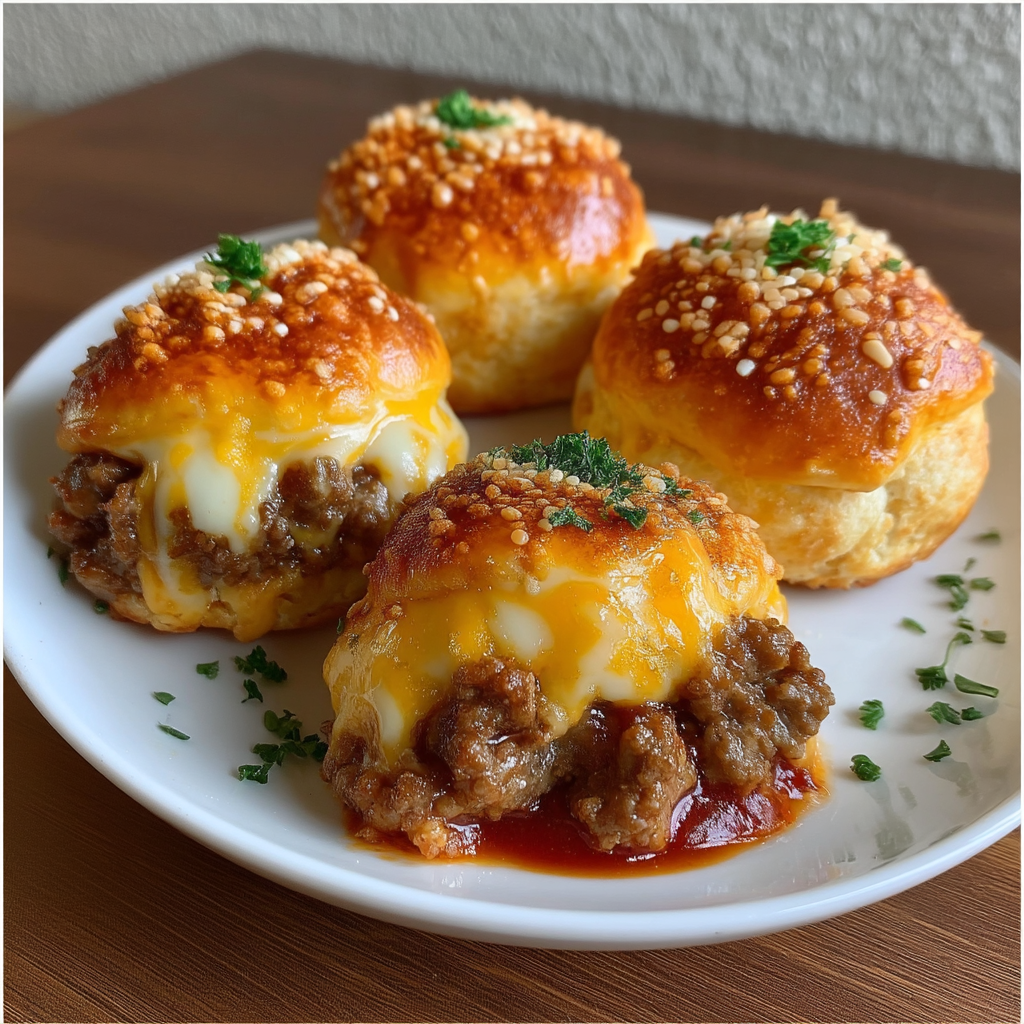
Cheeseburger Bombs are all about big flavor packed into a playful handheld bite. If you love juicy burgers and crave something buttery and comforting, this recipe delivers both. Each golden parcel holds a cheesy, seasoned beef filling with plenty of zesty garlic and parmesan in every bite. It is the perfect family snack or party appetizer that disappears within minutes of serving.
I created these one snowy Friday when friends dropped by unexpectedly. Now my daughter asks for Cheeseburger Bombs every time her buddies visit for game night. They are always a hit and never last long enough for seconds.
Ingredients
- ground beef: for classic burger richness and juicy filling look for eighty percent lean for best flavor
- onion: finely chopped for sweetness and a tender texture go for yellow onions as they mellow beautifully when cooked
- ketchup: brightens the filling with savory tang use a quality brand with no artificial ingredients
- refrigerated biscuit dough: forms the tender shell look for brands with real butter for the richest flavor
- shredded cheddar cheese: melts creamy and gooey sharp cheddar packs the most punch
- unsalted butter: melted for the buttery garlic topping use fresh for best flavor control
- garlic: minced to infuse the topping with addicting flavor always choose fresh garlic over jarred
- grated parmesan cheese: adds salty nuttiness to the crust get real parmesan and grate it yourself for extra depth
Step-by-Step Instructions
- Cook the Beef Filling:
- In a large skillet set over medium-high heat cook the ground beef with the finely chopped onion stirring every couple minutes until the beef is brown with no pink remaining and the onion turns soft this should take about eight minutes drain off excess fat to keep the filling from becoming greasy then stir in ketchup along with a splash of mustard Worcestershire sauce salt and pepper let this simmer for five minutes so flavors blend nicely remove from heat and gently stir in shredded cheddar letting it start to melt into the beef
- Shape the Biscuits:
- Sprinkle flour on your work surface then separate the biscuit dough flatten each biscuit into a rough four-inch circle with your hands or a rolling pin try for even thickness so they bake uniformly
- Fill and Seal:
- Spoon a heaping tablespoon of the warm beef mixture into the center of each biscuit round gently pull up the edges around the filling pinch together tightly to fully seal and form a ball being careful not to let filling poke through place these seam side down on a parchment-lined baking sheet
- Prepare the Garlic Butter Topping:
- Combine melted butter with minced garlic grated parmesan a sprinkle of chopped fresh parsley and a pinch of salt stir well making sure no clumps of garlic or cheese remain
- Brush and Bake:
- Generously brush each filled biscuit with the garlic butter mixture covering the sides too for full flavor bake in a preheated oven at four hundred degrees for twenty to twenty five minutes until the tops are golden brown and the cheese starts to bubble through each seam
- Finish and Serve:
- Once the bombs are out of the oven brush them again with any leftover garlic butter for that extra touch of shine and flavor let them cool for five minutes before serving so they are easy to handle and the cheese sets just right
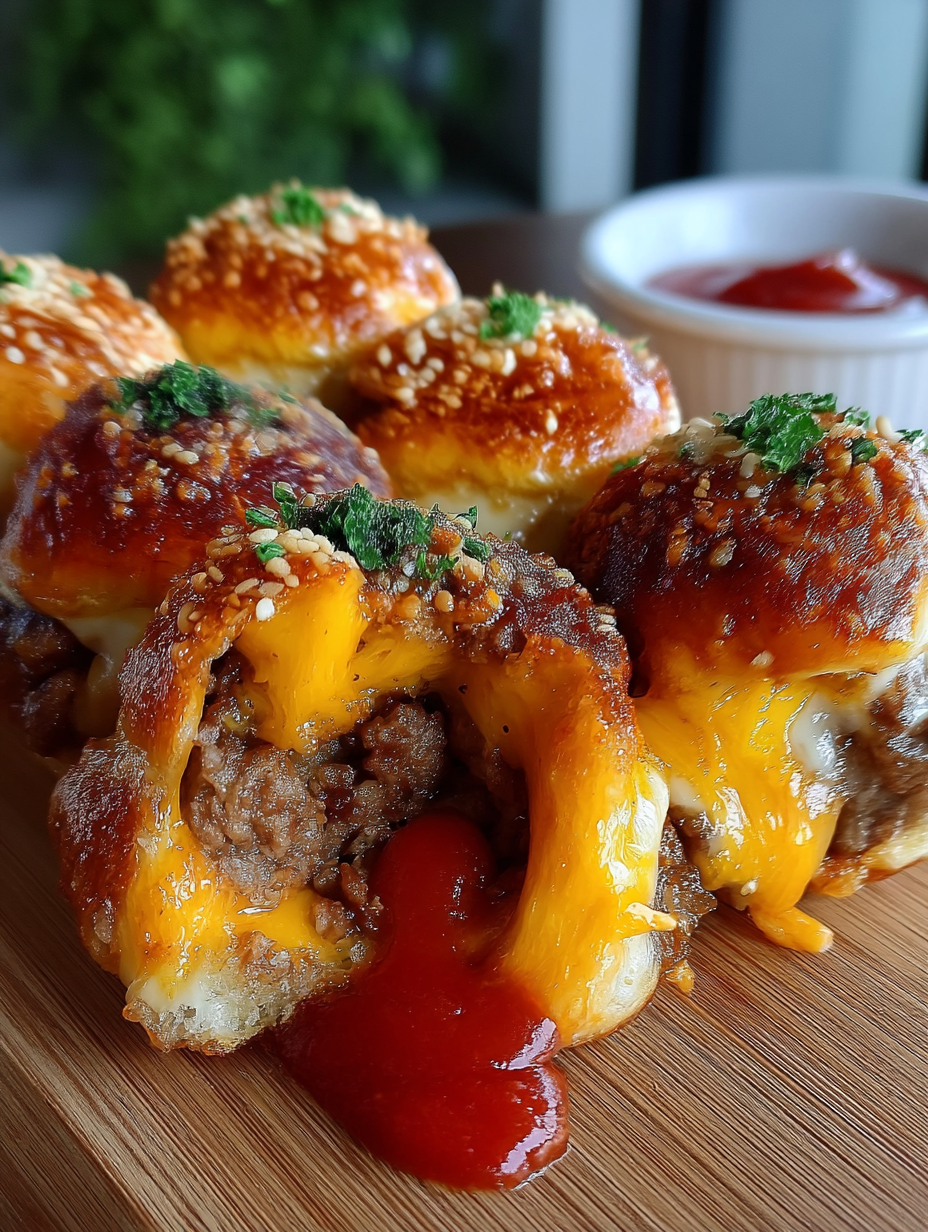
The cheddar cheese always steals the show for me nothing beats the way it melts perfectly inside the warm crust. My son says they remind him of our summer cookouts when I grill cheeseburgers but bite-sized and way less messy.
Storage Tips
Store leftover cheeseburger bombs in an airtight container in the fridge for up to three days. Reheat in a three hundred fifty degree oven for ten minutes to keep the crust crispy. For longer storage freeze unbaked bombs on a baking sheet then move to a freezer bag once solid and bake straight from frozen adding five minutes to the baking time.
Ingredient Substitutions
Swap ground turkey or chicken for beef if you want a lighter filling. Choose mozzarella or pepper jack for a different cheese melt. If biscuit dough is unavailable try pizza dough cut into small rounds for a chewier bite. For vegetarians use lentils or crumbled veggie sausage instead of meat.
Serving Suggestions
Serve these hot straight from the oven with ketchup or your favorite dipping sauce. Pair with a crisp green salad to balance the richness. At parties put out a platter with a variety of sauces like ranch sriracha mayo or honey mustard so everyone can dip.
Frequently Asked Questions
- → How do I prevent the cheese from leaking out during baking?
Let the beef filling cool before sealing, and pinch the dough seams tightly to contain the cheese.
- → Can I make these bombs ahead of time?
Yes, assemble and refrigerate before baking. Brush with garlic butter just before baking for best results.
- → What dipping sauces pair well with these bombs?
Serve with ketchup, ranch, honey mustard, or a spicy aioli for extra flavor.
- → Can I substitute another cheese for cheddar?
Absolutely. Try mozzarella, Monterey Jack, or your favorite melt-friendly cheese.
- → Are there vegetarian versions of these bombs?
Replace ground beef with cooked lentils or sautéed mushrooms for a meat-free variation.
- → How do I store and reheat leftovers?
Store in an airtight container in the fridge and reheat in the oven to keep the crust crispy.