 Pin it
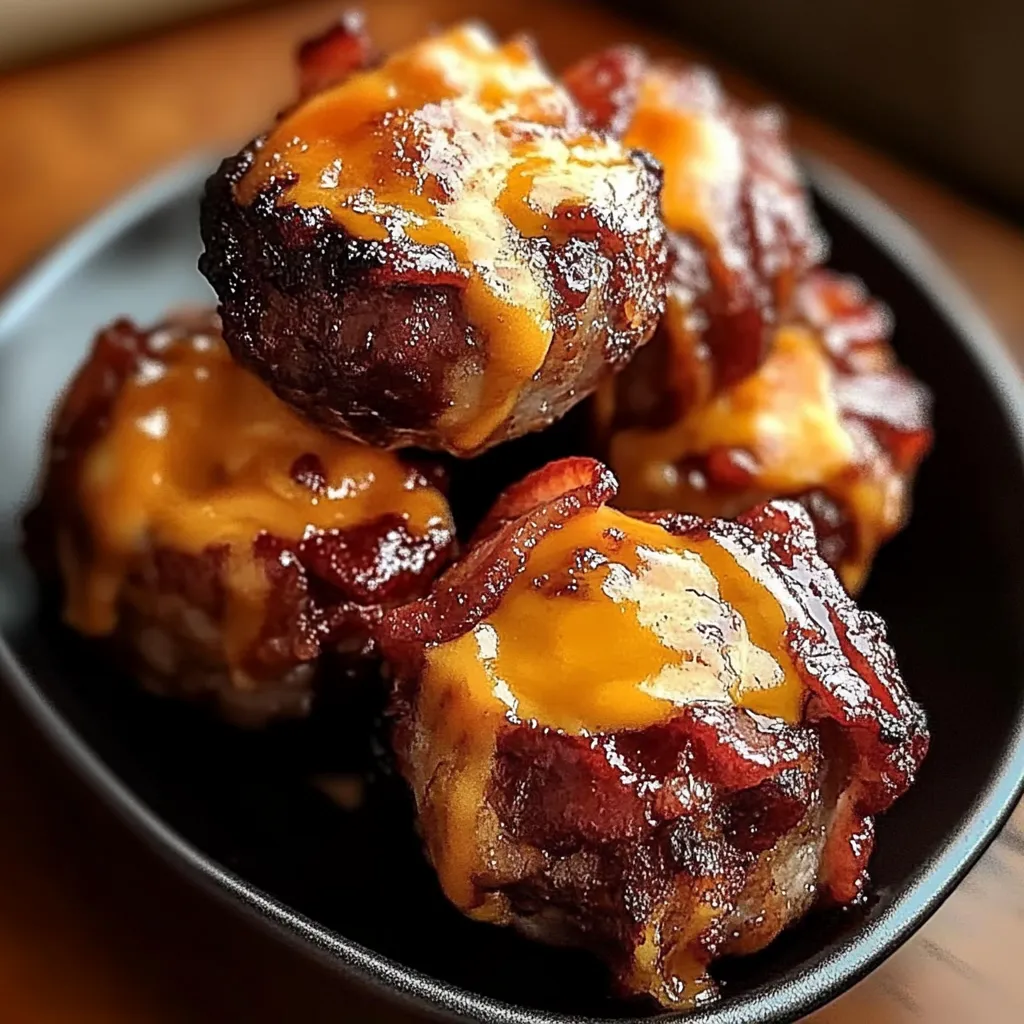
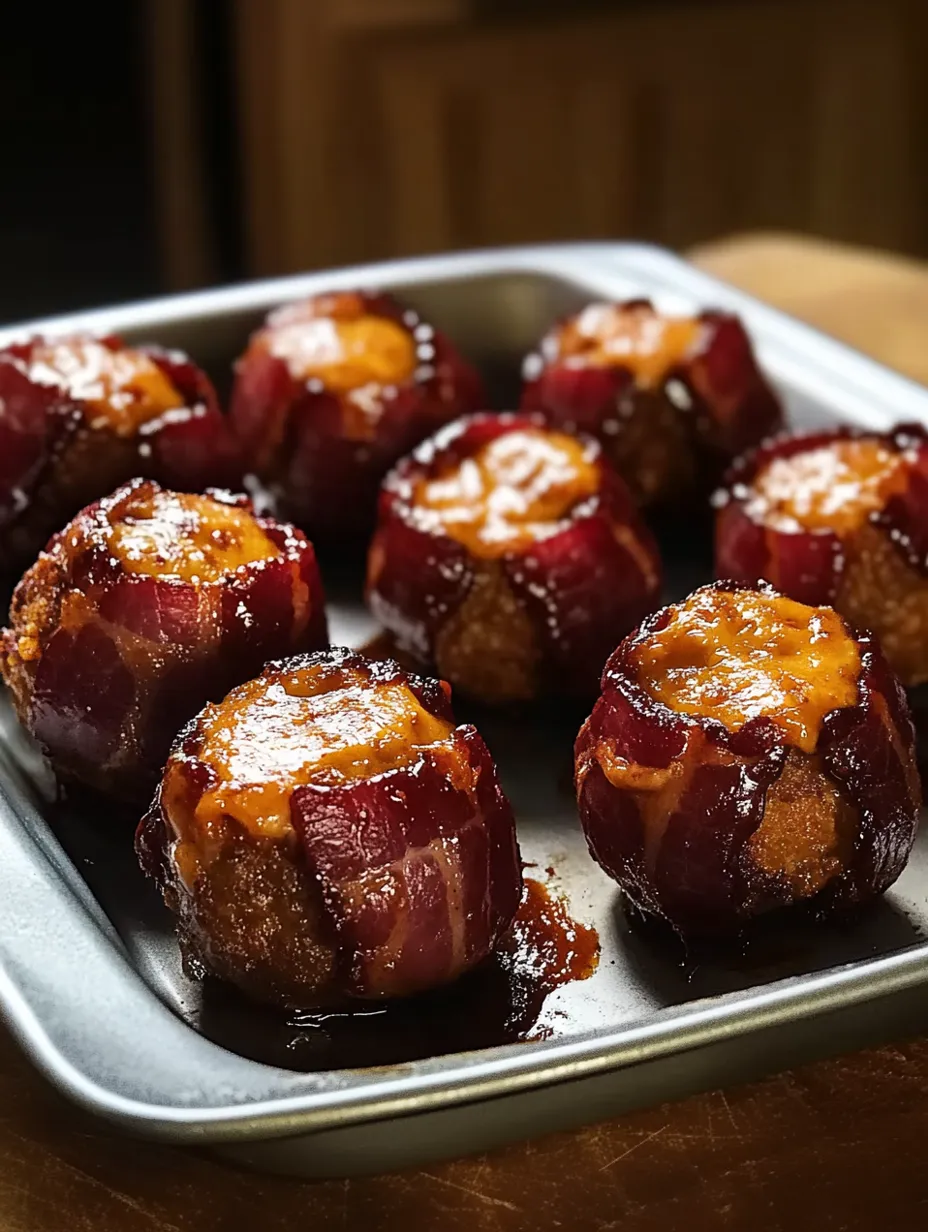
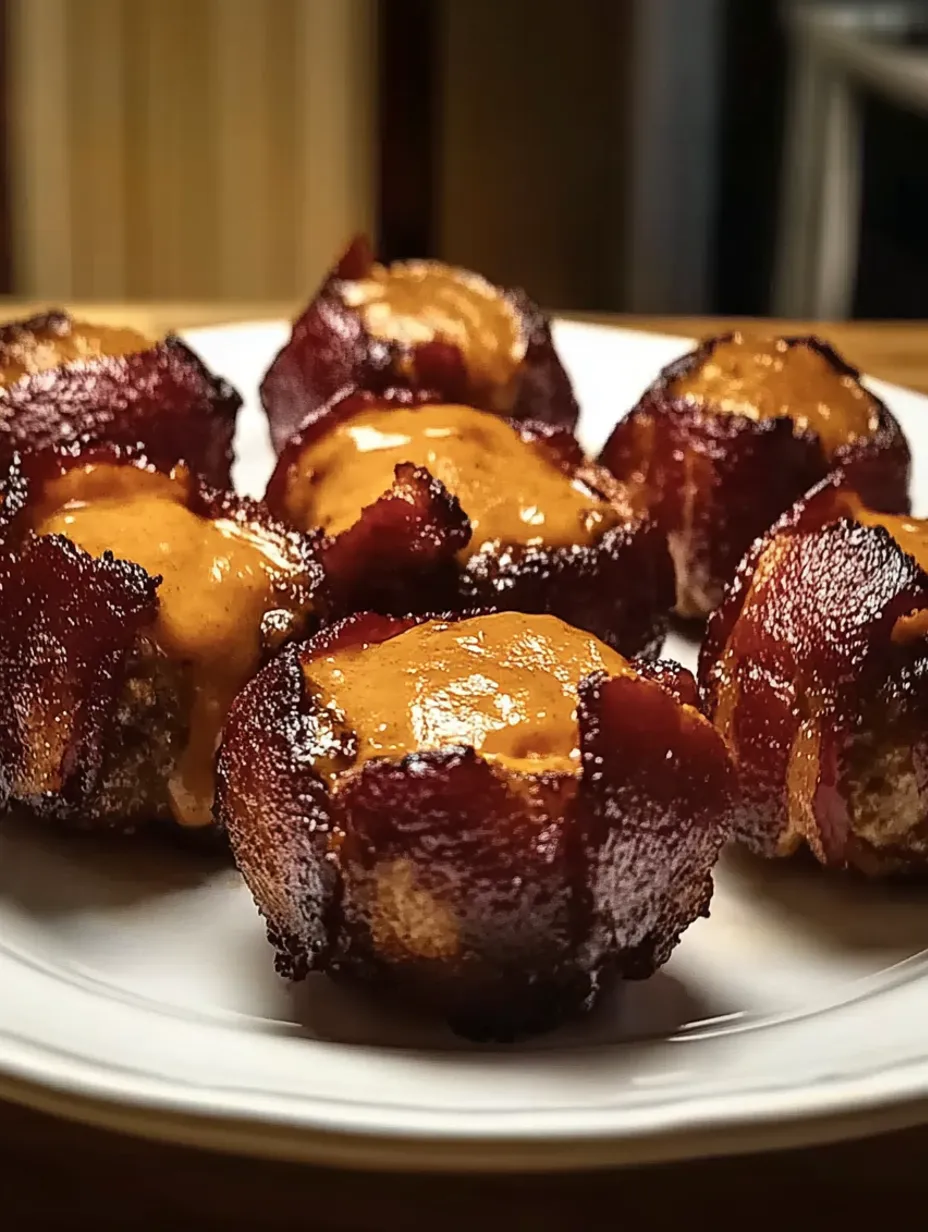
These Cheddar-Stuffed BBQ Bacon Bombs transform simple ingredients into an irresistible flavor explosion. Each juicy beef meatball hides a molten cheddar surprise, wrapped in crispy bacon and glazed with tangy-sweet barbecue sauce. I created these for a neighborhood potluck last summer and they vanished within minutes – even faster than the famous wings my neighbor brings every year! The combination of smoky, savory, and cheesy flavors makes these little morsels absolutely addictive, perfect for game days, holiday gatherings, or anytime you want to seriously impress your guests.
I first made these for my brother's football watch party last fall. I was a bit nervous since his friends are serious food critics when it comes to game day snacks. Within minutes of setting down the platter, I heard nothing but "mmms" and "oh mans" between bites. Even my picky nephew who "doesn't like cheese" devoured three of them and asked if I could make them for his birthday. The crispy bacon exterior sealed the deal for everyone, and now I'm not allowed to show up to gatherings without them.
Flavor Building Blocks
Ground Beef - Creates a juicy, flavorful base. Use 80/20 ground beef for the perfect fat content that keeps everything moist. You can substitute ground pork for a slightly sweeter flavor profile, or a beef-pork mix for the best of both worlds.
Cheddar Cheese - The star of the show! As it melts, it creates an oozy, gooey center that makes everyone smile. Sharp cheddar provides the best flavor contrast, but medium works well for milder palates. Make sure to use block cheese and cut it yourself rather than pre-shredded, which won't melt as beautifully.
Bacon - Wraps everything in a crispy, smoky hug. Thin-cut bacon works best as it crisps up nicely without overwhelming the other ingredients. Center-cut bacon has a good meat-to-fat ratio that renders perfectly during cooking.
BBQ Sauce - Adds that sweet-tangy dimension that elevates these from good to unforgettable. Choose a sauce with a balance of sweet, tangy and smoky notes. I prefer one with a hint of honey or brown sugar for better caramelization.
Seasonings - Simple garlic powder, onion powder, salt and pepper enhance the beef without competing with the other flavors. The Worcestershire sauce adds depth and a subtle umami kick that makes people wonder what your secret ingredient is.
 Pin it
Meatball Magic
Prepare Your WorkspacePreheat your oven to 375°F and line a baking sheet with aluminum foil, then place a wire rack on top if you have one. This setup allows the fat to drip away while the bacon bombs cook, giving you crispier results. Have toothpicks soaking in water nearby (this prevents them from burning in the oven) and cut your cheese into ½-inch cubes – about 12 cubes total.
Mix With CareIn a large bowl, combine 1 pound of ground beef, 1 tablespoon Worcestershire sauce, 1 teaspoon garlic powder, 1 teaspoon onion powder, ¾ teaspoon salt, and ½ teaspoon black pepper. Mix with your hands just until combined – overmixing will make the meat tough. The mixture should feel slightly wet but hold together easily when shaped.
Form Perfect PortionsDivide the meat mixture into 12 equal portions. A cookie scoop or kitchen scale helps ensure uniform size, which means even cooking. Take one portion of meat and flatten it in your palm to about ¼-inch thickness, creating a little meat disc. Place a cheese cube in the center, then carefully fold the meat up and around the cheese, sealing it completely. Roll between your palms to form a smooth ball. Any gaps or thin spots will allow cheese to escape during cooking, so be thorough!
Bacon Wrapping TechniqueStretch each bacon slice slightly by running the back of a knife along it (this helps it wrap more easily). Wrap a slice around each meatball, overlapping the edges slightly and making sure the seam ends up on the bottom. Secure with a soaked toothpick, inserting it at an angle through the overlapped bacon and into the meatball. The bacon should completely encase the meatball without gaps.
Sauce ApplicationUsing a basting brush, generously coat each bacon-wrapped meatball with BBQ sauce, ensuring even coverage. Don't skimp – this layer creates a beautiful glaze and helps the bacon crisp up. For extra flavor, mix 2 tablespoons of brown sugar into ½ cup of BBQ sauce before brushing it on. The sugar helps the outside caramelize beautifully.
Bake To PerfectionArrange the prepared bombs on your baking sheet, leaving about an inch between each for air circulation. Bake for 15 minutes, then brush with another layer of BBQ sauce. Return to the oven for an additional 10-15 minutes, until the bacon is crisp and the meatballs register 160°F on an instant-read thermometer.
Finishing TouchFor an extra crispy exterior, switch your oven to broil for the final 2-3 minutes, watching carefully to prevent burning. The bacon should look caramelized and slightly charred in spots. Remove from the oven and let rest for 5 minutes before serving – this allows the juices to redistribute and the cheese to set slightly so it doesn't all run out with the first bite.
I've always found the bacon wrapping to be the trickiest part of this recipe. My first attempt looked like a bacon patchwork quilt! After some practice, I discovered that slightly stretching the bacon first makes it more pliable and less likely to tear. My grandmother taught me the trick of running the back of a knife along the bacon to stretch it gently without breaking it. She used to make bacon-wrapped dates for holiday parties, and swore that proper bacon wrapping technique was what separated amateur cooks from pros. Now whenever I make these bacon bombs, I think of her kitchen wisdom and smile as I carefully wrap each one, knowing the extra attention to detail will pay off in both appearance and flavor.
Serving Strategy
These bacon bombs shine as the star appetizer at any gathering, served hot from the oven while the cheese is still gloriously molten. Arrange them on a platter with extra BBQ sauce in a small bowl for dipping. Toothpicks make them easy for guests to grab, but small appetizer forks work well too if you're going for a more elegant presentation. For a complete game day spread, pair these bombs with cooling ranch dip, crisp vegetable sticks, and some tangy pickles to cut through the richness. If serving as a meal, they're fantastic alongside a simple green salad with vinaigrette dressing or classic coleslaw with a vinegar-based dressing rather than creamy. These meaty morsels are substantial enough to satisfy hungry guests but small enough that people can enjoy a couple alongside other appetizers. Plan on 2-3 per person if serving with other food, or 4-5 per person if they're the main attraction. Their portability makes them perfect for buffet-style service where guests are mingling rather than sitting for a formal meal.
Creative Twists
While the classic version is hard to beat, these bacon bombs welcome creativity. For a Mediterranean variation, substitute feta for cheddar, add some chopped olives and oregano to the meat mixture, and brush with a honey-balsamic glaze instead of BBQ sauce. The salty feta creates a different but equally delicious melting experience. For spice lovers, make jalapeño popper bombs by adding diced jalapeños to the meat mixture and using pepper jack cheese for the center. The heat from the peppers balances beautifully with the creamy cheese and sweet BBQ sauce, creating a more complex flavor profile that adult guests particularly appreciate. Those watching carbs can make a keto-friendly version using sugar-free BBQ sauce and adding a tablespoon of almond flour to the meat mixture to help binding. Wrapping in prosciutto instead of bacon creates a different but equally delicious texture while reducing the fat content slightly for those watching their intake.
Smart Storage
These bacon bombs are best enjoyed fresh from the oven, but leftovers (if you're lucky enough to have any!) can be stored in an airtight container in the refrigerator for up to 3 days. To reheat, place them on a baking sheet in a 350°F oven for 7-10 minutes until heated through. Avoid microwaving if possible, as this makes the bacon soggy rather than crisp. For meal preppers, you can freeze these either before or after cooking. To freeze uncooked bacon bombs, place them on a baking sheet until frozen solid, then transfer to a freezer bag. They'll keep for up to 2 months. When ready to cook, thaw overnight in the refrigerator, then bake as directed, adding about 5 minutes to the cooking time. Cooked bacon bombs can also be frozen for up to 1 month. Reheat from frozen in a 375°F oven for about 15-20 minutes until hot throughout. The texture won't be quite as perfect as fresh-made, but they're still delicious and make for a quick protein-packed snack when time is short.
 Pin it
Chef's Wisdom
Perfect Binding - Add 2 tablespoons of breadcrumbs to the meat mixture if you find it's not holding together well. This is especially helpful in humid weather when meat can be stickier. Bacon Security - Secure the bacon wrap with two toothpicks in an X pattern for foolproof cooking without unwrapping. Just remember to count your toothpicks when you insert them so you know how many to remove before serving! Flavor Intensifier - Mix 1 tablespoon of bacon drippings into your BBQ sauce before brushing it onto the bacon bombs. This recycled fat adds an incredible depth of smoky flavor that takes these from great to legendary.
I've made these bacon bombs for countless gatherings over the years, tweaking the recipe each time until I found this perfect version. What started as an experiment with leftover ground beef and some bacon that needed to be used up has become my most requested recipe. There's something almost magical about the moment when someone takes their first bite and their eyes widen with surprise and delight as they discover the molten cheese center. Food that creates joy and brings people together is always the best kind, and these little flavor bombs certainly do both. Whether you're feeding a crowd or just treating your family to something special, these bacon bombs deliver big flavor in every bite.
Frequently Asked Questions
- → Can I use a different type of cheese?
- Absolutely! Try pepper jack for spice, mozzarella for extra stretch, or blue cheese for a bolder flavor.
- → How do I prevent the cheese from leaking out?
- Make sure to completely seal the meat around the cheese and don't overstuff. Using cheese cubes rather than shredded cheese also helps.
- → Can I make these ahead of time?
- You can prepare them up to a day ahead and refrigerate before cooking. Let them sit at room temperature for 15 minutes before cooking.
- → What sides go well with these bacon bombs?
- Serve with coleslaw, potato salad, macaroni and cheese, or a simple green salad for a complete meal.
- → Can I use ground turkey instead of beef?
- Yes! Ground turkey, chicken, or pork work well. Just be aware turkey might be slightly drier, so consider adding 1-2 tablespoons of olive oil to the mixture.
